|
|
|
|
Products mentioned in this Article
--None--
|
|
|
|
|
|
|
|
|
 |
|
|
|
El Alamein is your introduction to the exciting world of Flames Of War, the world’s most popular World War II miniatures game.
|
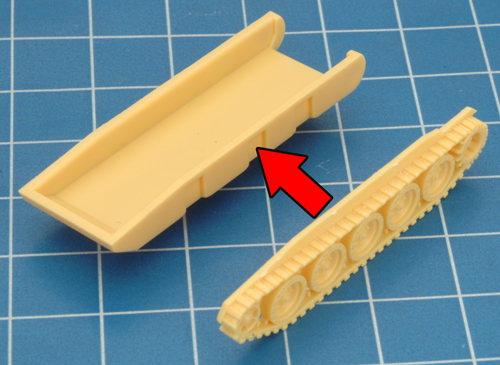
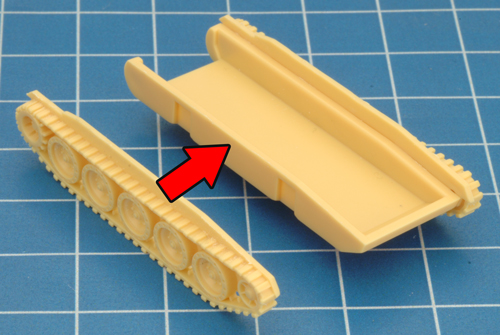
| Step 1. Attach the left-hand side track to the lower hull section. |
Step 2. Attach the right-hand side track. |
 |
 |
 |
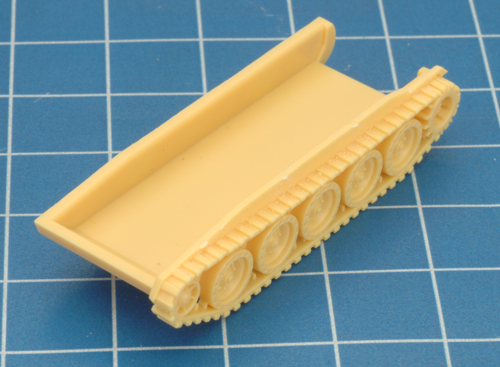
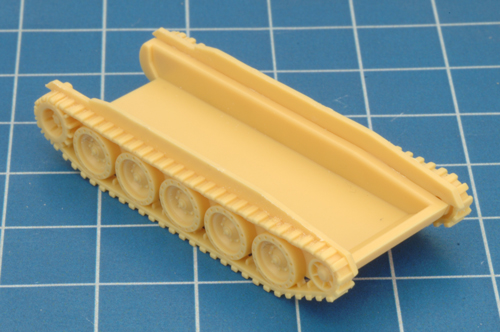
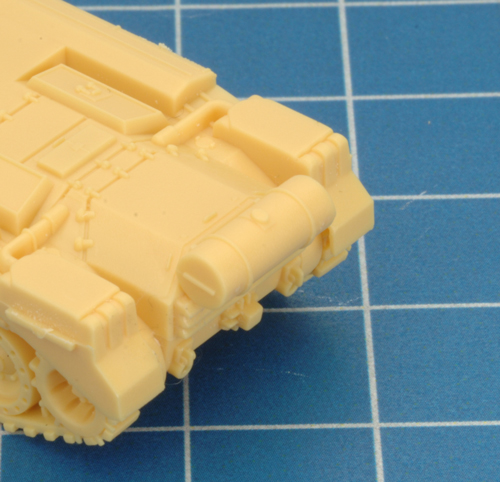
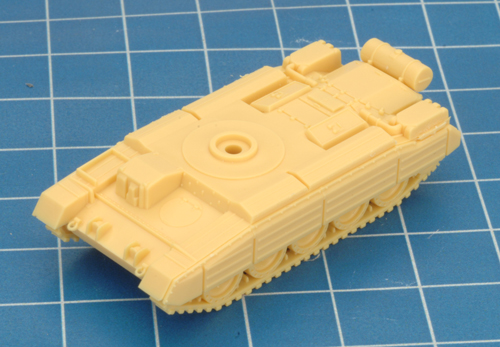
| Below: The tracks attached to the lower hull section. |
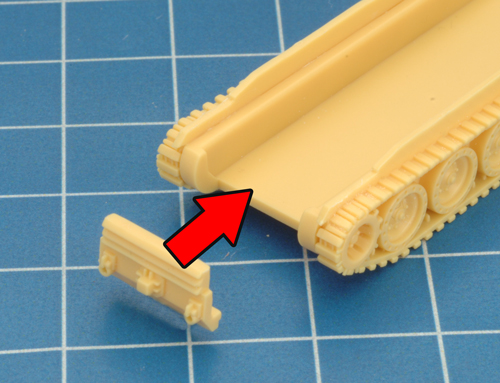
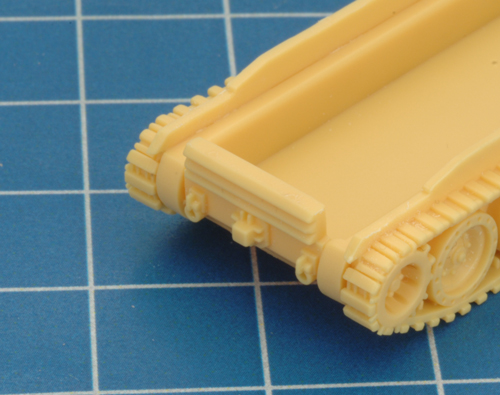
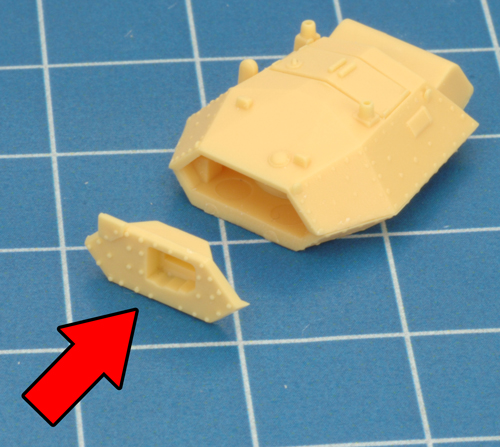
Step 3. Next, attach the hull rear plate to the back of the lower hull section. |
 |
 |
 |
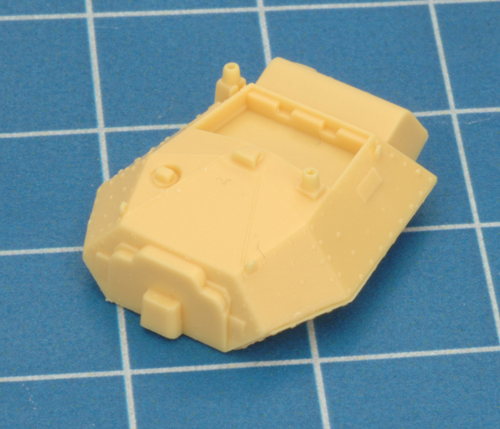
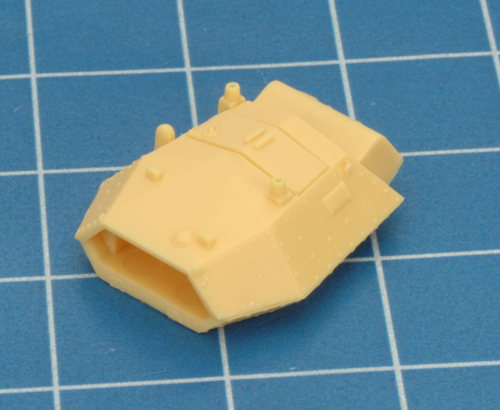
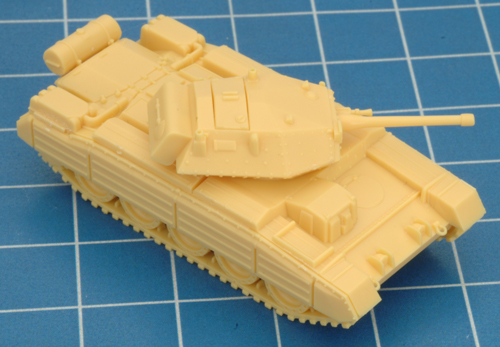
| Step 4. Attach the top hull section to the lower hull section of the Crusader. |
Step 5. Add the fuel tank to the back of the hull. |
 |
 |
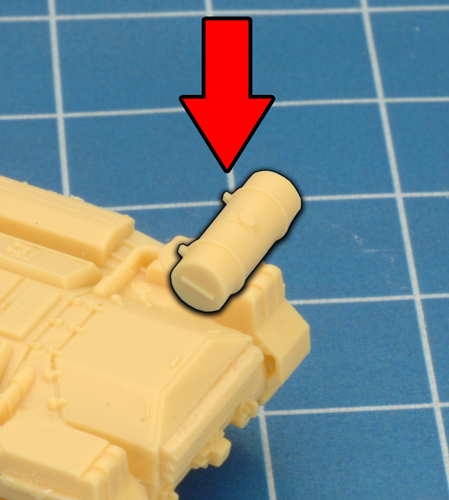 |
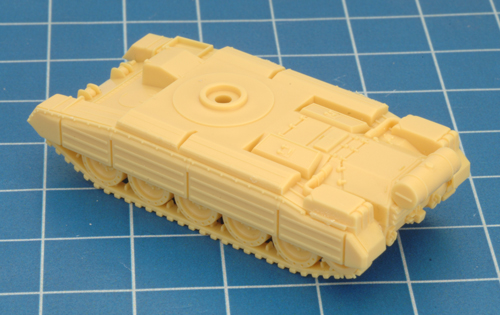
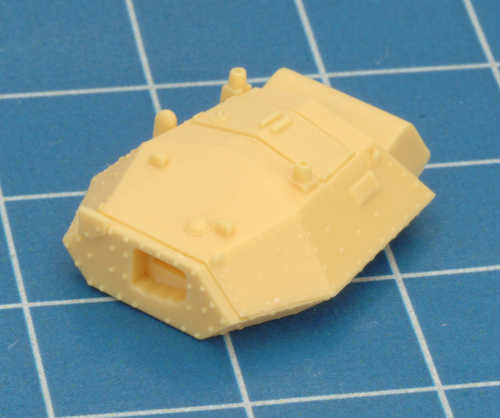
| Below: The fuel tank on the rear of the hull. |
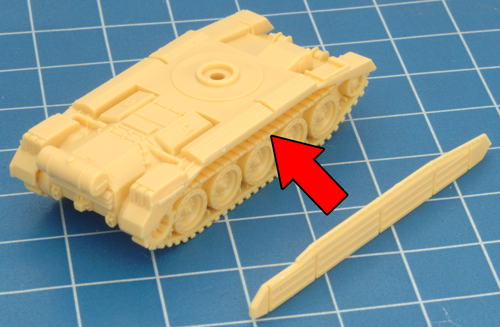
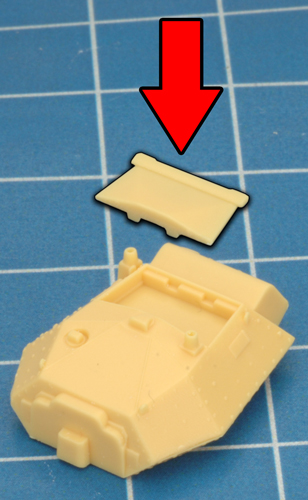
Step 6. Next, attach the left-hand side sand skirt to the left-hand side of the hull. |
 |
 |
 |
| Step 7. Attach the right-hand side sand skirt to the right-hand side of the hull. |
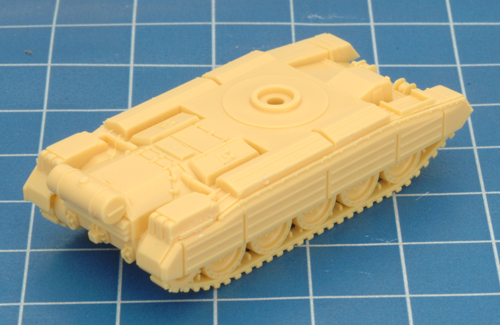
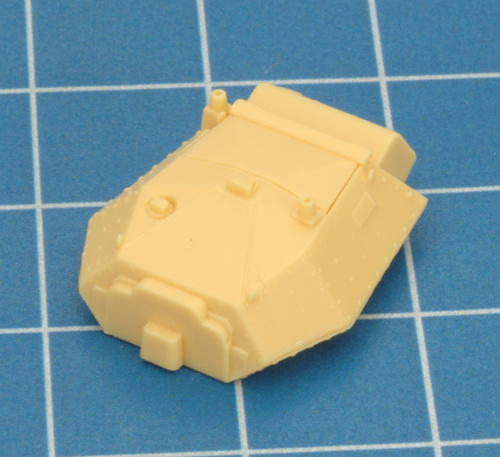
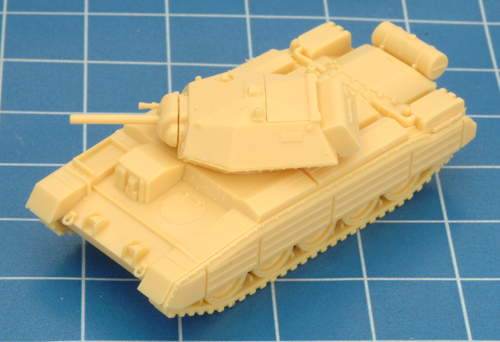
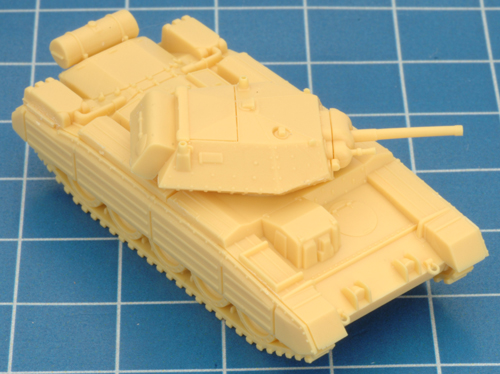
Below: The completed Crusader hull. |
 |
 |
 |
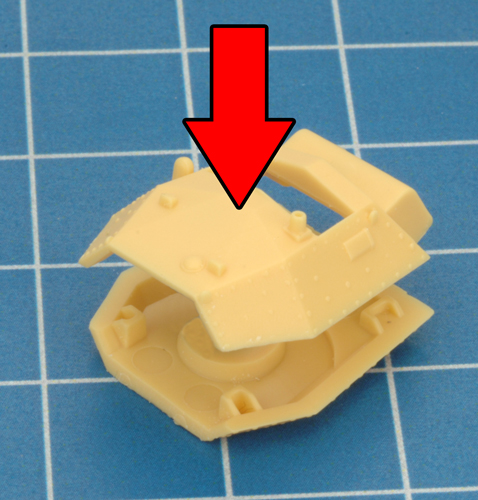
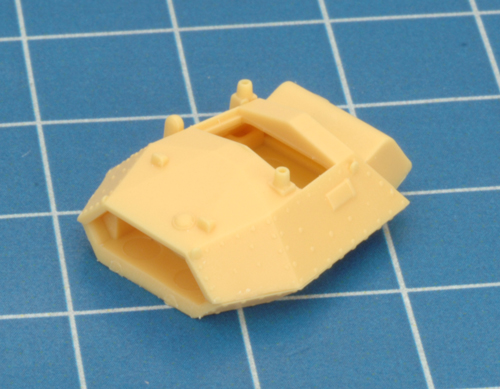
| Step 8. With the hull complete, it's time to move onto the turret. There are two turret options available; the Crusader II and III. Join the Crusader II turret with the lower turret section. Tip: The Crusader II turret has the large, singular hatch and the Crusader III turret has a smaller, split-style hatch. |
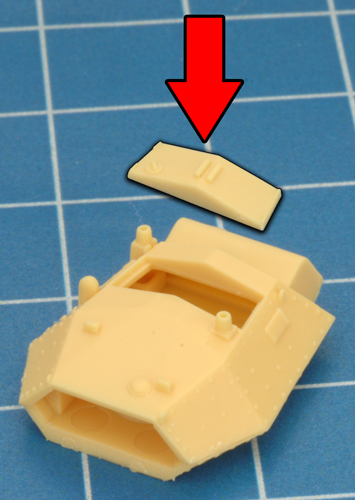
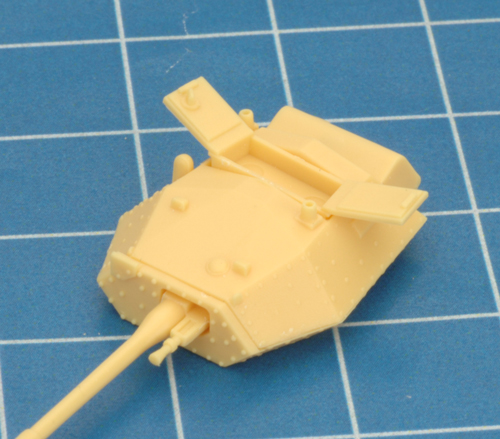
Step 9. Attach the turret hatch. |
 |
 |
 |
| Below: The turret hatch in place. |
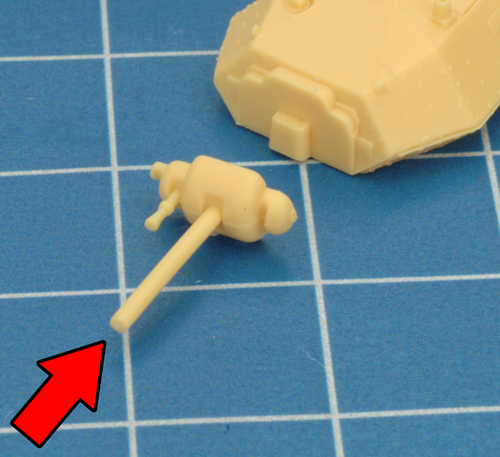
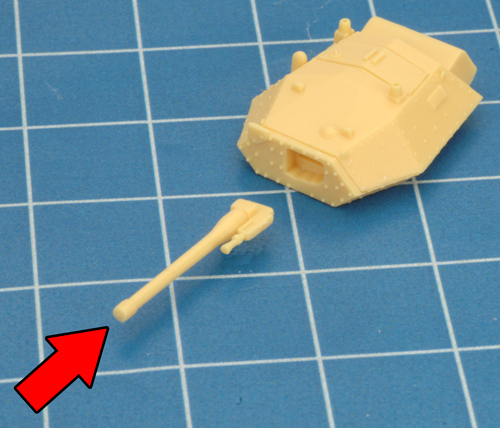
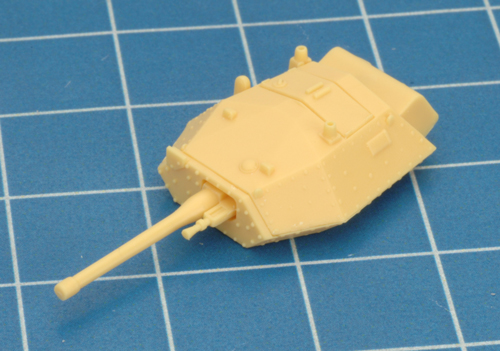
Step 10. To represent the Crusader CS (3-inch) attach the 3-inch gun (the shortest gun found on the sprue) to the front of the turret. |
 |
 |
 |
| Below: The completed Crusader CS. |
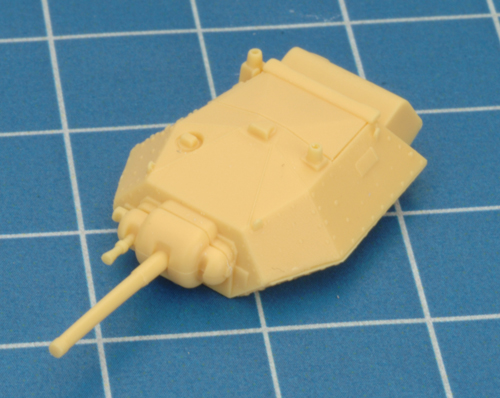
Step 11. For the Crusader II (2 pdr), attached the 2 pdr gun (the slightly longer gun with the same mantlet as the 3-inch gun found on the sprue) to the front of the turret. |
 |
 |
 |
| Below: The completed Crusader II (2 pdr). |
Step 12. For the Crusader III, join the Crusader III turret with the lower turret section. |
 |
 |
 |
| Step 13. Attach the turret hatch. |
Step 14. Next, attach the gun mantlet to the front of the turret. |
 |
 |
 |
 |
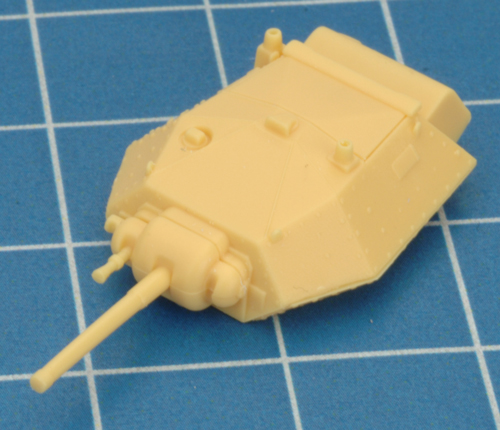
| Step 15. Add the 6 pdr gun into the gun mantlet. |
Below: The completed Crusader III (6 pdr). |
 |
 |
 |
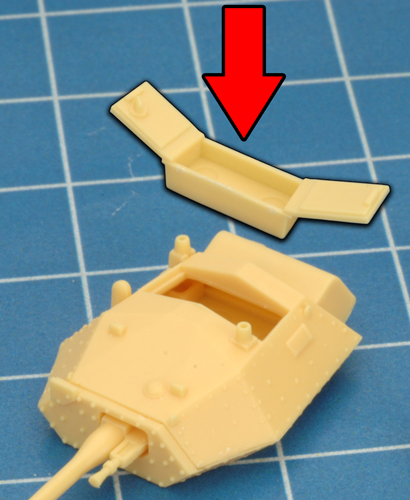
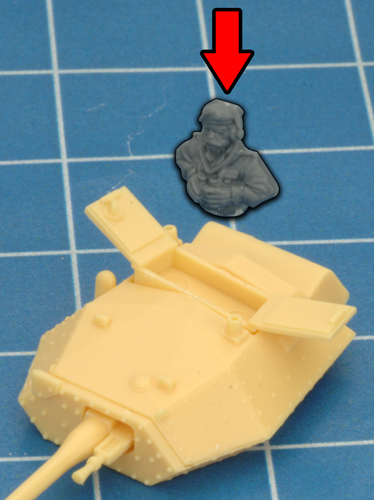
| Step 1. For the Crusader III (6 pdr), use the open hatches instead of the closed hatches included on the plastic sprue. |
Step 2. Add a tank commander from the tank commander sprue. |
 |
 |
 |
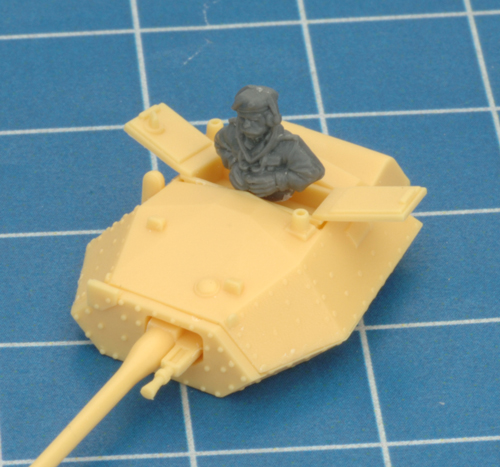
| Below: The tank commander in place. |
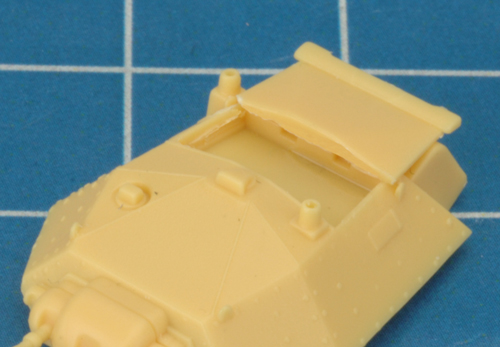
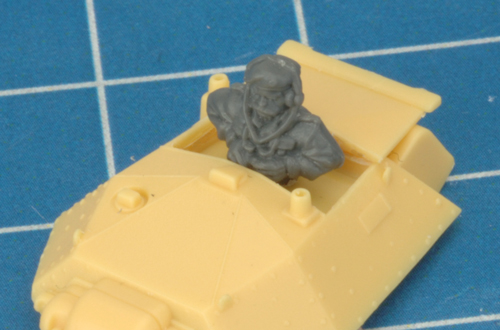
Step 3. For the Crusader II (2 pdr) or Crusader CS (3-inch), model the turret hatch in an open position and then add the tank commander. |
 |
 |
 |
 |
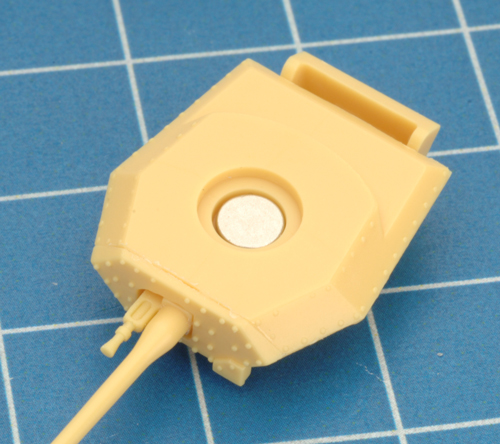
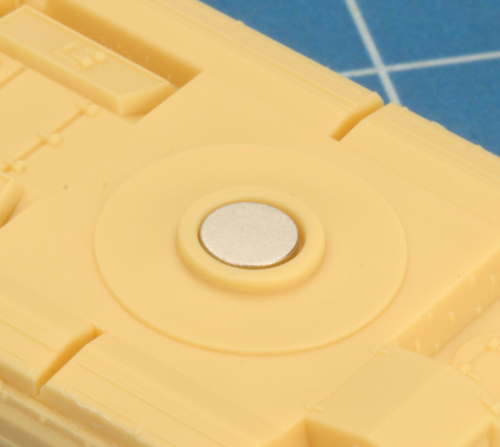
| To attach the turret to the hull, you can use rare earth magnets (sold separately in the online store here). Simply attach one to the bottom of the turret and the top of the hull. Learn more about using rare earth magnets here. |
 |
 |
 |
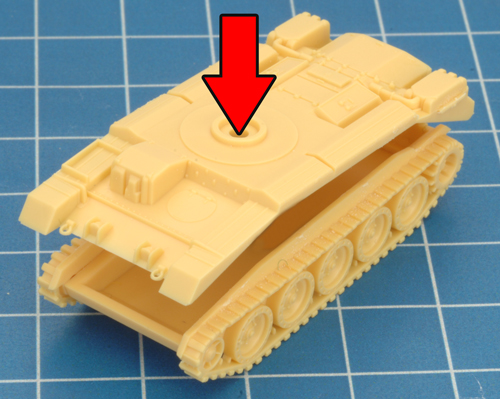
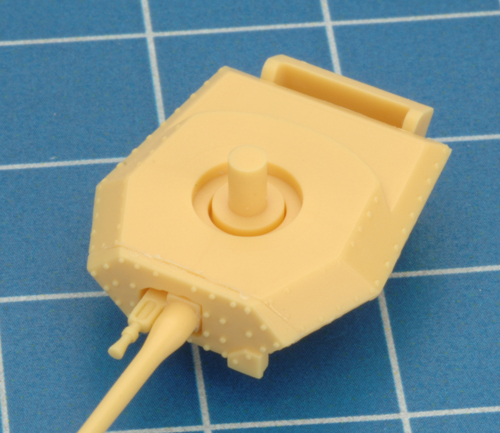
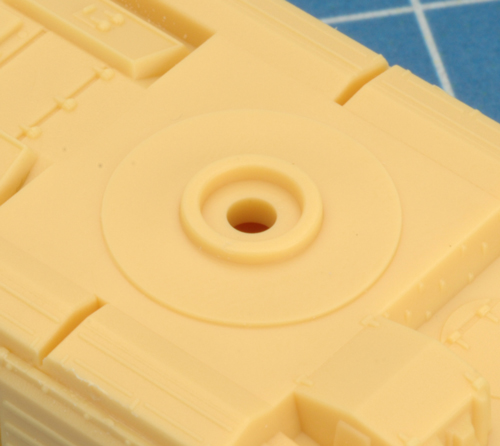
| The other option is to use the turret peg found on the plastic sprue. To do this, simply attach the peg to the bottom of the turret. The turret peg then simply mates with the hole in the top of the hull. |
 |
 |
 |
Last Updated On Monday, April 3, 2017 by Blake at Battlefront
|
|
|