|
|
|
|
Products mentioned in this Article
|
|
|
|
|
|
|
|
|
 |
|
|
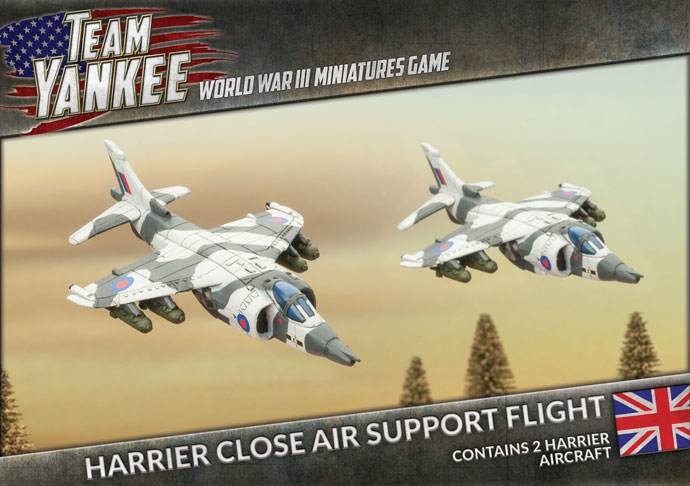 |
Harrier Close Air Support Flight (TBBX09)
contains two resin Hawker-Siddley Harriers, two plastic flight stands, four rare-earth magnets, and one unit card.
The Hawker-Siddley Harrier, the famed ‘Jump Jet’ could swivel its exhaust nozzles down to allow it to take off vertically. The Hawker-Siddley Harrier, the famed ‘Jump Jet’ could swivel its exhaust nozzles down to allow it to take off vertically.
This product is no longer available...
Check out the Plastic Harrier Close Support Flight (TBBX15) spotlight here...
|
|
With its usual professionalism, the British Army had prepared for war. Now, as the Soviet Army flooded across the border into West Germany, it was ready and waiting. Fox, Scorpion and Scimitar recon vehicles skirmished with the Soviet forward detachments as the Challenger and Chieftain armoured regiments waited. The infantry held the towns and woods, forcing the enemy into killing zones, new Warrior infantry fighting vehicles in fire support. If anything broke through, the airmobile troops in their Lynx helicopters would hold them. The British Army is ready.
Click here to learn more about World War III: British...
|
 |
|
The RAF use this capability to base the Harrier out of supermarket car parks and other concealed locations close to the front, reducing the interference from Soviet aircraft and allowing a higher sortie rate than conventional aircraft.
Armed with an electrically-powered 30mm Aden 5-chamber revolver cannon and BL-755 anti-tank cluster bombs, the Harrier is deadly against both air and ground targets.
Designed by Evan Allen
Painted by Khairul Effendy
|
 |
|
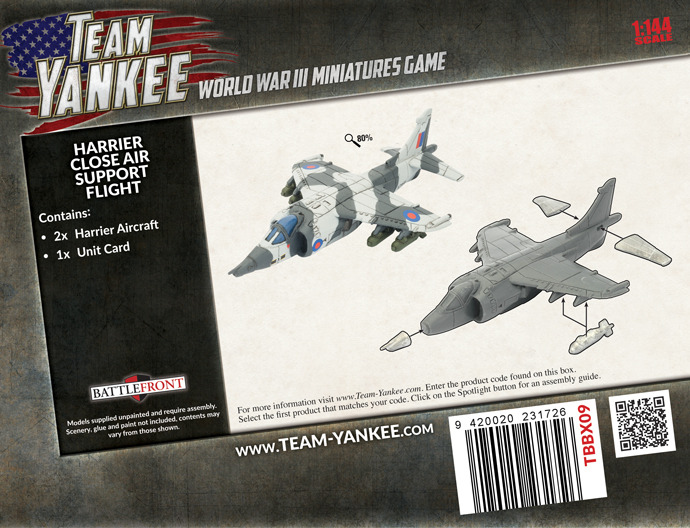
| Harrier Close Air Support Flight Box Contents |
| Contact the customer service team at [email protected] if you have issues with any components. |
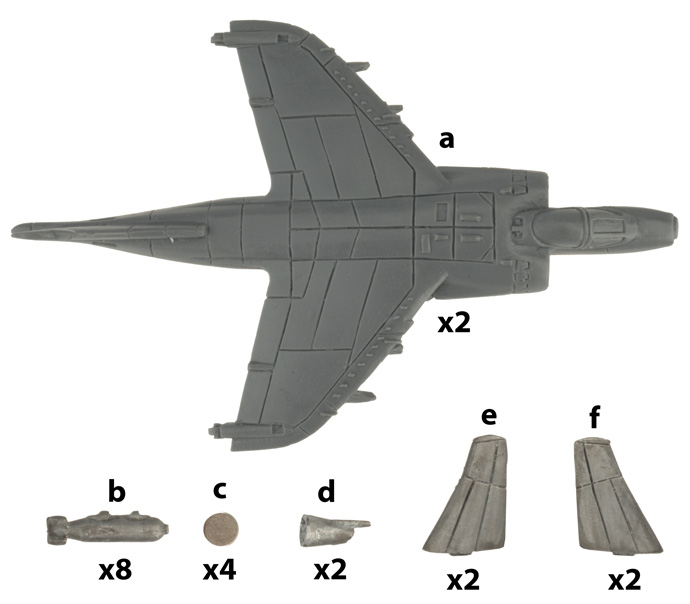 |
| Description of Components |
a. 2x Resin Harriers.
b. 8x Cluster bombs.
c. 2x Rare earth-magnets. |
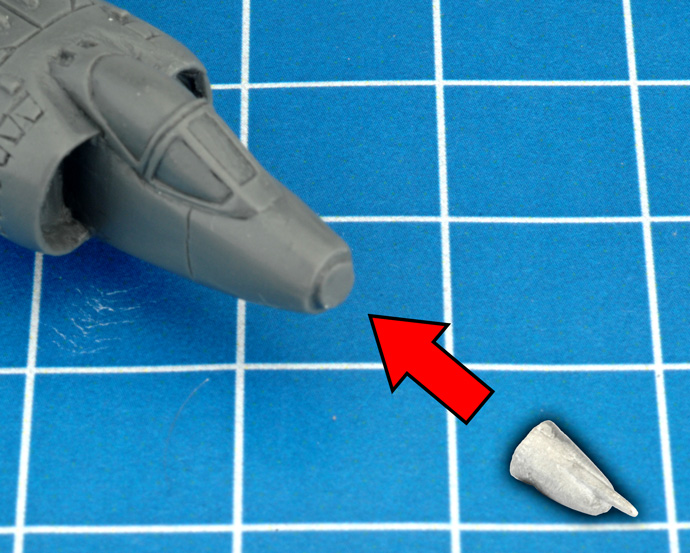
d. 2x Harrier nose cones.
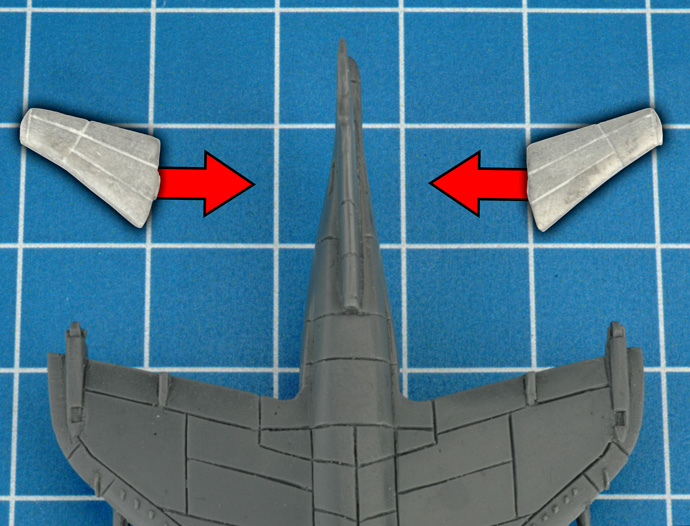
e. 2x Right-hand side horizontal stabilisers.
f. 2x Left-hand side horizontal stabilisers.
|
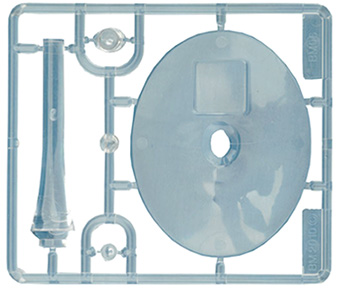
| Flight Stands (x2) |
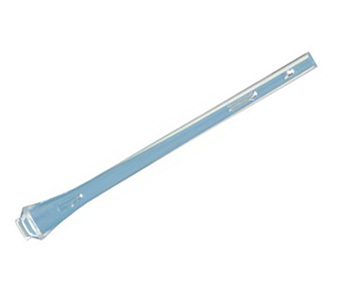
Tall Flight Stand Add-ons (x2) |
 |
 |
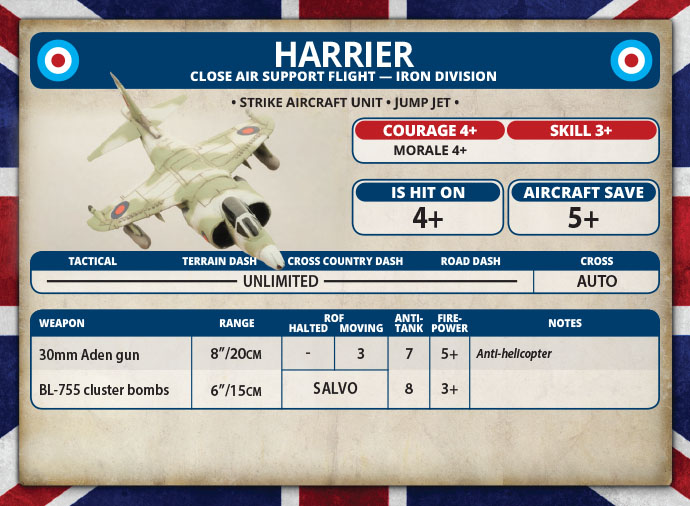
| Unit Card (x1) |
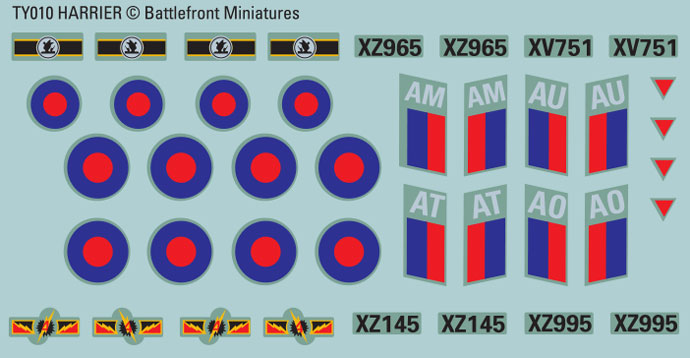
Decal Sheet (x1) |
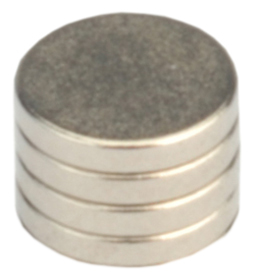
Rare Earth-Magnets (x4) |
 |
 |
 |
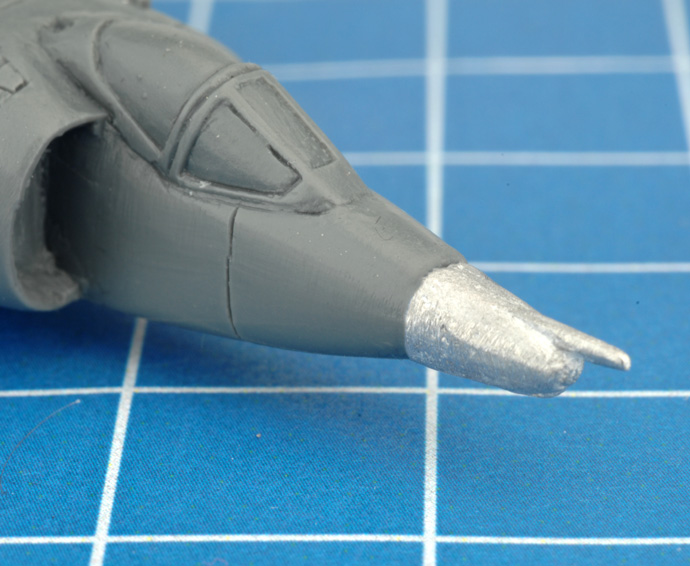
| Step 1. Glue the nose cone on to the body. To make sure you orient the nose cone correctly, note that rounded shape is somewhat flatter at the bottom. |
Below: The nose cone attached correctly. |
 |
 |
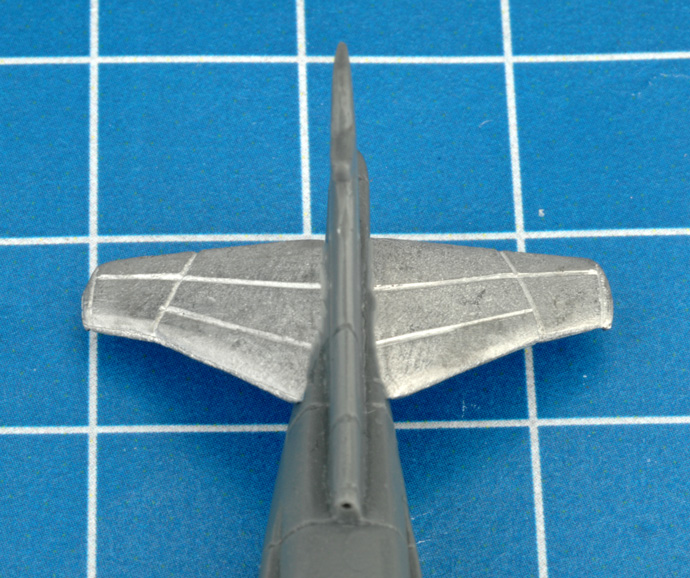
| Step 2. Next, attach the horizontal stabiliser to the tail section of the Harrier. |
 |
 |
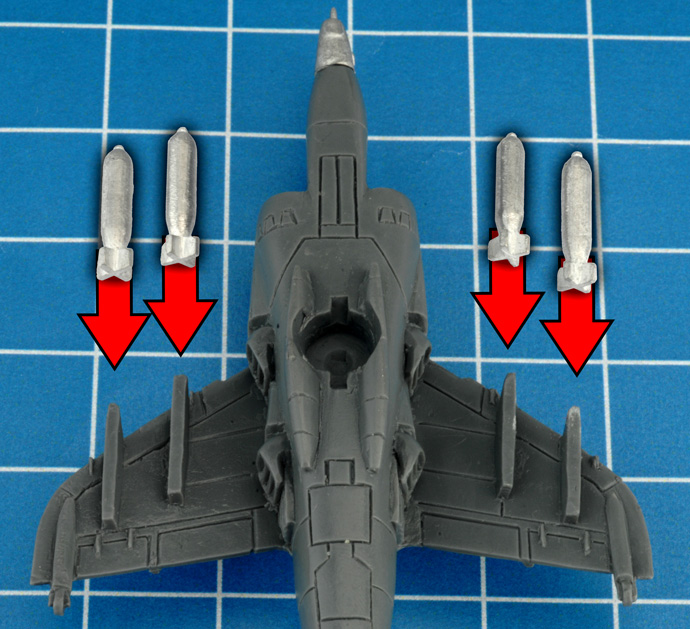
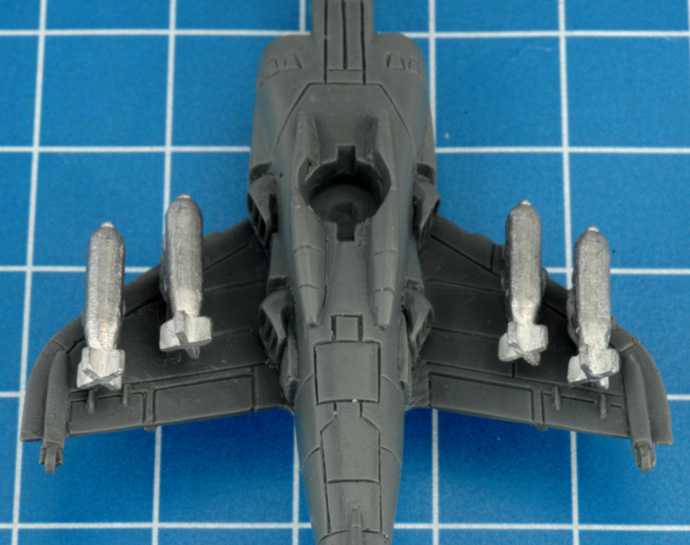
| Step 3. Attach the Cluster bombs to the bomb racks on the underside of the wings. |
 |
 |
| Assembling The Flight Stand |
Step One
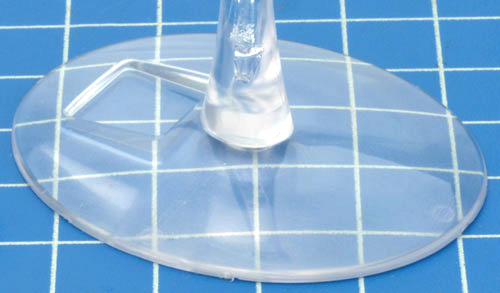
Cut the parts of the flight stand off the plastic sprue using a sharp hobby knife or a pair of hobby cutters. |
 |
Step Two
Attach the stem to the flight stand base. The hard plastic of the flight stand will bond firmly with plastic cement, but you can also use superglue.
There are two sizes of stem; the standard practice is to use the shorter stem for helicopters and the tall stem for strike aircraft, to bolster the impression that they are flying at a higher altitude. But there's no reason you shouldn't use the tall stem for helicopters if you like how it looks.
Left: The stem attached to the base.
|
|
Step Three
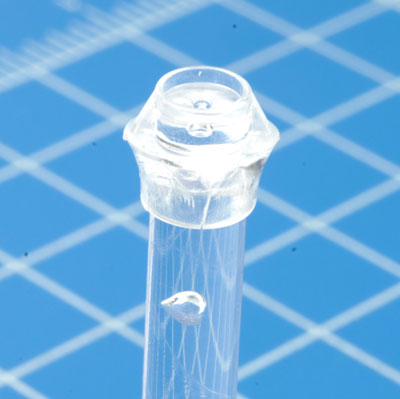
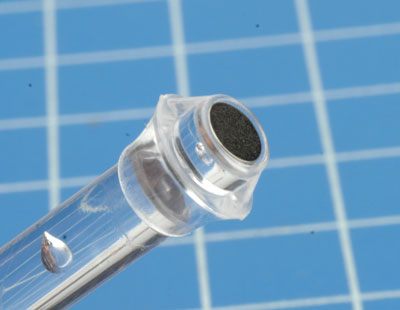
Add the magnet cap to the top of the stem. The cap fits snugly to the top of the stem, so you will only need a small amount of glue to neatly secure the magnet cap in place.
|
Step Four
The cap has a recess to hold one of the supplied rare-earth magnets, to create a solid connection between the stand and the aircraft model. The tabs at the front and back help keep the aircraft pointing in the right direction. |
 |
 |
Step Five
The bottom of the aircraft has a recess for a magnet and slots to match with the tabs on the cap. |
Step Six
A second magnet is the glued into the recess, making sure the polarities match. |
Step Seven
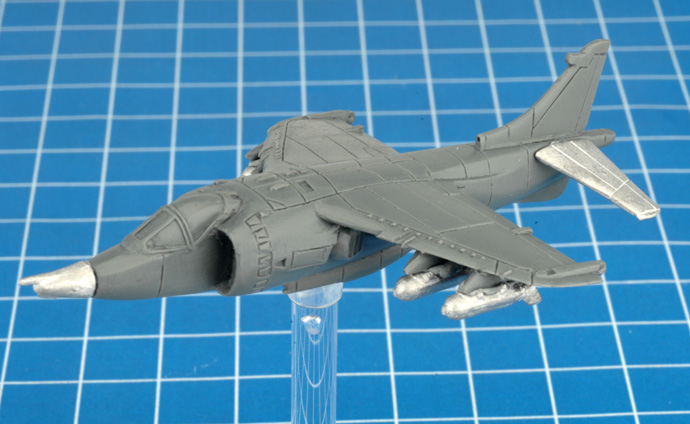
Mated perfectly, the flight stand, aircraft and magnets create a solid, stable connection. |
| Below: An assembled Harrier on its flight stand. |
 |
Last Updated On Monday, May 18, 2020
|
|
|