|
|
|
|
Products mentioned in this Article
--None--
|
|
|
|
|
|
|
|
|
 |
|
|
 |
Dogs and Devils Battle Report:
Valmontone
When Ken was working on Dogs and Devils he came up with a great scenario pitching the forces of Task Force Howze and 5. Schwere Kompanie of Hermann Göring Schwere Aufklärung's Battalion at Valmontone. The scenario and Ken’s notes inspired us to play a cut down version that we knew we could play through over the course of a lunch hour. The full version, along with the history of the battle, will be up on the website in the coming weeks so you can see what got us all excited!
|
| 3rd Infantry Division Rifle Company |
Headquarters
|
|
Company HQ
|
|
Company Command + 2iC Team.
|
40 points |
| with two Bazooka teams. |
40 points |
| Combat Platoons |
|
Assault Platoon
|
260 points |
with three squads.
|
|
Rifle Platoon
|
200 points
|
with three squads.
|
|
Divisional Support Platoons
|
|
Light Tank Platoon
|
190 points
|
with three M5A1 Stuarts.
|
|
Tank Platoon
|
270 points |
| with three M4A1 Shermans. |
|
Total:
|
1000 points
|
|
Blake’s Plan
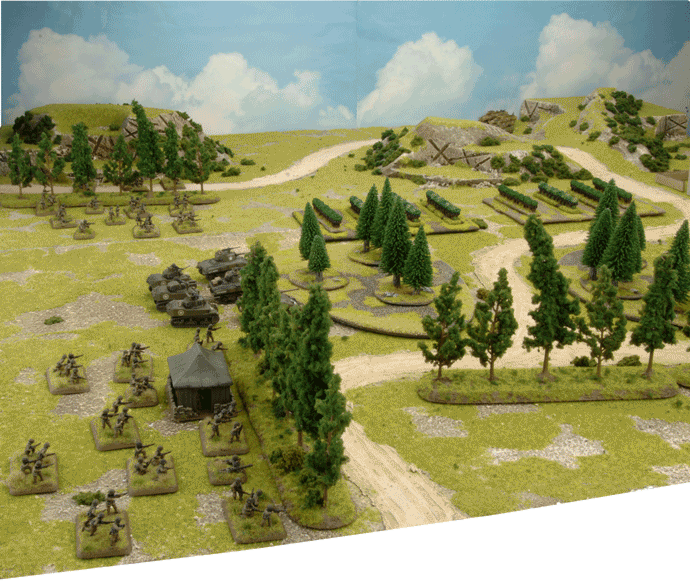
It’s time to turn the tables on Chris, this time I’m in command of the Americans, up against his Hermann Göring Schwere Auklärungsschwadron. Since we’re playing a small size game (1000 points) on a smaller table (4’x4’) I predict the action is going to be fast and furious and the most aggressive player will win. Therefore, I plan on rushing him with the Stuarts and Shermans hoping to pick off, or at least weaken, the Wespe and PaK40 platoons, then mop up the remaining forces with my superior number of infantry stands. To war!
|
 |
|
Chris’ Plan
As we were looking at the table, Blake said this was going to be all about being aggressive, and I think he’s right on the money! I’m leaving my infantry mounted in their trucks so they can push straight up the road and bounce into the forests, and then assault on to the objective. With the PaK40’s covering them and the Wespes working as improvised assault guns it should be exciting. On the other flank I have my Sd Kfz 251/9’s, their job is to keep his infantry under control, or move around to support my infantry. Not sure it’s a great plan, but at least it is a plan.
|
Hermann Göring Schwere Auklärungsschwadron
|
Headquarters
|
Company HQ
|
45 points
|
| Combat Platoons |
| HG Aufklärungs Pioneer Platoon |
260 points
|
| with three squads |
|
HG Aufklärungs Artillery Battery
|
310 points
|
with two gun sections
|
|
with Observer team
|
25 points
|
HG Aufklärungs Cannon Platoon
|
190 points
|
| with four Sd Kfz 251/9 (7.5cm) halftracks |
|
HG Aufklärungs Anti-Tank Gun Platoon
|
175 points
|
with three 7.5cm PaK40 Anti-tank guns
|
|
Total:
|
1005 points
|
|
Turn One
American
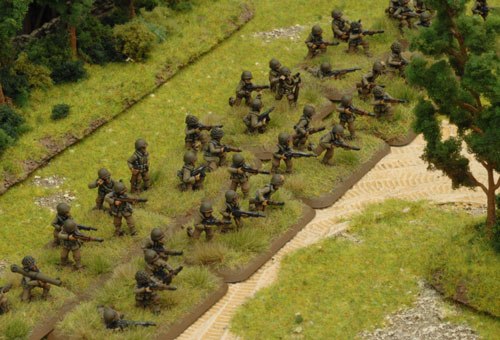
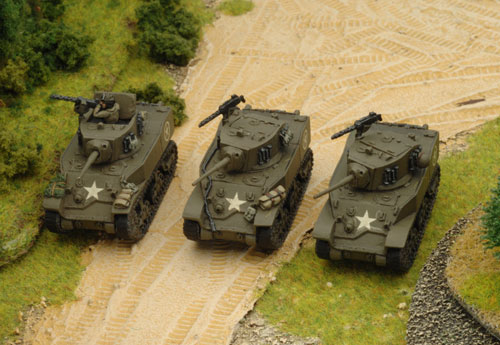
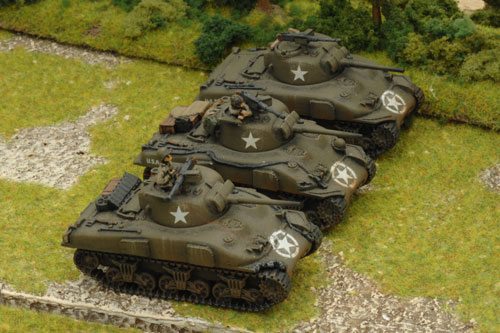
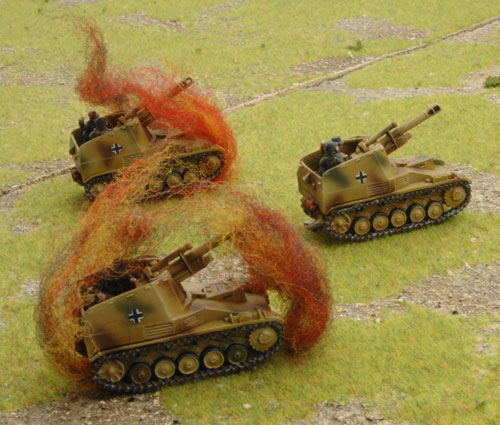
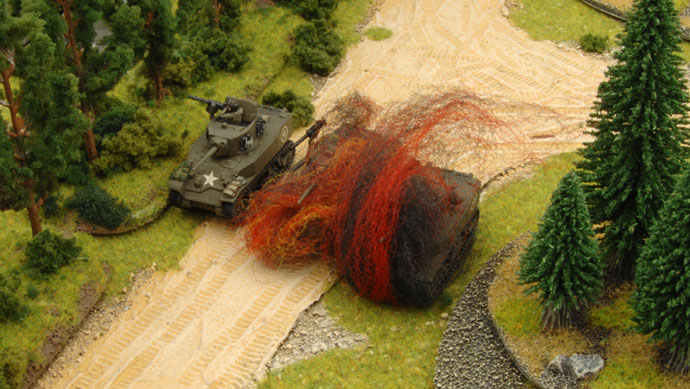
Blake advances with both the Stuart and Sherman platoons towards the Wespe platoon located in the corner of the table. He digs in the Assault platoon, around an objective, waiting to see how the action will unfold while he moves the Rifle platoon to help support the armour. Some fine shooting from the advancing tanks is able to knock-out two Wespes, bail another and kill the platoon commander, forcing a morale test which is made successfully (Hermann Göring platoons are Elite Troops and re-roll any failed platoon or company morale checks). |
 |
 |
 |
 |
German
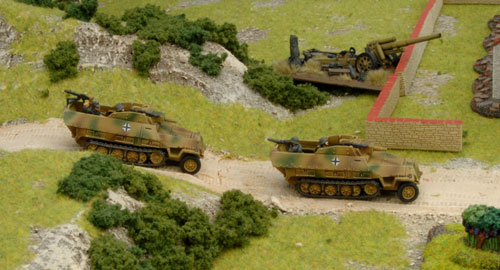
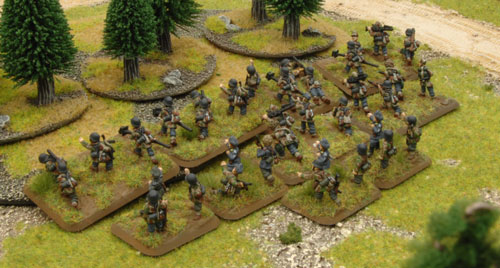
The crew of the bailed out Wespe manages to rally and join with their fellow platoon member and move quickly to counter the thrust made by the American tanks. Utilising the extra mobility provided by the road (Halftracks move 40cm/16” on roads compared to 30cm/12” cross-country), the Cannon platoon also move to counter the advancing tanks. Providing some much needed infantry support, the Pioneer platoon dismount and move towards woods. Having successfully helped destroy two Wespes the Stuarts suffer as fire from the PaK40 platoon, combined with direct fire from the Wespes destroys the two Stuarts who, despite those casualties, stay in the fight. |
 |
|
 |
Turn Two
American
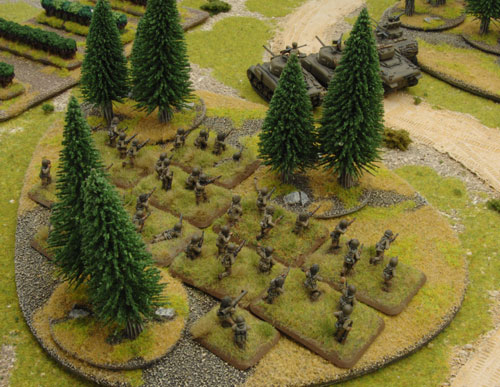
The Rifle platoon keeps advancing, now more closely supporting the tanks as they move to engage the Cannon platoon while seeking cover from some serious German fire. Hoping to catch the Germans in a classic pincer movement the Assault platoon leave the safety of their foxholes and proceed forward. Skilful use of cover means only one Sd Kfz 251/9 is lost to the American fire. |
 |
German
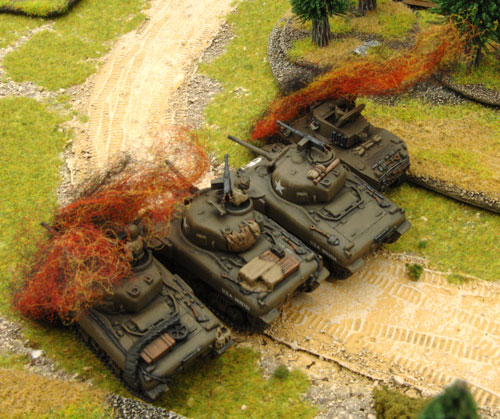
With the Americans massing nears the woods, the Pioneer and Cannon platoons move to position themselves to better oppose the American forces. The masses of armour and infantry provide a target rich environment for both artillery and the guns of the Cannon platoon. Amongst the chaos and confusion are added the burning hulks of a Stuart and a Sherman. Despite a brave showing, losing the Stuart means the loss a platoon for the Americans. First blood to the brave men of the Hermann Göring Division! |
 |
 |
Turn Three
American
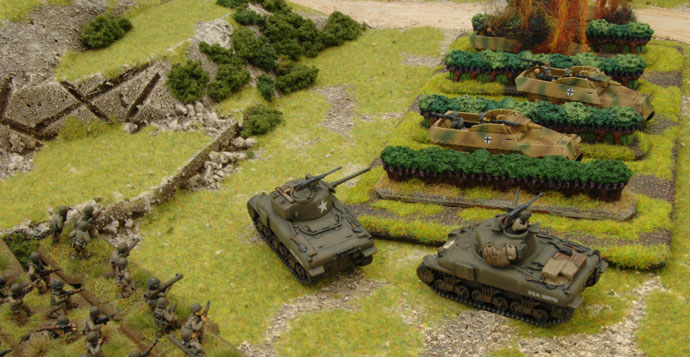
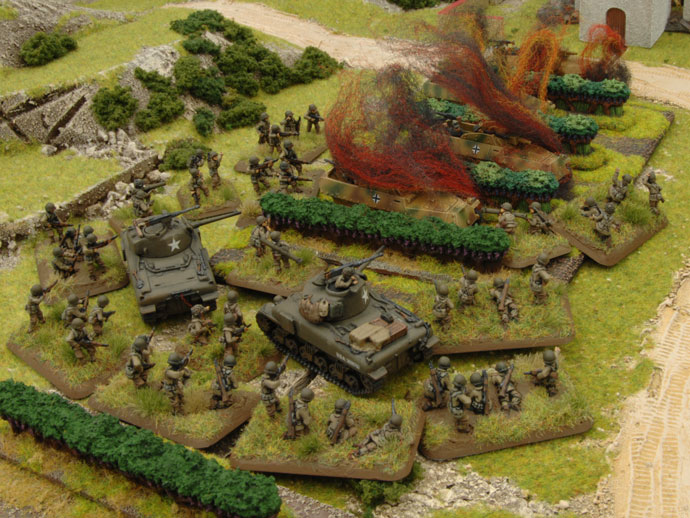
Still pinned by the artillery barrage, the Rifle platoon is unable to aid the Shermans who close with the German halftracks to avenge their fallen comrades. With the Assault platoon closing in the Cannon platoon is caught between the anvil of the tanks and hammer of the rapidly approaching infantry. Utilising their Stabilisers (allowing full rate of full when moving but at +1 to hit) on their 75mm guns, a hail of AP rounds and Bazooka rockets demolish a halftrack before the Assault platoon shrugs off the German defensive fire and proceeds to make short work of the remaining platoon members.
|
 |
German
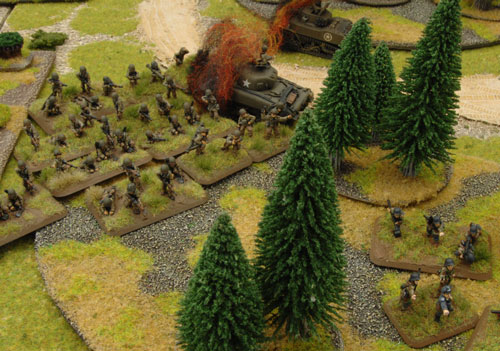
Sensing the time is right; the Germans begin to push forward in an attempt to break through the American line and get on towards their objective. The artillery shifts it’s devastation on to the mass of infantry and armour near the vineyards. With the barrage now pinning down the Assault platoon, the Pioneers storm out of the nearby wood with all guns blazing. Ignoring the defensive fire, a bloody hand-to-hand combat ensues resulting in the loss of the second American platoon. Having suffered for their victory, the remaining Pioneers are still able to limp towards the objective, with the Company Commander in tow.
|
 |
Turn Four
American
With the Germans applying pressure near their objective the Assault platoon fall back to deal with this serious threat. In order to try and retake the initiative the Sherman platoon moves up towards the objective near the ruined monastery. The objective is then successfully secured with the destruction of the nearby PaK40. |
German
The remaining PaK40 crews leaps into action and man-handle their guns into a better firing position to challenge the Shermans and are quickly joined by the Wespes. Fire from the desperate defenders is able to bail out one of the Shermans but the other sees off the assault from the Wespe platoon’s Observer team and the PaK40 platoon commander. Meanwhile, the HG Pioneer platoon was still able to contest the American objective.
|
Turn Five
American
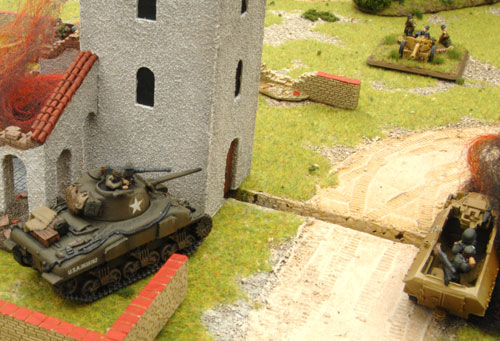
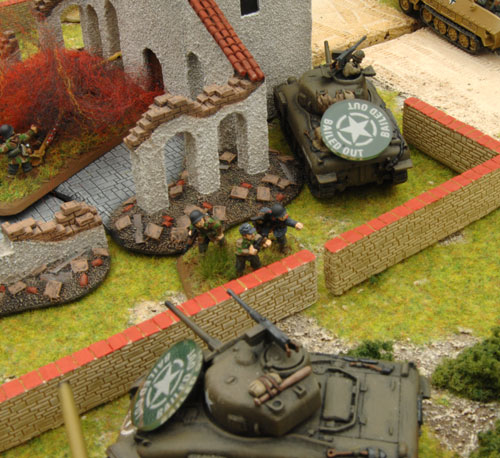
The bailed out Sherman crew is unable to re-mount their tank while the still operational Sherman takes up a firing position behind the bell tower and destroys one of the remaining Wespe, the surviving Wespe crew pass their platoon morale test. With the Assault platoon now in position to contest the objective, they attempt to launch an assault against the remnants of the Pioneer platoon. Halted by the defensive fire, a Medal of Honor winner joins in the fray and single handed pushes the Germans off the objective. |
 |
 |
German
Facing a fight they can’t win, the Pioneer platoon and Company HQ go to ground in the tree line. The fire fight continues with fire from the PaK40 platoon, combined with the lone Wespe, and proving to be the last straw for the Americans. As fire from the Germans bail out the last operational Sherman an assault from the PaK40 command team captures both tanks. |
Turn Six
American
With three out of four platoons destroyed, the Americans are forced to take a Company morale test. The tragic result of this failed dice roll means the game ends with a 5-2 victory for the Germans.
Closing Thoughts
Blake’s Thoughts
It was a fast paced, action filled game, I came close to pulling off the victory but a few rolls didn’t go my way. Chris was able to destroy entire platoons while I was only able to inflict enough casualties to force morale tests which, with the re-roll, made my life difficult. All in all, an exciting game that could easily have gone either way.
~ Blake.
Chris’ Thoughts
This truly was an action packed game, and, looking back at our notes, there were many points in time where the dice proved to be crucial with some great (and some appalling) swings of luck. In the end the result came down to a difficult decision where Blake was forced to choose which platoon was going to try to take my objective, and which one was needed to defend his. In the end we could probably replay the last couple of turns a dozen times and end up with a dozen different results, so in my mind that’s a great game.
~ Chris.
|
Last Updated On Thursday, August 5, 2010 by Blake at Battlefront
|
|
|