|
|
|
|
Products mentioned in this Article
--None--
|
|
|
|
|
|
|
|
|
 |
|
|
 |
North Africa Battle Report
By Blake Coster feat. Wayne Turner
Having recently paid a visit to Africa with the Mid-War Monsters battle report, Wayne and I returned to Mid War to duke it out in the Mediterranean using some of the new army lists featured in the newly released North Africa book. Wayne decided to field a German Panzerkompanie from Tunisia and Italy (as featured on page 54) while I settled on an American Tank Company (page 236). The army lists were based on 1500 points (but we go a little over once again) and are outlined below.
|
German Panzerkompanie
(Confident Veteran) |
|
Company HQ
2 x Panzer III L
|
230 points
|
Panzer Platoon
4 x Panzer III L
|
460 points
|
Panzer Platoon
3 x Panzer IV F2
1 x Panzer IV F1
|
535 points
|
Panzegrenadier Platoon
3 Squads + Panzer Knacker
|
195 points
|
Panzer Anti-aircraft Platoon
2 x Sd Kfz 7/1 (Quad 2cm)
|
100 points
|
Total Points
|
1520 points |
|
US Tank Company
(Confident Trained)
|
|
Company HQ
2 x M3 Lee with long M3 75mm
|
200 points |
Tank Platoon
4 x M3 Lee with long M3 75mm
|
400 points |
Tank Platoon
5 x M4 Sherman
|
575 points |
Self-propelled Anti-tank Platoon
1 Section (M10 3in GMC) |
230 points |
Air Support
Limited P-40 Warhawk |
130 points |
| Total Points |
1535 points |
|
|
Blake’s Plan
I’ve
never had much luck using any form of Trained army in Flames Of War
before but I hope on this day things will change. The key to winning
will be the Shermans, I’ve never faired to well with them in Late-War
but they are a different beast in Mid-War. They have most of Wayne’s
army outranged and I intend to use this to my advantage by getting into
fire fights in outside the range where he can fight back while trying
to avoid the Panzer IV F2s as much as possible. Hopefully my Air
Support will prove decisive and I remember to get into Wayne’s half of
the table by turn six (something I used to always forget as a Flames Of
War noob). With all that in mind, I feel that I have a better than
average chance of pulling off a victory.
Wayne’s Plan
My
basic plan was to ambush early in the game with my Panzer IV Platoon
and wipe out whatever US platoon was in range and then use their
mobility to work around the flanks of the other platoons. The
Panzergrenadiers and the Panzer III tanks would come on in reserve and
cover the objective and destroy any enemy resistance remaining. The HQ
would cover the forward objective and the anti-aircraft protect the
tanks from aircraft. |
 |
|
Setup
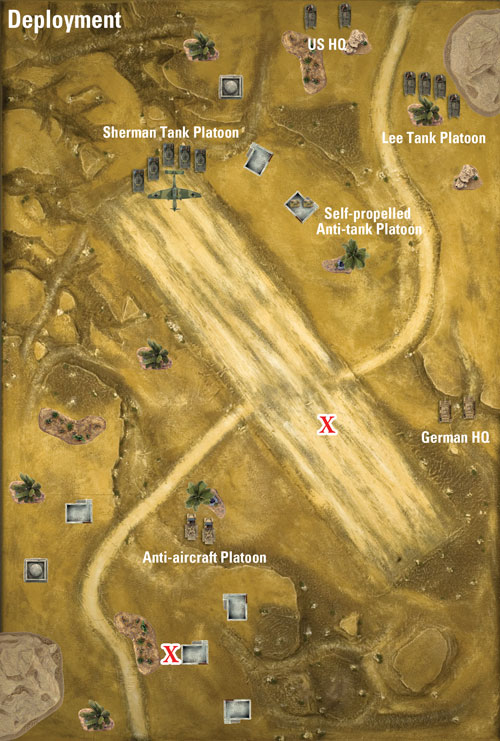
We decided to play No Retreat (the updated version of Hold The Line featured in the Firestorm Bagration and can be download here) under the pretence that the Americans are trying to capture a German Airfield which that the Deutsches Afrikakorps are trying to hold it at all costs. The table sides were chosen and objectives placed in accordance to the mission briefing. And with the mission using the Reserve and Ambush special rules for the defender, Wayne chose to have the platoon of Panzer IIIs and Panzergrendiers in reserve while the vaunted Panzer IV platoon were in ambush. The forces were deployed and the game begins with the attacker having the first turn.
|
|
 |
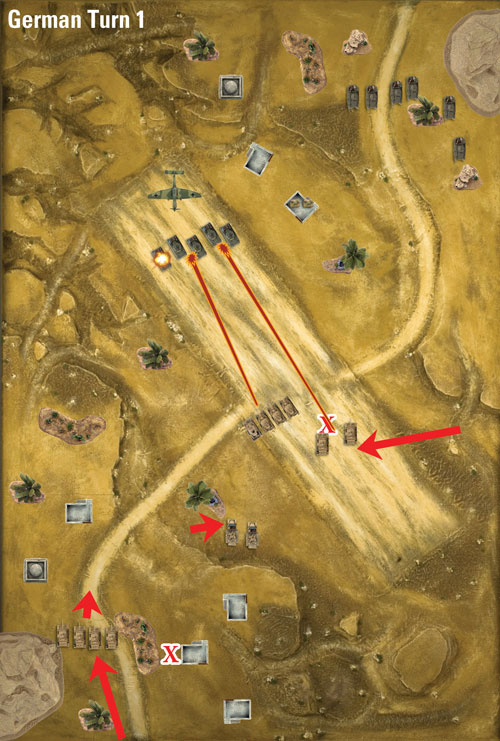
Turn One
United States
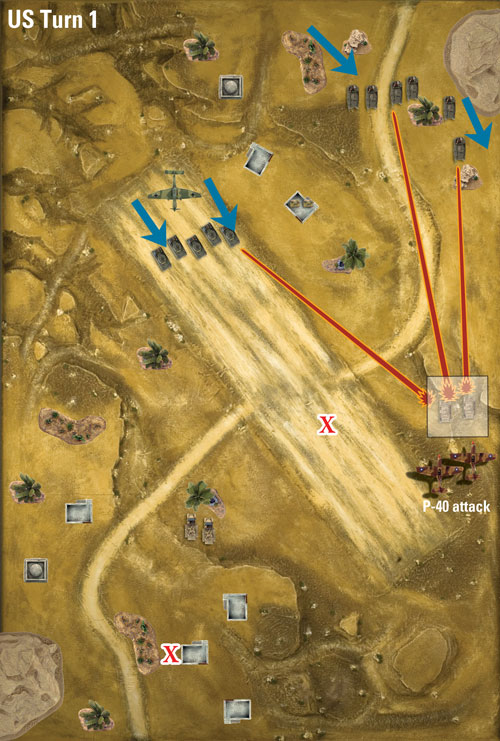
Things started well for the
Americans as Air Support showed up in the first turn and targeted the German HQ
section hull down behind a ridge. The Shermans pushed towards the
objective on the runway being supported by the HQ section while the Lee
platoon shuffled around in order to get a line of sight on German HQ. With the aircraft failing to range in, the tanks faired no
better with all hits successfully saved and a failed firepower test
that was could have potentially bailed out the German 2iC.
|
German
Wayne successfully bought on the first of his reserves in the form of the
Panzer III platoon and moved them towards the runway while the HQ
section manoeuvred towards the objective. With the Shermans now out in
the open, Wayne sprung his ambush. But the resulting fire from both
the Panzer IV platoon and HQ section managed only to destroy a single
Sherman. A successful Stormtrooper move saw the Panzer IIIs continue
their advance along with the Panzer IVs as the AA platoon moved to cover
its comrades against a possible air attack.
|
 |
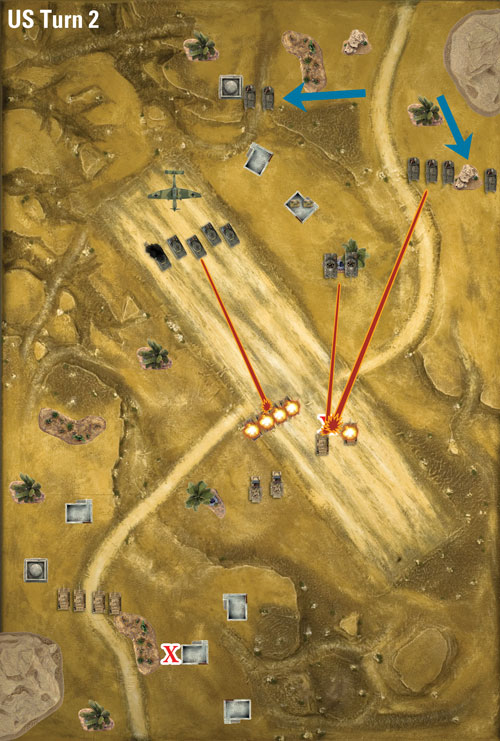 |
Turn Two
United States
No aircraft this time for the Yanks as Shermans remained stationary to
take advance of full ROF. The HQ section and Lee platoon moved to get
into better firing position verses the Panzers covering the objective,
while the M10s revealed themselves to join the firing line. The ensuing
round of shooting saw the destruction of the entire Panzer IV platoon
and CnC with the 2iC on the wrong end of a double bail. |
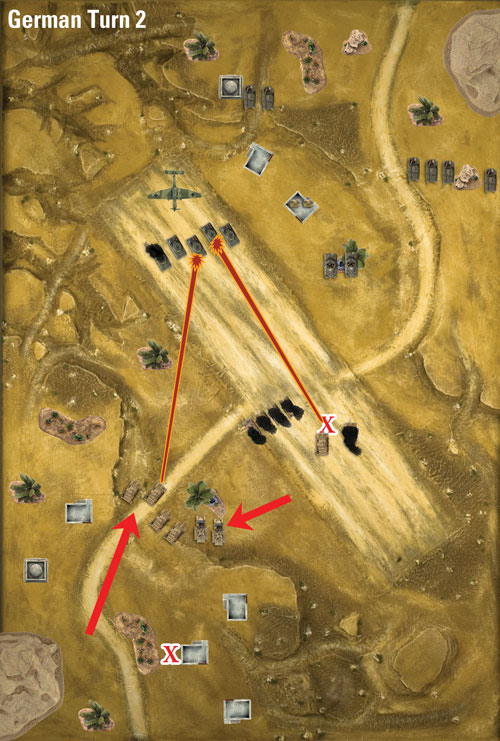
German
No further reserves arrived and the 2iC was able to pass motivation for the double bail and re-mount his tank. The Panzer III platoon continued their advance towards the runway and the objective as the AA platoon moved the provide cover from any air strikes. The 2iC missed the Shermans and the Panzer III platoon fails to pass the firepower test required to bail out a Sherman. A successful Stormtrooper move kept the Panzer III platoon moving forward but lose one tank due to bogging. Seeking concealment, the 2iC moved behind smoke and flames from his destroyed comrades.
|
 |
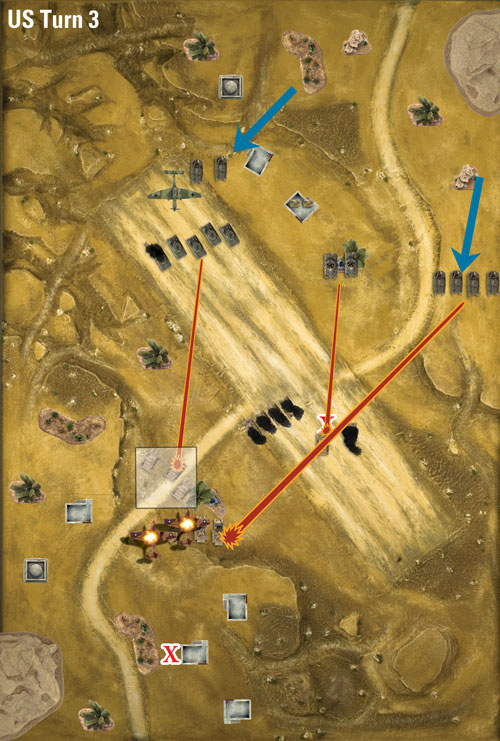 |
Turn Three
United States
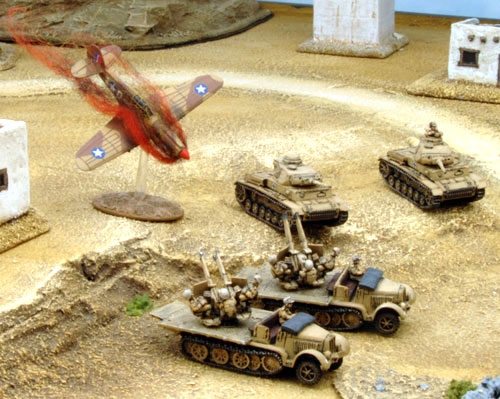
Air support again arrived for the Americans and targeted the bunched together Panzer III platoon. The Lee platoon advanced down the flank to take advantage of the side armour of the 2iC Panzer III. As the HQ section moved up to support the Shermans who remained stationary along with the M10s. In an attempt to prevent any aircraft loses on upcoming air strike, all of the Lees fired at the AA platoon but without any luck. Shooting at the Panzer III platoon from both the M10s and Shermans score enough hits to bail out two tanks. As the AA platoon then proved its worth by nullifying the American air strike, shooting down both aircraft.
|
 |
|
German
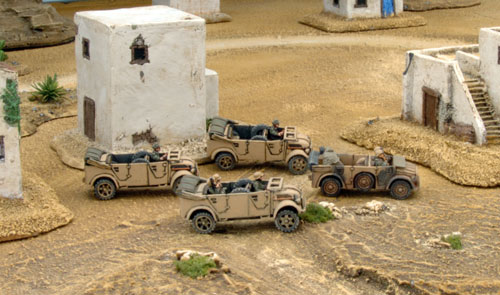
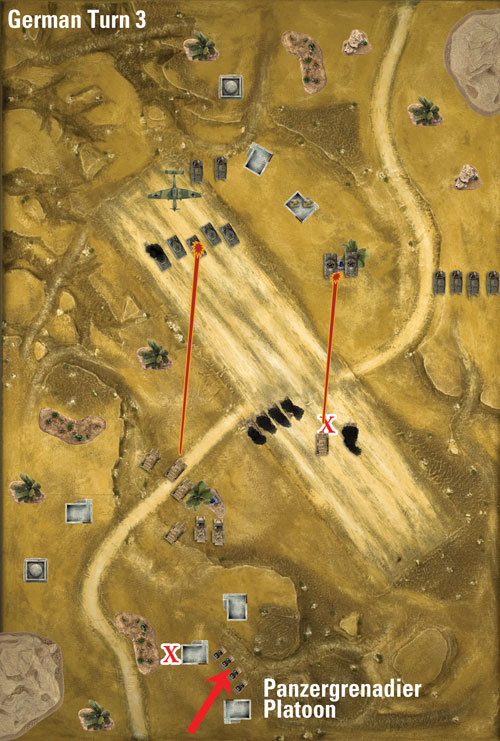
The last of the German reserves arrived in the form of the Grenadier platoon who remained mounted in their transports and drove towards the objective. Meanwhile, the one of the Panzer III crew was able to re-mount their tank but remain bogged down while the other remained bailed out. All the vehicles remained stationary and shot at full ROF. The 2iC missed the M10 platoon while all the hits scored on the Shermans were successfully saved.
|
|
 |
Turn Four
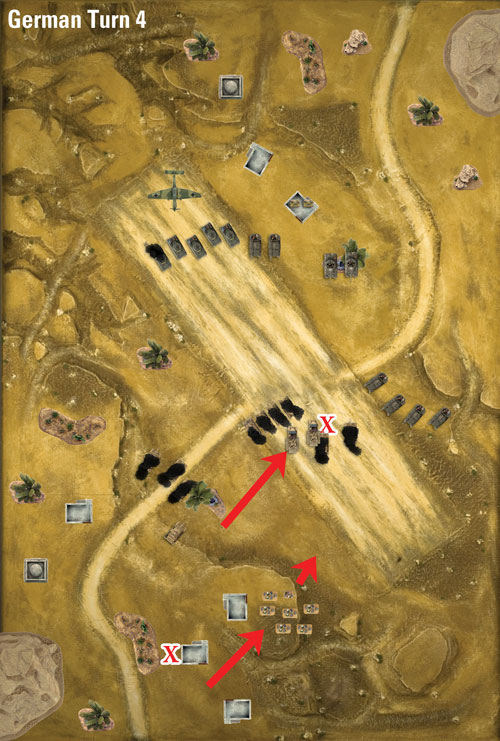
United States
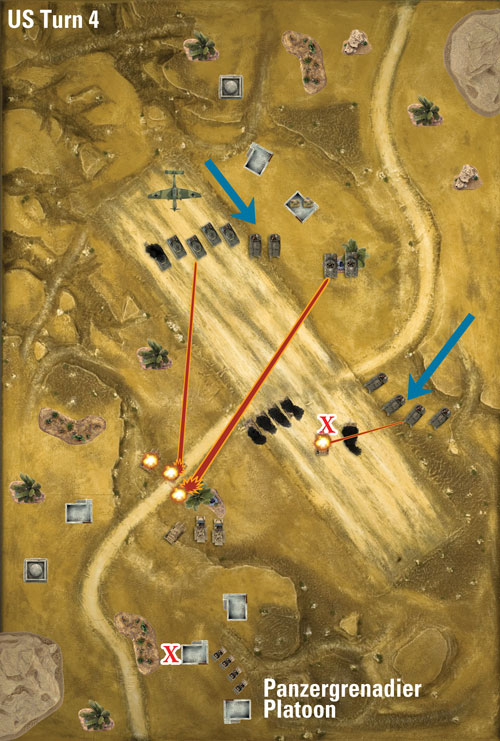
The Lee platoon pushed forward towards the German 2iC and threatened the objective. The HQ section pulled up next to the Shermans who along with the M10s remained stationary. Firing both their 37mm and 75mm guns, the Lee platoon destroyed the 2iC by exploiting the weaker side armour. The combined firepower of the M10s, Shermans and HQ section was then able to destroy a Panzer III while bailing out three others. Two of which were forced to take morale tests due to a double bail situation and promptly failed. But the remaining Panzer III was able to pass platoon morale.
|
German
The last remaining German tank was unable to re-mount and in a desperate attempt the stay in the game Wayne is forced to move the AA platoon over to contest the objective versus the waiting Lee platoon. The grenadiers dismounted their transports and continued on foot towards the objective in order to sure up the defence along with the AA platoon. With no valid targets available to the Germans, no shooting took place. A successful Stormtrooper move allowed the AA platoon and grenadiers to further consolidate their position towards the objective.
|
|
 |
Turn Five
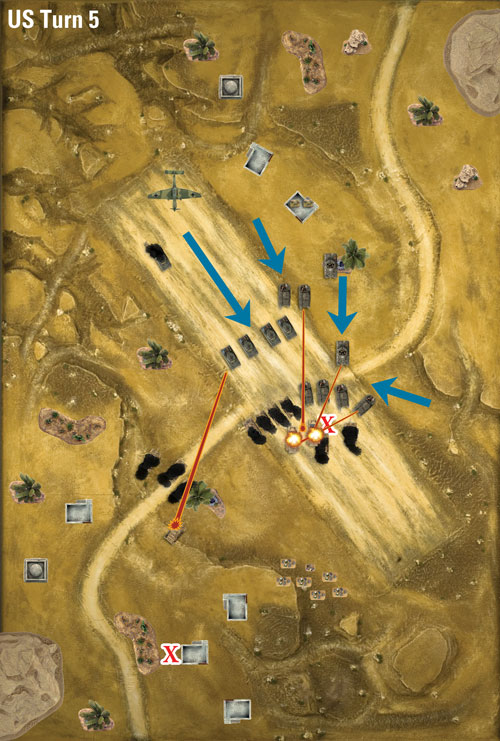
United States
With the Lees now contesting the objective, the Shermans were free to move down the runway with the HQ section in support. The M10 platoon also moved up but lost one Tank Destroyer to bogging driving out of the rough terrain. Attempting to shoot the AA platoon off the objective, the Lees destroyed one halftrack while lone M10 destroyed the other. All shots by the Shermans failed to hit the last remaining Panzer III.
|
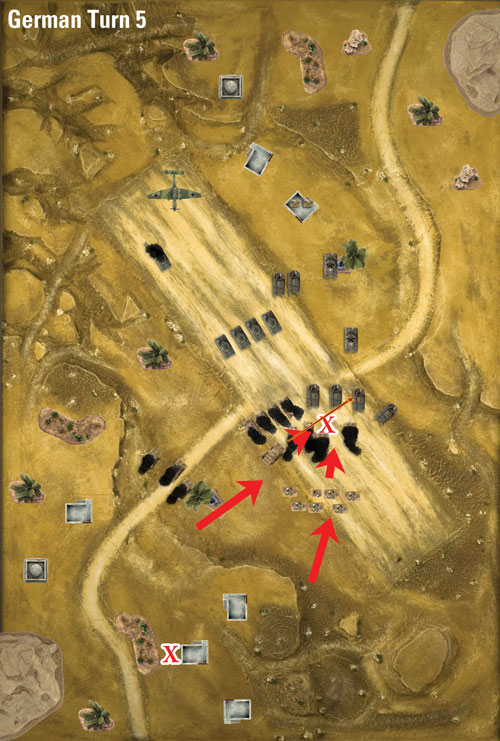
German
Re-mounting their vehicle, the Panzer III was able to move towards the objective along with the grenadiers. The one shot from the Panzer III is saved by the Lees and the all important Stormtrooper move bought the Panzer III within contesting range of the objective as the grenadiers’ further advanced to support the Panzer III.
|
 |
 |
Turn Six
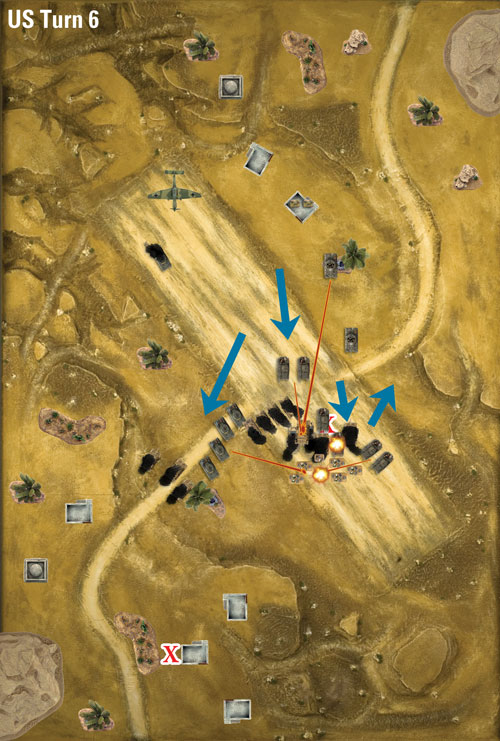
United States
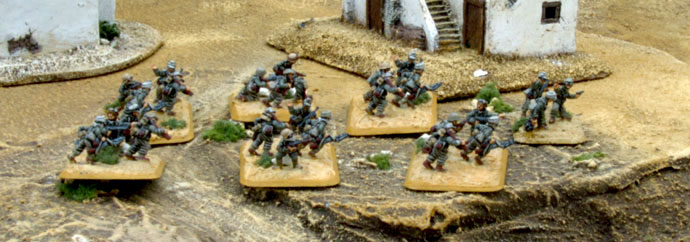
The Shermans manoeuvred behind the Panzer III to close in on the grenadiers followed by the Lee platoon. The HQ section and active M10 (the other still remained bog) were able to double bail the Panzer III which passed morale and stayed in the game. Both the Lees and Shermans raked the grenadiers with machine gun fire scoring a total of 13 hits, more than enough to pin the platoon but not enough to inflict any causalities as all hits are saved. The Lee platoon then assaulted the grenadiers and two attacks killed one stand of infantry while the subsequent counter-attack bailed out a Lee which is then captured as the platoon broke off after failing morale.
|
 |
|
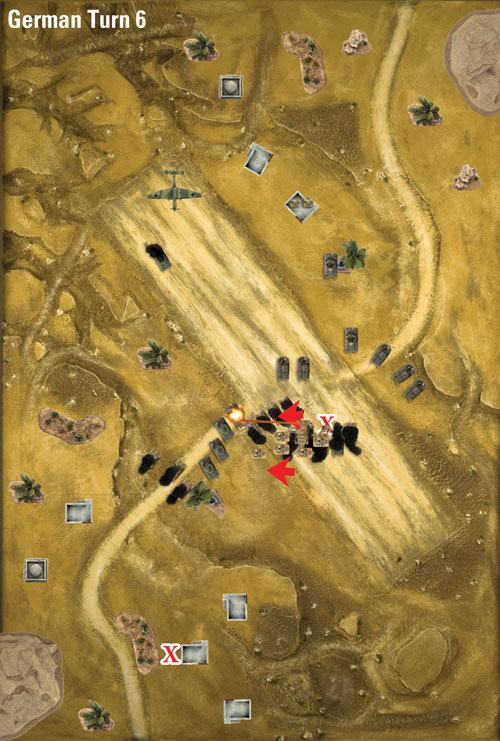
German
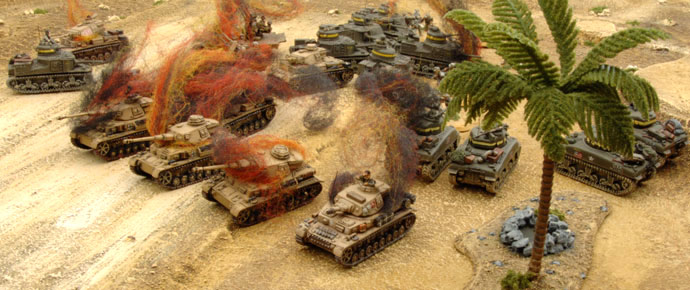
The Panzer III bailed back in while the grenadiers successfully unpinned. The infantry moved towards the Shermans with the intent of launching an assault. The Panzer III scored three hits, two on the side armour the Shermans which penetrate destroying one and bailing another while a frontal shot is saved. The grenadiers failed their Tank Terror test and are unable to mount their assault against the Shermans as the Panzer III Stormtroopers away to concealment amongst the smoke and flames of the surrounding tank wrecks.
|
 |
 |
 |
Turn Seven
United States
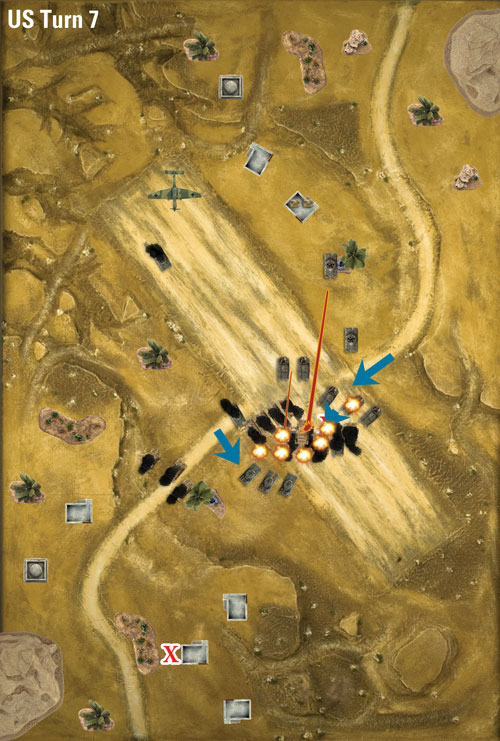
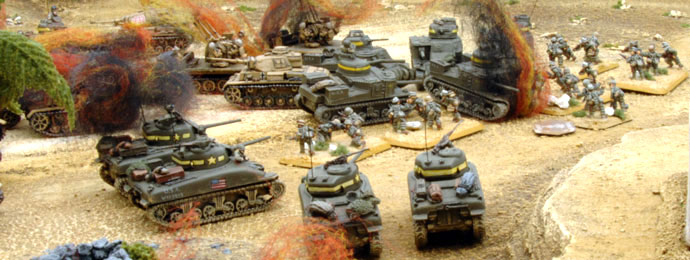
Both the Lee and Sherman platoons advanced towards the Grenadier platoon with the HQ section in support for morale purposes. With the M10 and Lee platoon failing in their attempts to destroy the Panzer III, the bailed out Sherman was able to rejoin its platoon mates in machine gunning the Grenadiers, killing three teams before the HQ section was able to pick off two more. The command team is able to pass platoon morale and stayed in the fight a little longer. Attempting to finish off the infantry, the Lee platoon launches an assault against the command team but the single contact failed to hit and the ensuring counter-attack destroyed a Lee before the two more attacks are able to finish off the command team. Wayne was now below half strength and without a Company Commander therefore his army automatically failed company morale and the game ends in a 6-1 American victory.
|
 |
Blake’s Thoughts
With my aircraft not doing anything for the entire game, my Shermans did indeed prove their worth destroying the Panzer IV platoon while only taking single casualty in the process. For Wayne it seem all downhill from there, as the combination of my frontal armour and Wayne’s limited range and anti-tank rating were unable to deal the Lees or Shermans. With that in mind I did get a little overzealous in trying to take out the infantry near the end of the game with assaults. Some might say I should have concentrated on destroying the Panzer III and won the game that way rather than risking a possible victory point via unnecessary causalities but it all worked out in the end with a victory in a most enjoyable game.
-Blake
|
 |
Wayne’s Thoughts
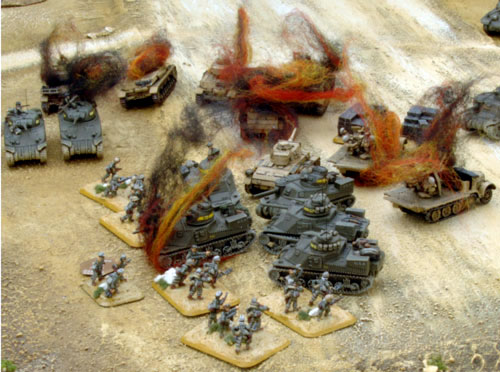
Well my plan stumbled at the first step. I revealed the ambush on the airfield and opened fire with every hope of getting two or three Sherman tanks. I destroyed one. The really devastating blow came when Blake retured fire with his four remaining Sherman tanks and destroyed all four Panzer IV tanks. After that I was playing catch-up.
-Wayne
|
Last Updated On Thursday, September 3, 2009 by Blake at Battlefront
|
|
|