|
|
|
|
Products mentioned in this Article
--None--
|
|
|
|
|
|
|
|
|
 |
|
|
 |
A Tale of Two Tigers: Part Five
Command Decisions
with Blake Coster
In part four of A Tale of Two Tigers, I finished painting my Tiger I E. Now it's time to complete the project by adding a commander figure and crew.
So let's get this Tiger finished and ready for the battlefield once and for all. Can anybody say TANKS? |
Decisions, decisions...
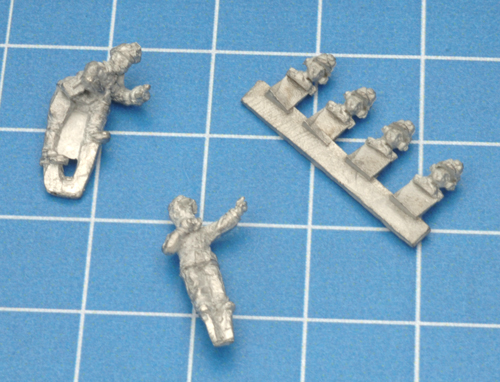
The first thing to do is find some appropriate figures to use for my Tank Commander. Rummaging through my Bits Box I quickly found a few possibilities.
One such figure was actually the command figure from the half-track box set and the other, just the generic German tank commander found in most tank box sets.
I want to tell a story with the figures; for example, the commander has a scouted out an ideal ambush position and is informing his crew of its location before moving out.
Right: A collection of possible tank commander for the Tiger I E. |
 |
| Tell Me a Story |
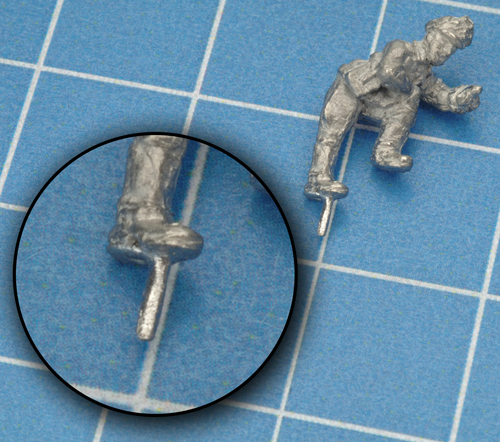
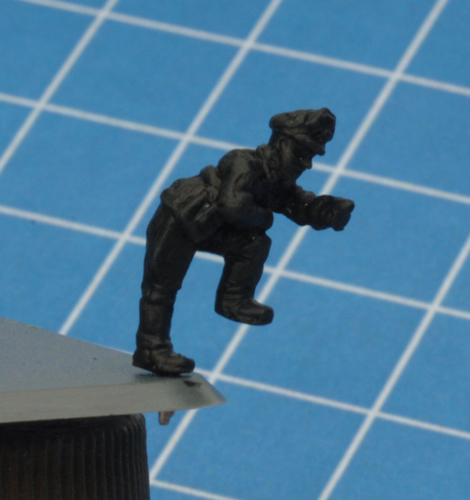
| Below: This is a trick James showed me. Rather than using a pin vice, pinning wire etc. Just use a file to fashion a built-in pin from the figure tab. |
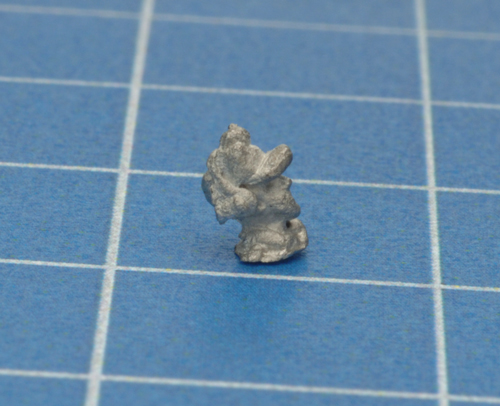
Below: I've filed the base of the crewmen's head on an angle. Once attached inside the cupola, it will give the appearance that he is looking up at his commanding officer. |
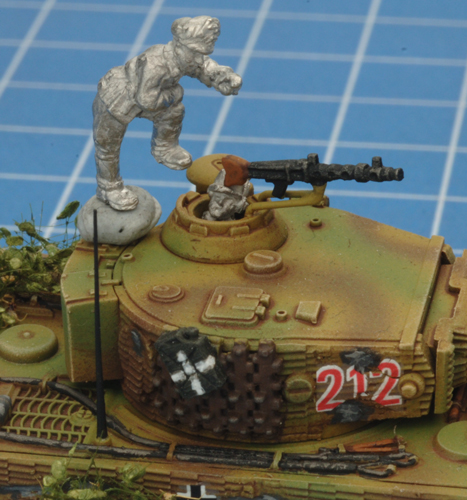
Below: The final scene (minus the blob of Blu-Tack) will have the officer with his foot resting up on the ring of the Tiger I E's cupola. |
 |
 |
 |
 |
The Paint Scheme
The Officer
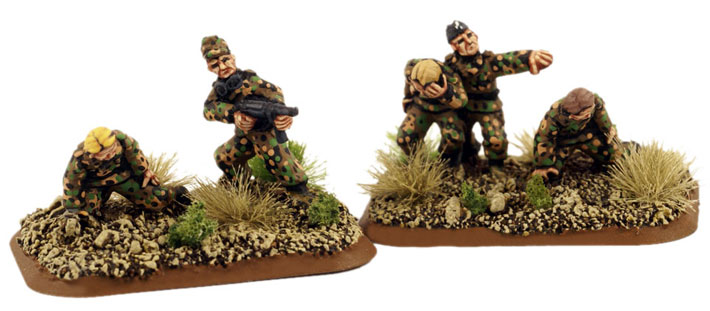
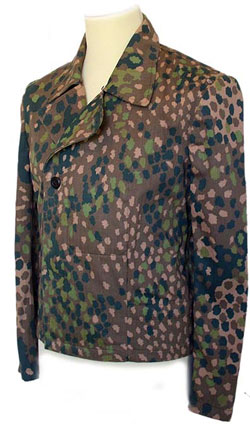
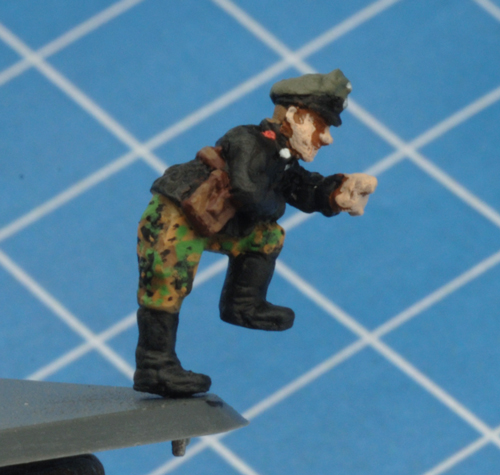
I'm going to the paint the officer wearing SS-Erbsenmuster pattern (also commonly as Pea Dot, Dot 44, dot pattern) camouflage pants and a black Panzer Wrap.
Left: Bailed out SS crew by Dave Robotham wearing an SS-Erbsenmuster pattern camouflage uniform. |
To paint the Pea Dot camouflage, I will be using Dave Robotham excellent how-to guide. See the section below.
The Crewmen
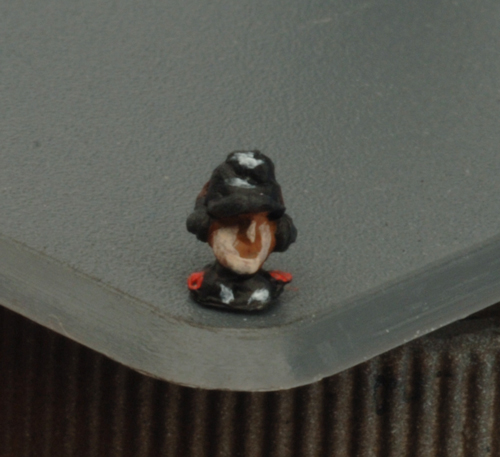
Since there is not much of him to paint, I plan to paint his uniform and field cap to represent the typical black uniform worn by German tank crews during World War Two. |
What is SS-Erbsenmuster Pattern (Pea Dot)?
The SS were developing their own unique camouflage patterns and uniforms from as early as 1935 and by the time the war started they were outfitted with reversible smocks, helmet covers and Zeltbahn (the triangular canvas sheet that was used as a shelter and could also be used as a poncho). However, very quickly a rather large range of other field-made and official items was issued to the troops.
Up until 1944, the different variations of Oak Leaf and Plane Tree patterns made up the majority of the official SS camouflage patterns. It wasn’t until March 1944 that the SS-Erbsenmuster pattern (also known by a few different names including Pea Dot, Dot 44 and Pea Pattern) was introduced.
The pea dot pattern starts as a base of chocolate brown over which black, light green, light tan and olive patches are placed and then over the top of them the same colours are scattered as a mass of flecks or spots.
This new SS-Erbsenmuster pattern was officially used on camouflage smocks as well as a trouser/shirt drill uniform and winter uniforms. Lastly, a two-piece uniform for panzer crews was issued although unofficial field-made garments like helmet covers were produced by the soldiers on campaign.
Learn how to paint SS-Erbsenmuster Pattern here...
|
 |
| Dressing For Battle |
| Step 1. After attaching the figure to a base, I begin by priming the office figure using Black (CWP300). |
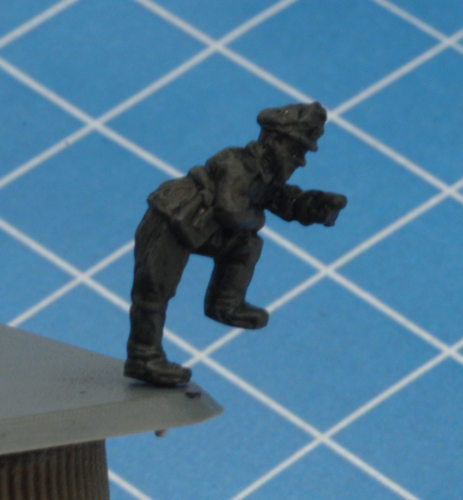
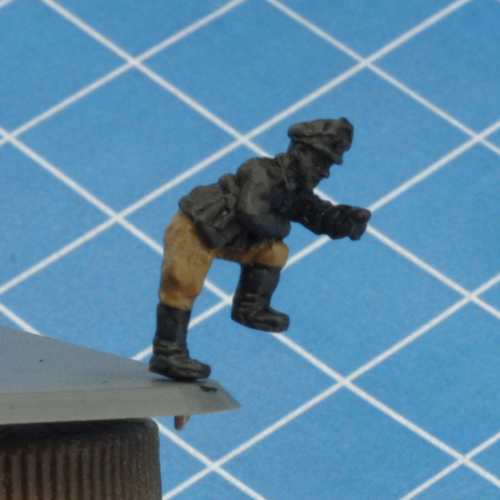
Step 2. Next, I apply a drybrush of Worn Rubber (CWP302) to highlight the raised detail. |
Step 3. I begin painting the Pea Dot pattern by applying a base colour of Battledress Brown (CWP325). |
 |
 |
 |
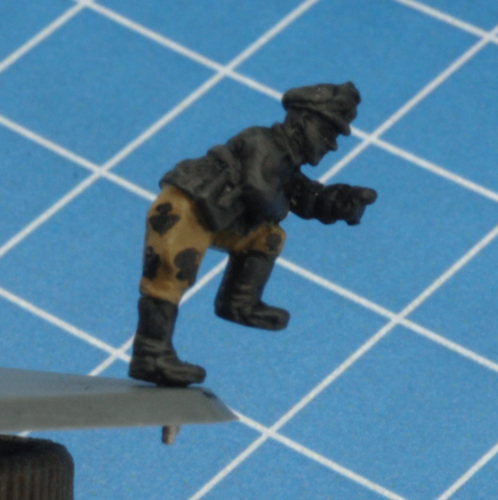
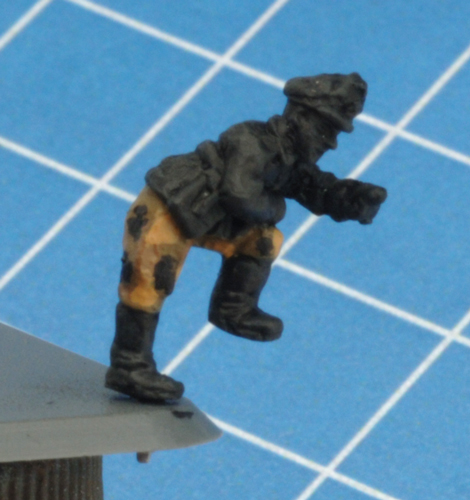
| Step 4. Next, I add irregular patches of Black (CWP300) to the officers pants. |
Step 5. Followed by irregular patches of Battlefield Brown (CWP325). |
Step 6. I complete the irregular patches with a series of patches in Jager Green (CWP344). |
 |
 |
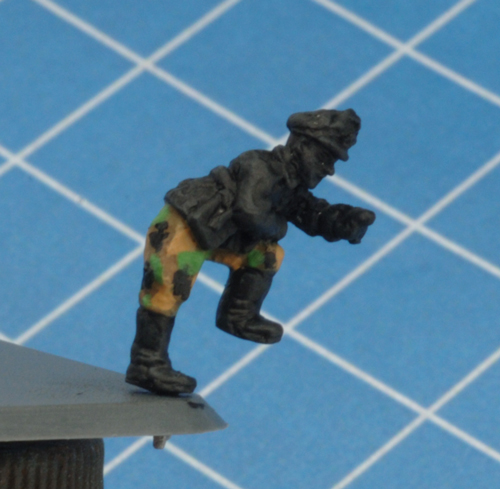 |
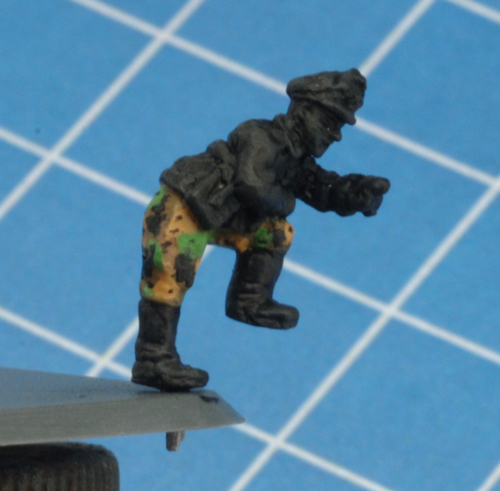
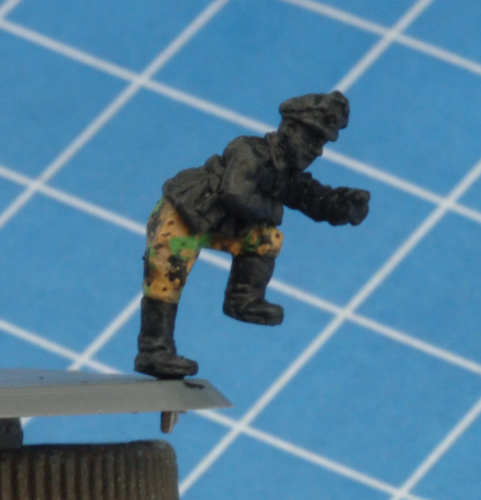
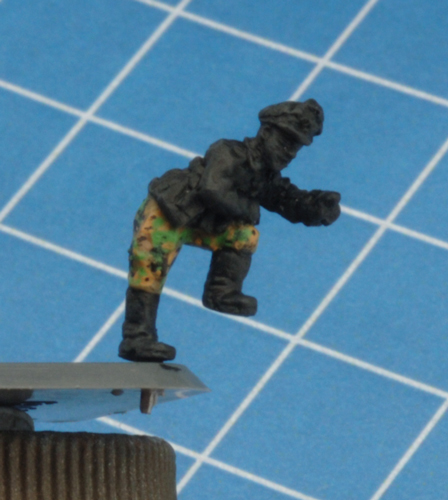
| Step 7. Time to add the dots. I begin with Black (CWP300). |
Step 8. Followed by Battlefield Brown (CWP325). |
Step 9. And finally, the Jager Green (CWP344). |
 |
 |
 |
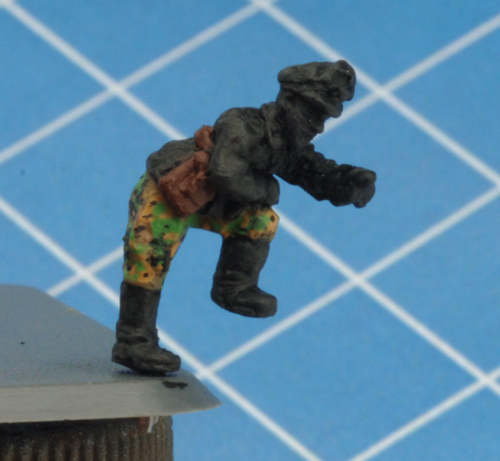
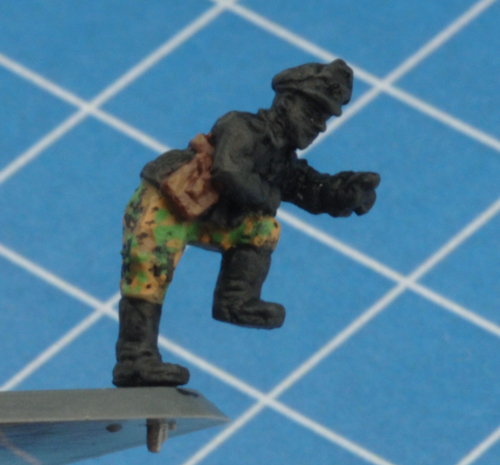
| Step 10. I paint the binocular case, belt and holster Boot Brown (CWP323) and highlight it with Battlefield Brown (CWP324). |
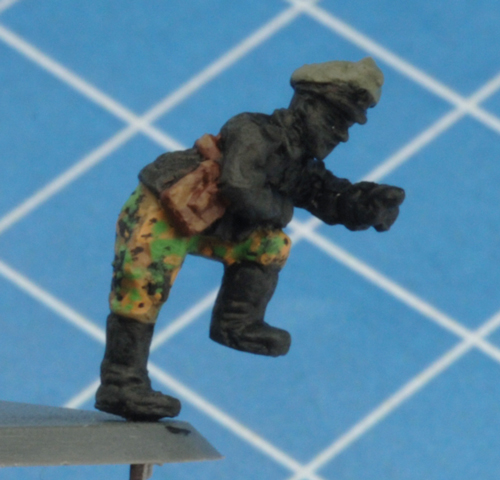
Step 11. Next, I paint the officer's cap Grenadier Green (CWP349). |
 |
 |
 |
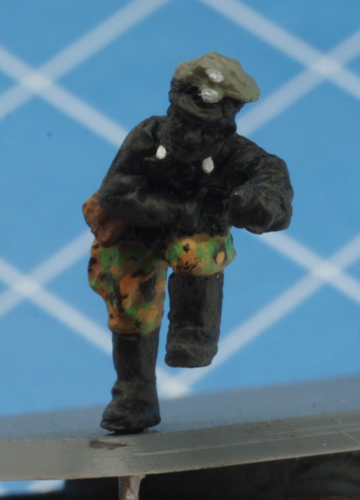
| Step 12. Using a tiny amount of White (CWP301), I paint the badges on the cap and collar tabs. |
Step 13. For the Waffenfarbe, I mix a small amount of Artillery Red (CWP380) with White (CWP301) to create pink. This was the colour for the Waffenfarbe worn by Panzer crews. |
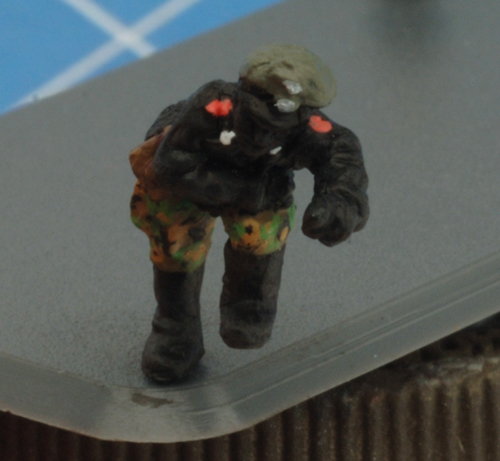
Step 14. Time to finish up the officer by painting the skin. I begin by applying a base colour of Motherland Earth (CWP383). Note: Paint skin has never been one of my strong suits. |
 |
 |
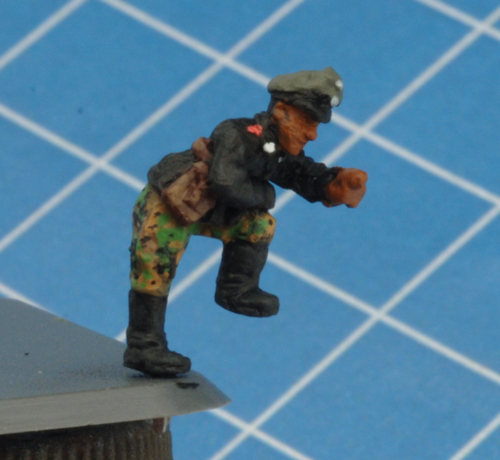 |
| Below: The fully-painted officer and crewmen figures. |
| Step 15. I then use European Skin (CWP385) to finish up my skin tone. |
Below: The fully-painted crewmen ready to join the officer figure in manning the Tiger I E. |
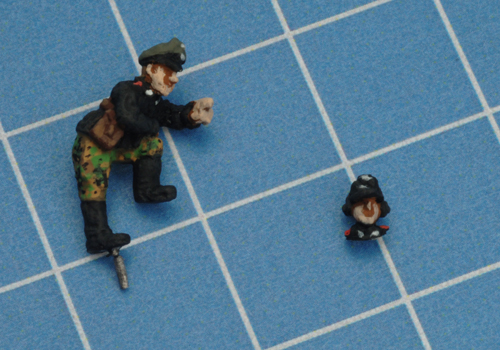
Below: The officer and crewmen removed from their painting base after a coat of matt varnish. |
 |
 |
 |
| Add The Crew To The Tiger I E |
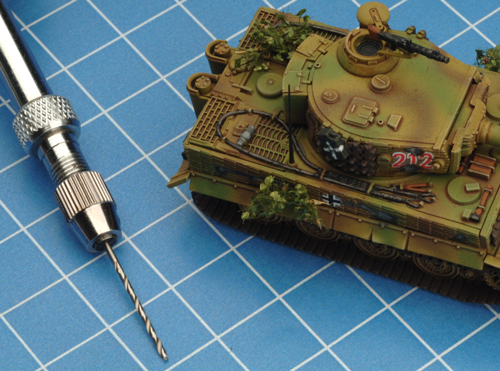
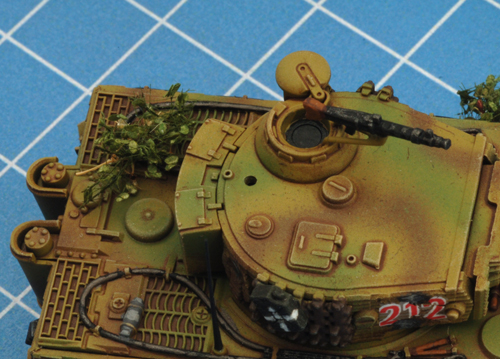
| Step 1. To attach the officer figure securely to the turret, I use a pin vice to drill a small hole near the cupola to accommodate the pin I created earlier of his boot. |
 |
 |
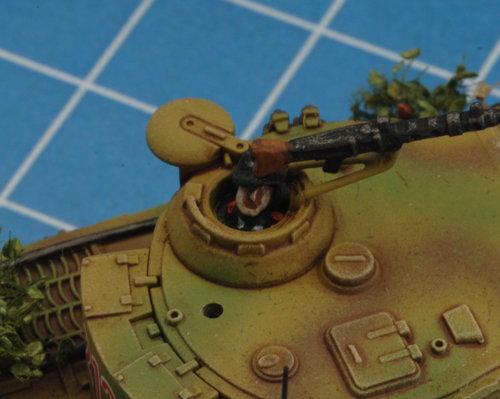
| Step 2. Using the tiniest amount of glue, I first add the crewmen to the inside of the cupola. |
Step 3. Followed by the officer with one boot resting on the ring of the cupola. |
 |
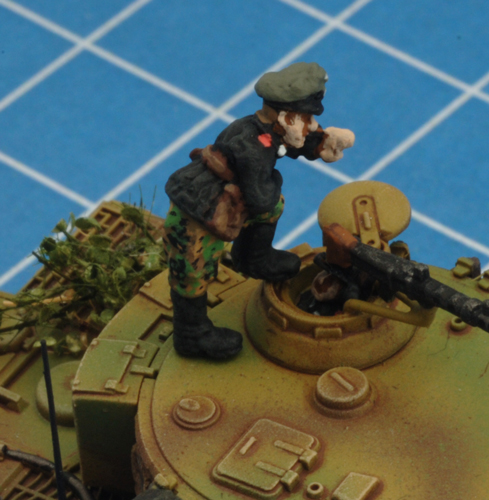 |
With the officer finally in place, the tale of this Tiger has come to an end. I hope that you found this series of articles useful in terms of providing inspiration when it comes to modelling your own Tiger I Es for Flames Of War.
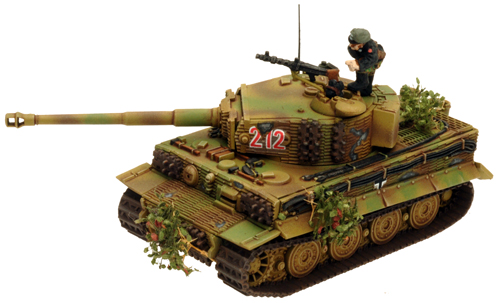
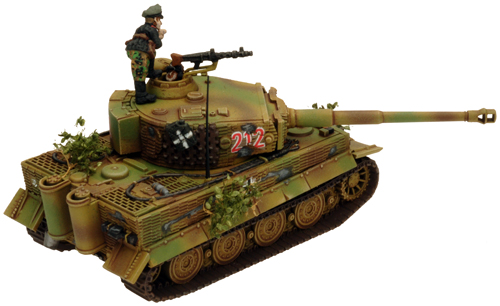
I'll leave you with a series of spotlight style photos of the completed Tiger I E for you to enjoy.
~ Blake. |
| The Completed Tiger I E |
 |
 |
Last Updated On Wednesday, February 15, 2017 by Blake at Battlefront
|
|
|