|
|
|
|
Products mentioned in this Article
|
|
|
|
|
|
|
|
|
 |
|
|
 |
Off the Ground
Adding Detail to Island Huts
With James Brown
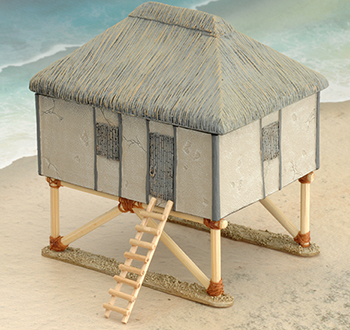
The latest addition to the Battlefield in a Box range of pre-painted terrain is the Island Huts.
Simple huts like these are common throughout diverse Pacific nations, where they are known by many different names, including nipa hut, fale or bure.
|
|
As always, the best thing about pre-painted terrain is that you can use it straight out of the box. However, a lot of people (like me) enjoy adding a few unique personal touch to terrain pieces.
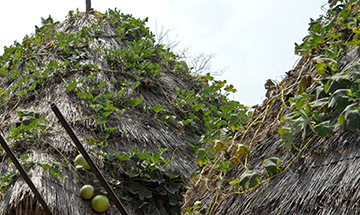
The most obvious way to customise terrain is usually by enhancing the factory paint job. However, the painting team have done an especially good just with this set, and it’s difficult to think of ways you could improve on it. You could subtly drybrush or stipple a dull green like Firefly Green onto the thatch and/or walls, to suggest the growth of mould or algae in the tropical climate.
|
 |
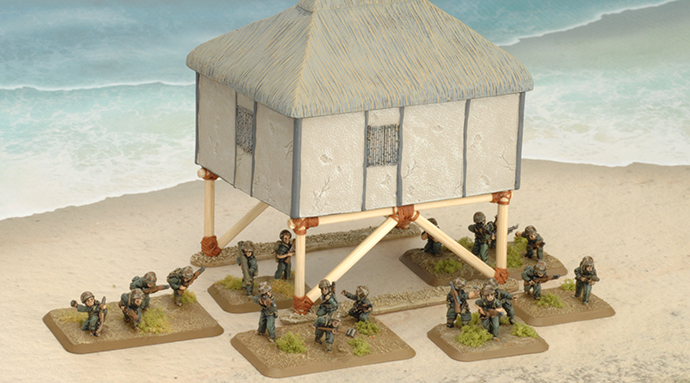
| It is very common for bulidings like these to be raised on stilts, to as a protection against flooding and to help keep out vermin such as rats. |
| For the stilts, I’m using cocktail skewers. They’re cheap and easy to cut to size, and being made of bamboo, they look the part without even needing to be painted. |
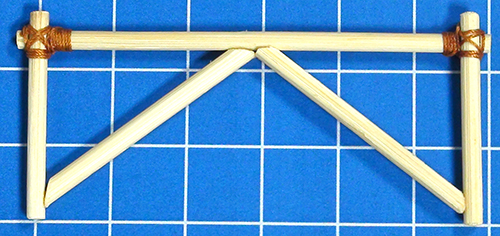
| Cut four pieces 30mm long for the stilts; the actual height of stilted huts seems to vary quite a lot, so you can go higher if you like. Then cut two 80mm pieces for horizontal poles. Finally, cut four pieces 42mm long, for diagonal cross-braces, and file the ends at an angle. |
 |
| For joining the stilt pieces to the horizontal poles, I'm going to use interlocking joints. File a notch halfway into the side of the vertical posts, about 3mm from the end, and a corresponding notch about 2mm from each end of the 80mm horizontal poles. |
| For the bases I’m using popsicle sticks. You could choose to keep it very simple and just have the skewer stilts standing freely, but I want to give the finished model some additional sturdiness and stability. Like the cocktail skewers, popsicle sticks are easy to work with, and so cheap that if you mess up by cutting or drilling in the wrong place, it's no bother to chuck it away and try again. |
 |
|
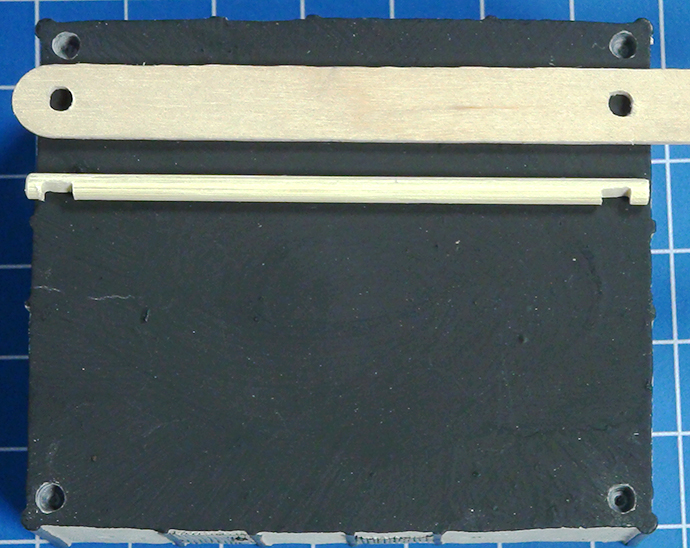
Drill two holes in the base with the centres 73mm apart. I've used a 3.5mm drill bit, to match the thickness of my cocktail skewers. Yours may be a little thicker or narrower, so check before selecting a drill bit.
Drill similar holes underneath each corner of the hut, also 73mm apart across the long edge.
This is the only part of this project where precision is important.
Before gluing anything together, check that the spacing of the holes in all three parts is the same, or they obviously won’t fit together right. It’s easy to make adjustments by widening the notches in the horizontal pole if necessary, and as I mentioned above, you can always start again with a new popsicle stick. The one part you can't re-do is the hut itself, so the exact spacing of those holes is your 'gold standard'.
|
 |
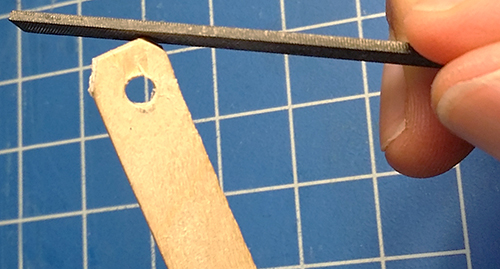 |
Once you’re happy with the placement of the holes, cut the popsicle stick to length, and use a file to round it off to match the other end.
Obviously you will need two of these bases.
|
|
I also sanded down the edges of each base, to give a nice smoorth, bevelled edge.
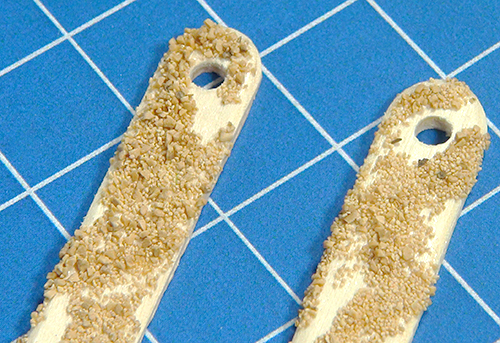
Then I added some Basting Grit for texture, using PVA white glue.
You should paint your bases to match your battlefield. I'm painting mine in a dull sandy colour, to go with the Beach Landing Mats.
Note, I chose to paint the bases before attaching the stilt assemblies, to make it easier.
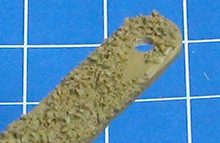
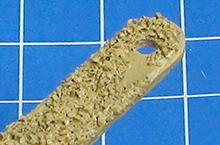
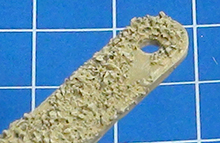
Here are the paint colours I used:
|
 |
| Step 1: Paint a basecoat of Battledress Brown. |
Step 2: Drybrush heavily with Sicily Yellow (362). |
Step 3: Apply a second, lighter drybrush of Dry Dust (364). |
 |
 |
 |
 |
Now for the fun part: sticking the parts together.
Superglue seems to be the easiest way of joining the pieces, because it gives a good strong bond (and more importantly, it cures quickly, so you don’t have to devise a way of holding the parts in place while the glue dries).
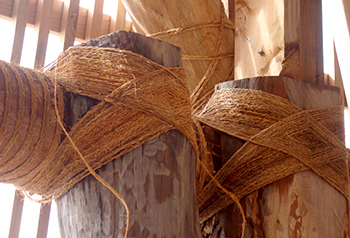
Wind some brown or beige-coloured thread around the joins to resemble rope or sennit (a rope made from plaited grass or coconut fibre, used as a building material in many Pacific cultures). Bound nice and tightly, it adds some visual interest and also strengthens the joints.
Left: A close-up of coconut-fibre sennit rope binding in the structure of a Fijian bure.
|
|
Tip: An easy way to bind the joints is to cut a length of thread about 15cm long. Glue one end into the corner with a dot of Super glue and let the glue dry. It’s much easier than fiddling around trying to tie tiny knots. When you have finished wrapping, fix the ‘rope’ in place with another dot of Super glue, let it dry, and then carefully cut off any excess thread with a sharp hobby knife. You can add further strength and keep the rope neat by painting the joint with PVA white glue.
|
|
Below: The two stilt assemblies with the completed 'sennit rope' binding.
|
|
Next I added the diagonal cross-braces, again using Superglue to attach them.
If you add the cross-braces straight after attaching the stilts to the horizontal poles, you might save a little time by being able to do all the rope binding in one go. However, with the braces in place, it would be much fiddlier to wrap the binding in the corners.
|
 |
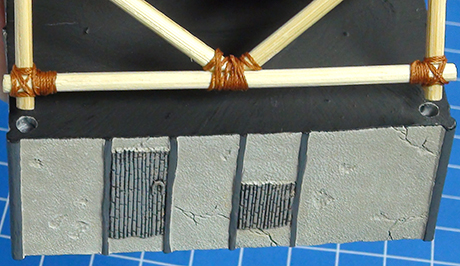 |
With the cross-braces attached and bound, you can glue the stilt assemblies into the holes in the bases.
The small tabs where the stilts extend above the horizontal poles now fit nicely into the holes under the hut. There is no need to glue them on – the hut should just sit comfortably on top of the stilts, so you can remove them easily if you want to return your hut to ground level.
|
|
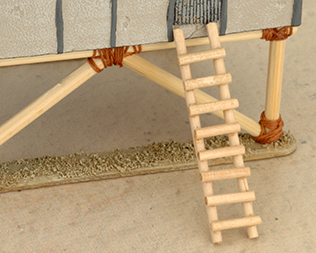
Finally, you will want to make a small ladder, so your troops (or villagers) can access the building.
You could use the same bamboo skewers again, but for my taste they look too thick for the scale. So I made mine from toothpicks.
|
 |
 |
|
Hopefully this has inspired you to do some modelling with your own Island Huts. You could take these techniques even further and perhaps add porches/verandahs at the front of the huts, or even join up two or more huts with elevated walkways.
From down here in the South Pacific, tofa soifu and happy modelling!
~ James.
|
Last Updated On Wednesday, May 25, 2016 by James at Battlefront
|
|
|