|
|
|
|
Products mentioned in this Article
--None--
|
|
|
|
|
|
|
|
|
 |
|
|
 |
Damaging Bedspring Armour
with James Brown
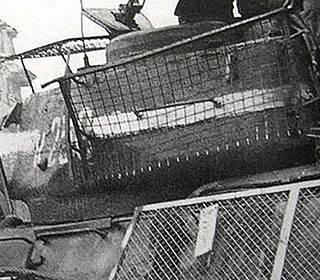
As well as giving your tanks extra protection from those pesky Panzerfausts, Bedspring Armor is a good way to add visual interest to an otherwise 'samey' green Tankovy force. If you don't mind putting in some extra modelling time, adding battle damage is a great way to get even more character and uniqueness across your army.
Being made from relatively thin, flexible sheet metal and wire, bedspring armour screens were prone to bending and crumpling with the rough use that tanks are subjected to in the field.
Check out the Bedspring Armour spotlight...
James's guide to painting Bedspring Armour is here...
|
|
Dented Armour Sheets
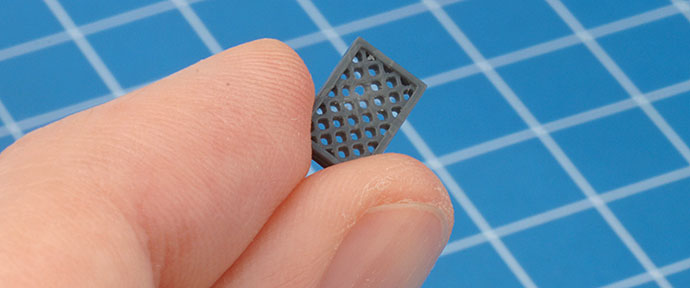
The armour pieces are thicker than their real-life equivalents - otherwise, they would be much too flimsy to survive gaming. This extra thickness makes it very easy to carve a little of the plastic away to create the appearance of dented metal.
Use a sharp hobby knife to cut into the plastic on a shallow angle, and turn the part in a rough circle, shaving away a small area of plastic.
|
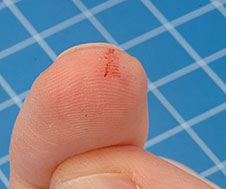 |
Left: Safety tip - it's actually safer to use a sharp blade because if you don't need to apply as much pressure, you are less likely to slip. Even so, try to remember not to cut towards your fingers!
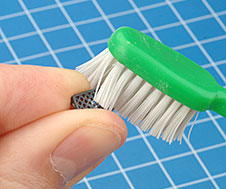
Right: If there are fluffy scraps of plastic left behind, they can be removed by scrubbing stiffly with a toothbrush.
|
 |
 |
|
Bent Armour Screens
As well as minor dents, you can also simply bend and distort the whole screen piece. A while back, when we first released the plastic T-34 set, I did some experimentation with the best ways to bend and distort plastic parts to simulate battle damage.
One option that seems like it might be a good idea was heating up the plastic until it becomes soft and pliable. But I found that it is just not worth the effort. There is a very specific temperature window where the plastic is soft enough to bend but not so hot that it melts into a blob. You can get great results some of the time, but often you just end up ruining the plastic part if you are not careful enough.
|
|
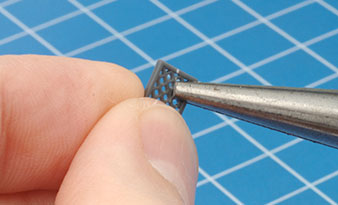
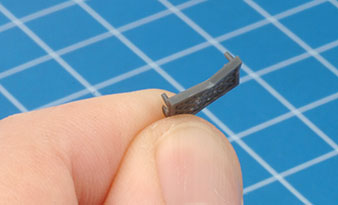
Sadly this is doubly true for bedspring armour screens, with their comparatively delicate detail. So the conclusion I came to is that the best option is the simplest: just bend the parts with pliers.
Just remember to be gentle - the model does bend quite well, but it is also very easy to snap it if you try to push it too far. Also, try not to snap off the spacer 'arms'. It's not the end of the world if you do lose the odd one here and there - it will add to the damaged look - but you do still need to attach the screen to the tank!
Below: Bending an armour sheet with pliers - crude but effective.
|
 |
 |
Missing or Detached Sections
As I said in the painting article, armour sections could easily become detached. Simply leaving off some sections is obviously the easiest way to show this. But you might also want to paint small weld marks where the missing section was attached. You can simply paint small dots by hand, but if you want to make sure the marks are spaced correctly, how about this trying this trick: |
|
Above: Dab a little Oxide Red paint onto the ends of the spacer arms, then touch it to the surface of the painted tank like a stamp.
Grease Brown would also work, to simulate newer weld marks that have not been exposed to the elements for long.
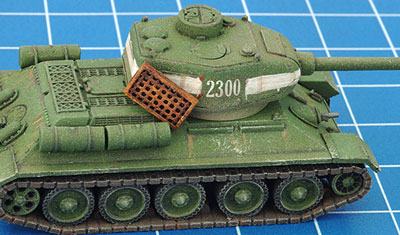
Right: And rather than having sections missing completely, you could also glue them as if they are hanging loosely by a single weld.
Happy modelling, Comrades!
~ James.
|
 |
Last Updated On Monday, February 20, 2023
|
|
|