|
|
|
|
Products mentioned in this Article
--None--
|
|
|
|
|
|
|
|
|
 |
|
|
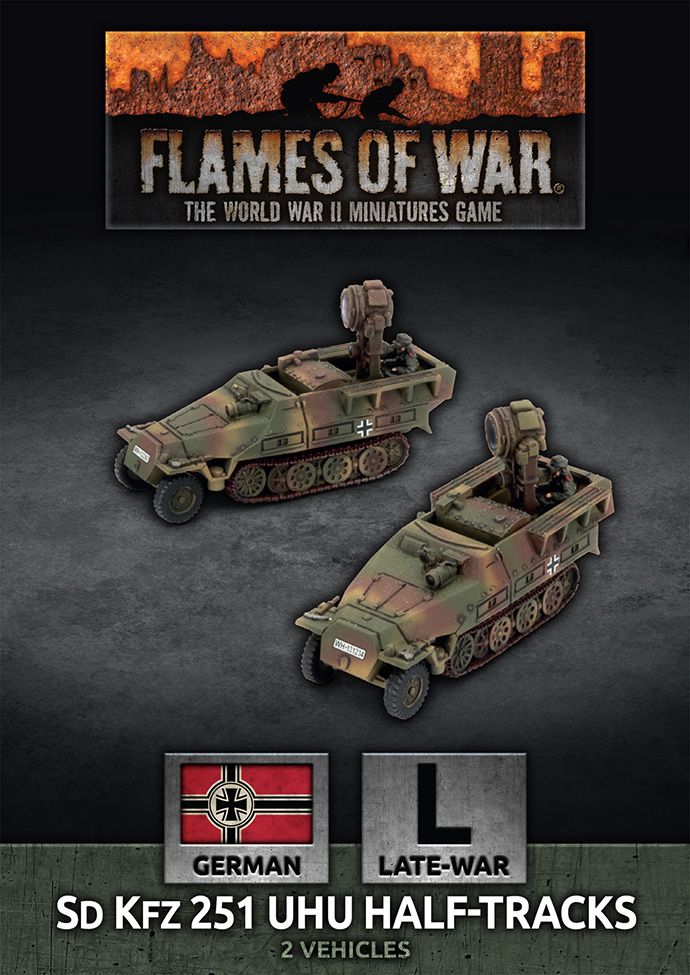 |
Assembling The Sd Kfz 251 Uhu Half-Tracks
with Andrew Haught
The ability to conduct effective offensive operations at night has long been recognized as a tactical advantage. However, until the 20th Century, there had been no effective way to permit people to retain anything approaching their daylight levels of visual acuity during night-time operations. New technological developments including cathode ray tubes and oscillators meant that by the 1930s night vision devices had entered the realm of feasibility.
Learn more about the Sd Kfz 251 Uhu Half-Tracks here...
|
In this article, I'll demonstrate how to assemble the contents of the new Sd Kfz 251 Uhu Half-Tracks, so let's break out the hobby tools and plastic cement and get started!
But before we begin any assembly, let's ensure the contents of the Sd Kfz 251 Uhu Half-Tracks set are all present and correct. If you have any problems or issues with the contents of your box set, please feel free to contact our Customer Service team at: [email protected]. |
| Components Required For The Basic Sd Kfz 251 Uhu Half-Tracks |
| The components required to assemble the basic Sd Kfz 251 Uhu Half-Tracks can be seen below highlighted in green on the half-track sprue. |
| Assembling The Basic Sd Kfz 251 Uhu Half-Tracks |
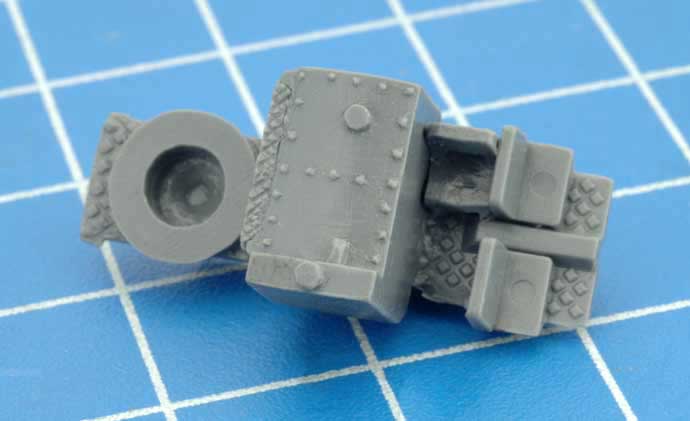
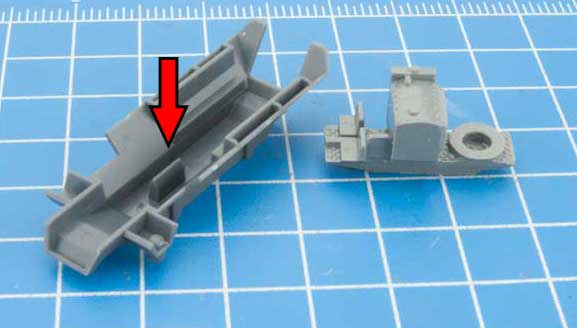
| Step 1. Begin assembly by attaching the deck of the fighting compartment to the lower hull section. |
| Tip: Although regular Hobby Glue can be used to assemble plastic vehicles, we recommend that you use good quality plastic cement instead. It gives the strongest bond when gluing plastic to plastic. However, to glue the resin and metal bits, we recommend that you use regular Hobby Glue. |
|
Note: Not gluing the fighting compartment will make it easier to paint later. Once it is painted, then glue it into place.
Below: Attach the fighting compartment deck to the lower hull.
|
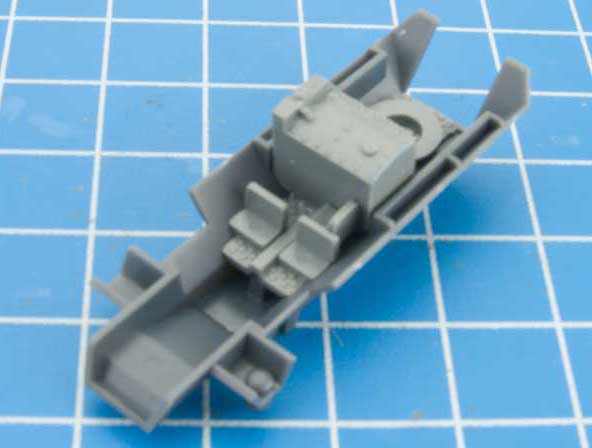
Below: The fighting compartment deck attached correctly to the lower hull section. |
 |
 |
 |
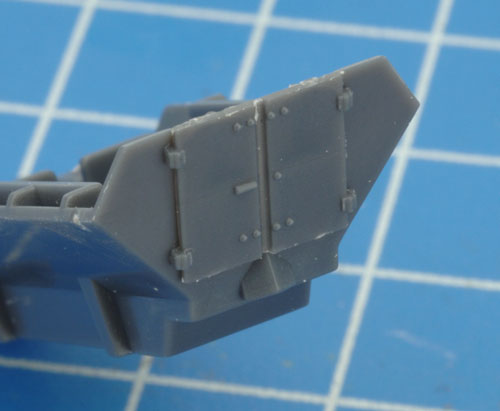
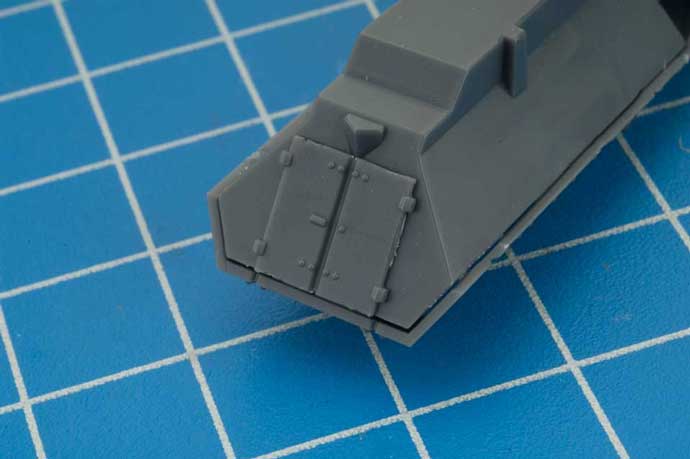
| Step 2. Next, attach the rear doors to the back of the hull. |
Below: Examples of the rear doors correctly attached to the rear of the hull. |
|
|
 |
 |
| Tip: When referring to left- or right-hand side in regards to a Flames Of War miniature, the orientation is determined as if looking at the vehicle from the rear. |
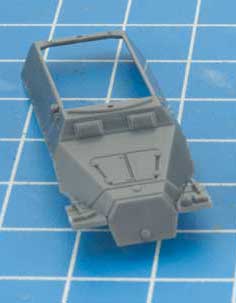
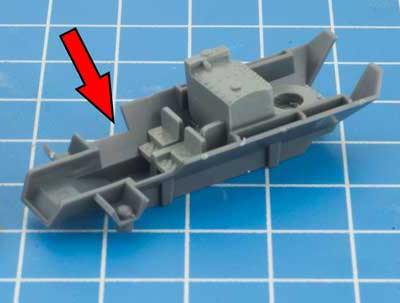
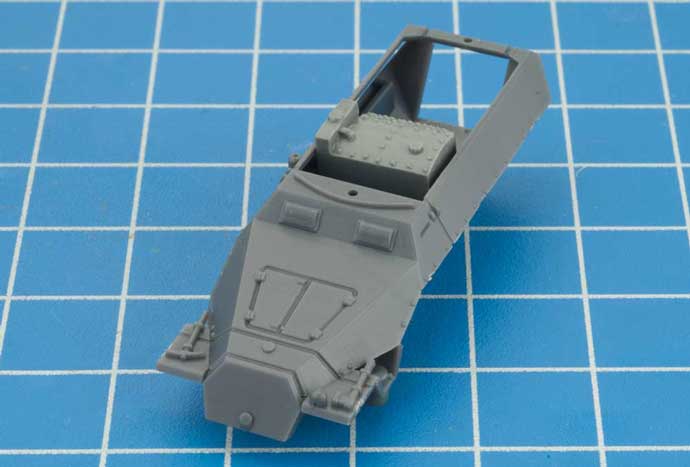
| Step 3. It's time to attach the upper superstructure to the lower hull. |
Below: The upper superstructure attached correctly to the lower hull section. |
 |
 |
 |
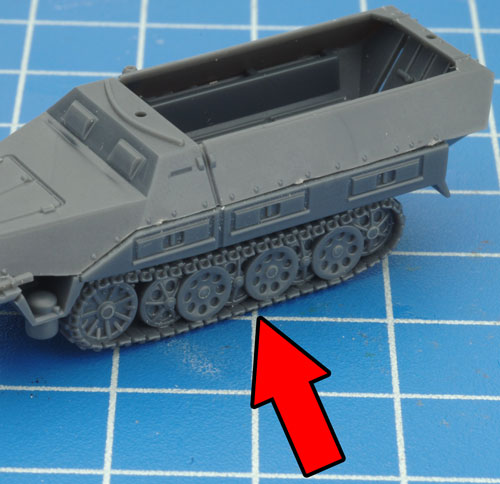
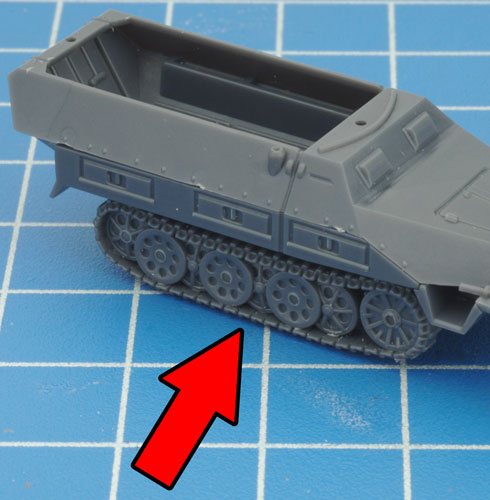
Step 4. Next, attach the tracks to the lower hull section.
Note: Each track has been keyed to correspond with a particular side of the lower hull; this aids in ensuring the correct orientation of the tracks when assembling the miniature. |
|
|
|
| Below: The tracks correctly attached to each side of the half-track. |
Step 6. Next, attach the front axle to the front of the half-track. |
 |
 |
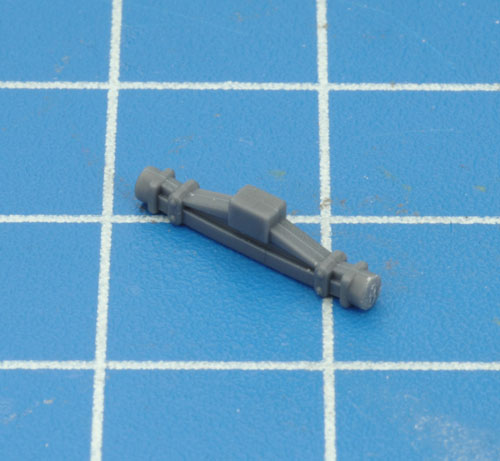 |
| Below: The front axle attached correctly to the underside of the hull. |
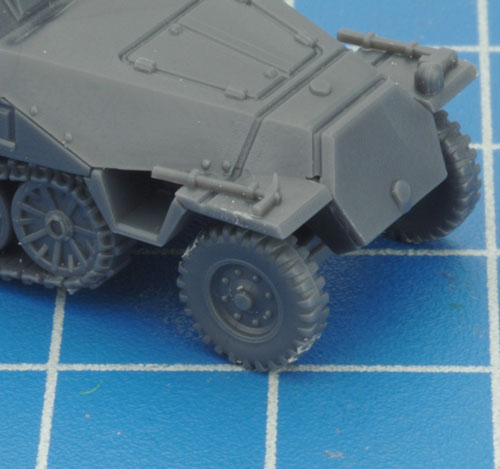
Step 7. Attach the front wheels to the front axle. |
 |
 |
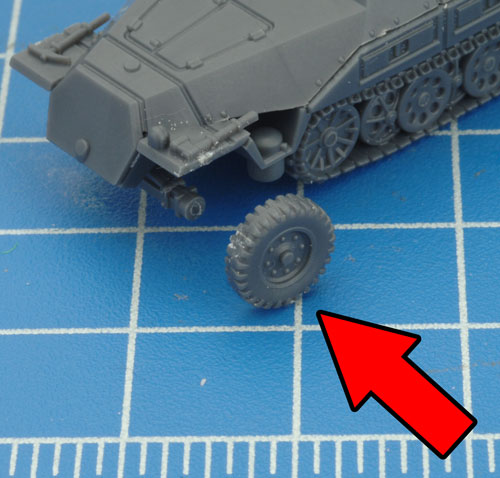 |
| Below: Both front wheels correctly attached to the front axle. |
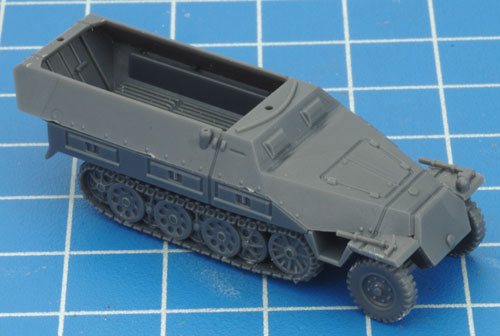
Below: With the front wheels in place, the basic Sd Kfz 251/1 half-track is now fully-assembled. |
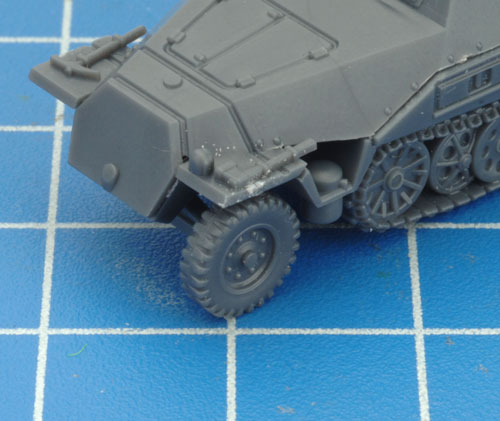 |
 |
 |
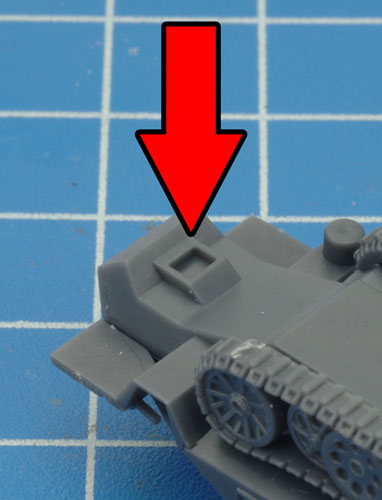
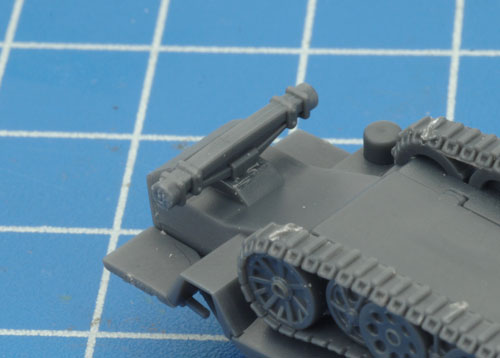
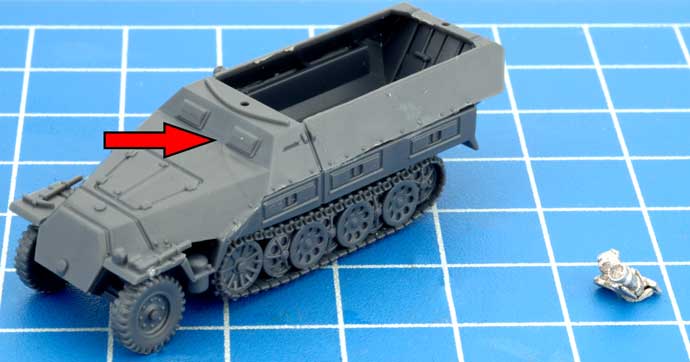
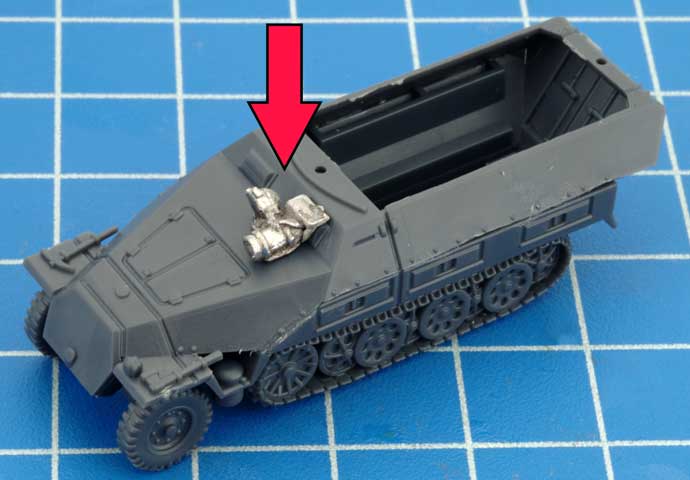
| Step 8. Attach the IR Sight to the Hull of the half-track. |
 |
 |
| Step 9: Assembling the Spotlight |
Step 10. Attach the Spotlight to the fighting compartment. |
|
|
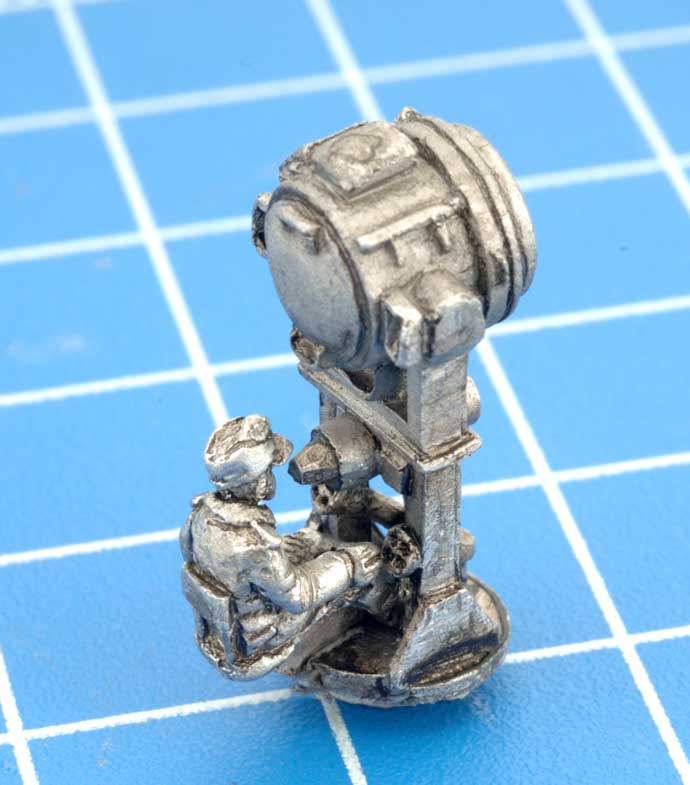 |
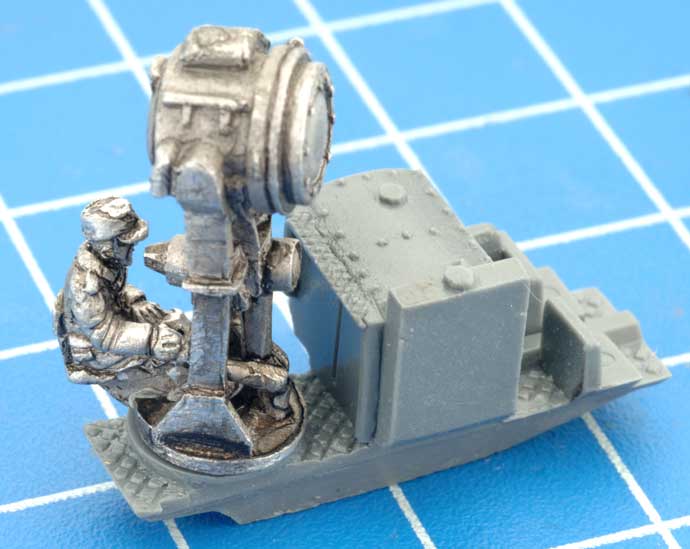 |
| Step 11. Next, attach both of the narrow walkways to the sides of the half-track. |
Below, walkway on side. |
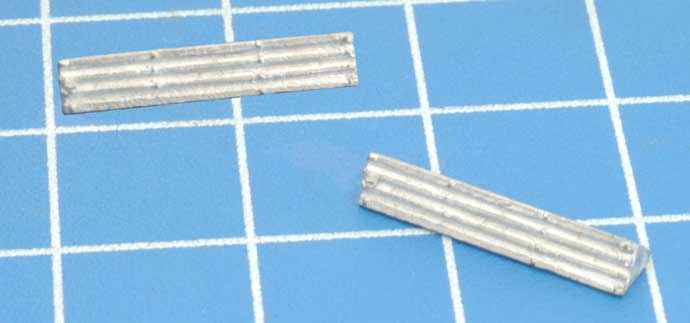 |
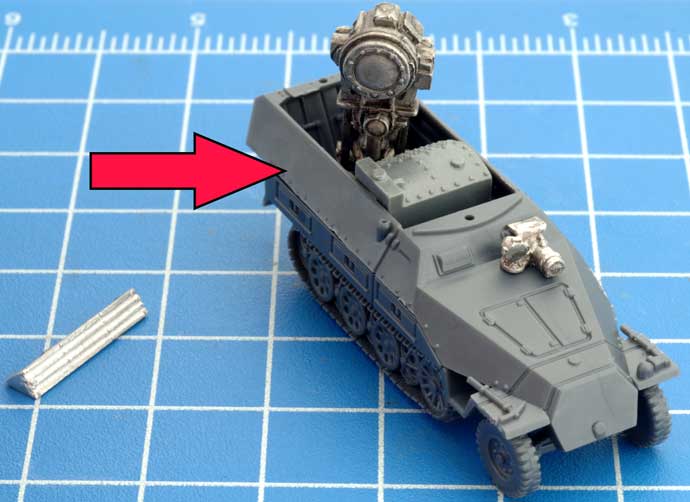 |
|
|
Modelling Tip
Adding ballast to the inside of your half-track will help you keep your half-track from being to back heavy. I tend to use metal sprue bits on my own models as ballast.
|
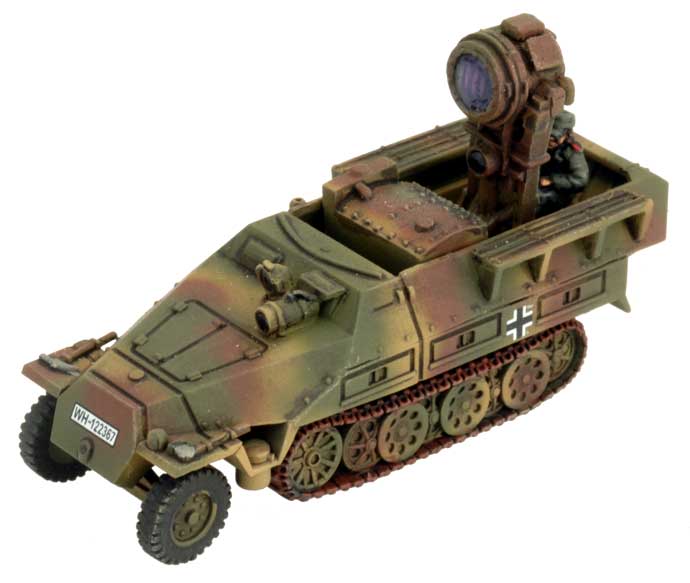
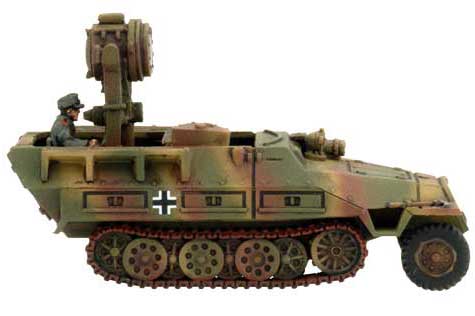
| Below: The Finished Sd Kfz 251 Uhu Half-Tracks |
 |
 |
|
I hope you found this article useful while assembling your Uhu half-tracks.
Until the next project, happy modelling!
~Andrew
|
Last Updated On Wednesday, May 17, 2023
|
|
|