|
|
|
|
Products mentioned in this Article
|
|
|
|
|
|
|
|
|
 |
|
|
Components Required For The Panzer IV (Late) Hull
The components required to assemble the hull of the Panzer IV (Late) can be seen below highlighted in green on the appropriate frames. |
| Assembling The Panzer IV (Late) Hull |
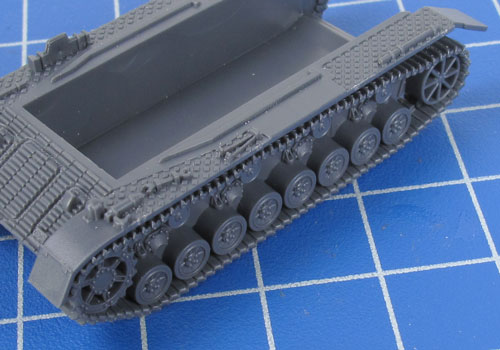
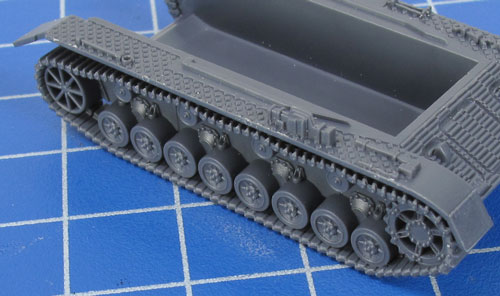
Step 1. Begin assembly by attaching the tracks to the lower hull section.
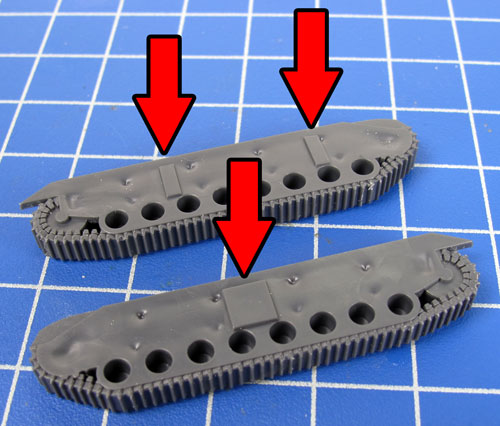
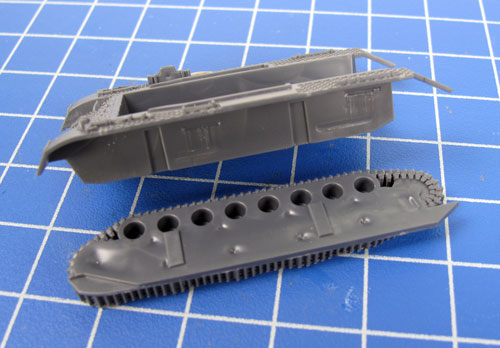
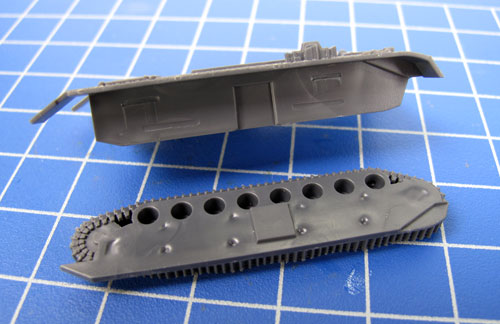
Note: Each track has been keyed to correspond with a particular side of the lower hull; this aids in ensuring the correct orientation of the tracks when assembling the miniature. |
| Tip: Although regular Hobby Glue can be used to assemble plastic vehicles, we recommend that you use good quality plastic cement instead. It gives the strongest bond when gluing plastic to plastic. |
| Below: The orientation keys on the tracks. |
Below: The correct alignment for the left-hand side track. |
Below: The correct alignment for the right-hand side track. |
 |
 |
 |
| Tip: When referring to left- or right-hand side in regards to a Flames Of War miniature, the orientation is determined as if looking at the vehicle from the rear. |
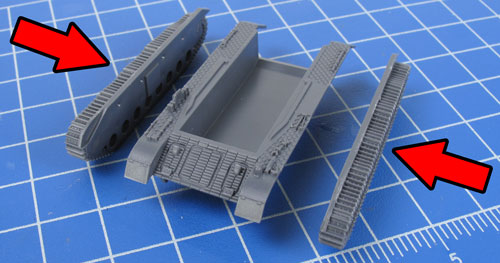
| Below: Attach the tracks to lower hull section. |
Below: The left-hand side track attached to the lower hull. |
Below: The right-hand side track attached to the lower hull. |
 |
 |
 |
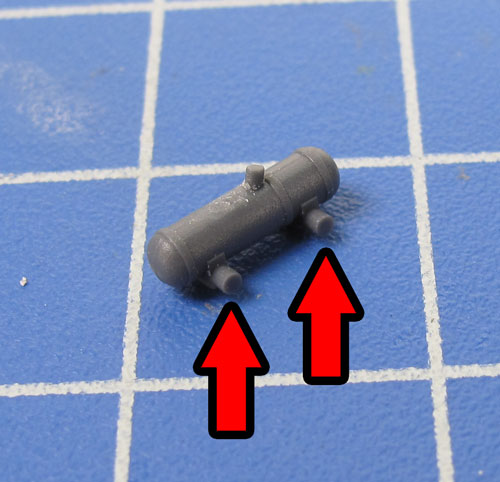
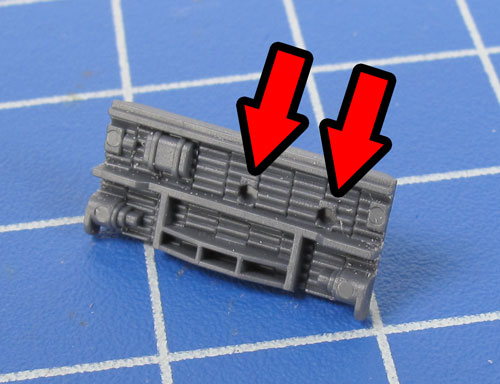
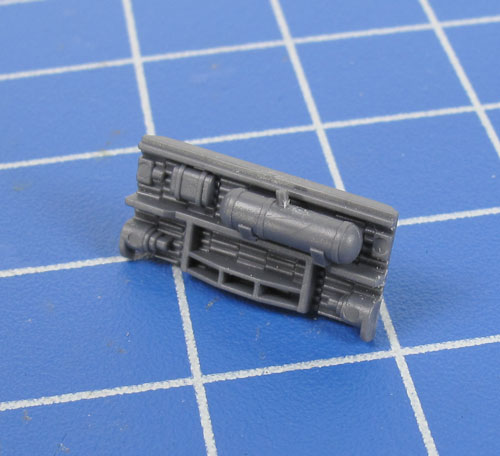
| Step 2. Next, attach the exhaust muffler to rear hull plate using the corresponding alignment guides seen in the examples below. |
Below: The exhaust muffler correctly attached to the rear hull plate. |
 |
 |
 |
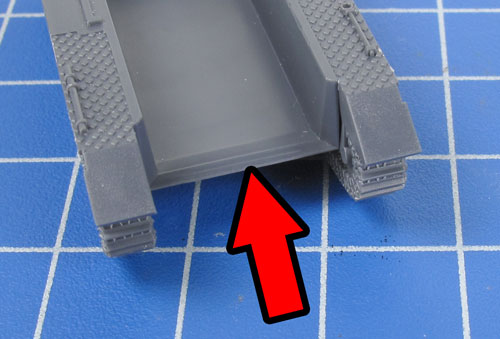
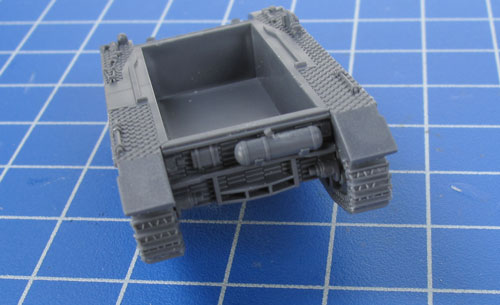
| Step 3. Next, attach the fully-assembled rear hull plate to the lower hull. |
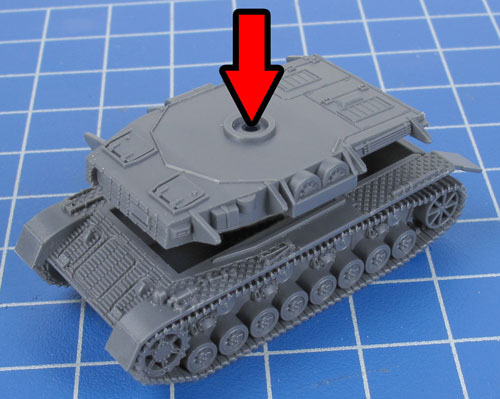
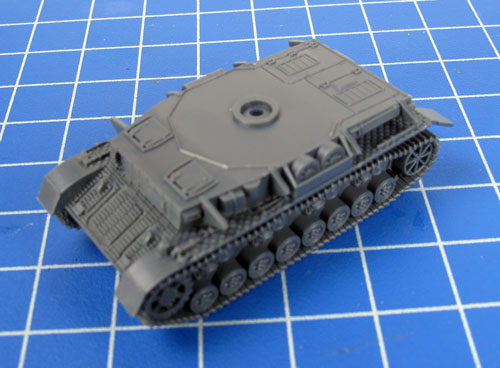
Step 4. Attach to upper hull section to the lower hull. |
 |
 |
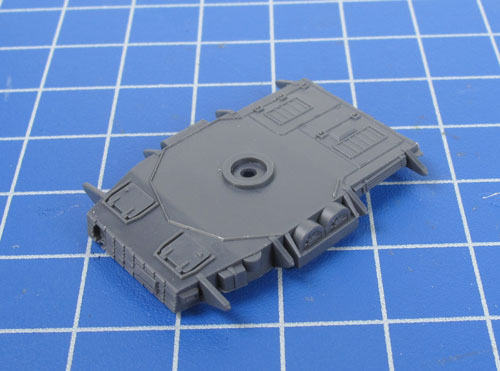 |
| Below: The upper hull attached to the lower hull. |
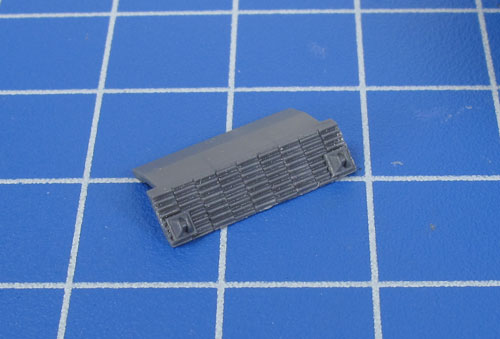
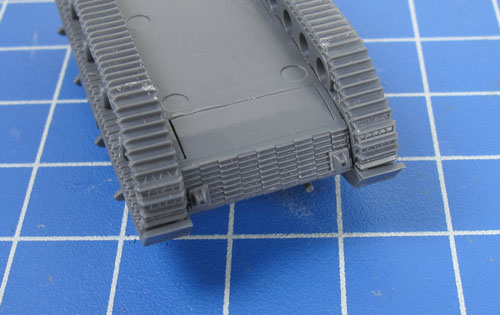
Step 5. Complete assembly of the hull by attaching the lower front plate section to the front of the hull. |
 |
 |
 |
| Below: The lower front plate of the hull correctly attached. |
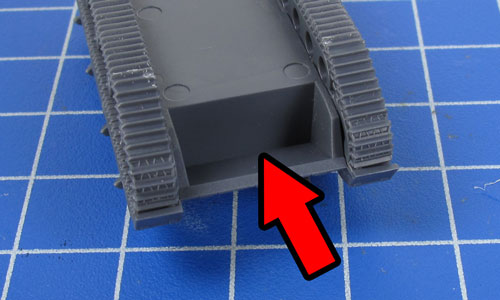
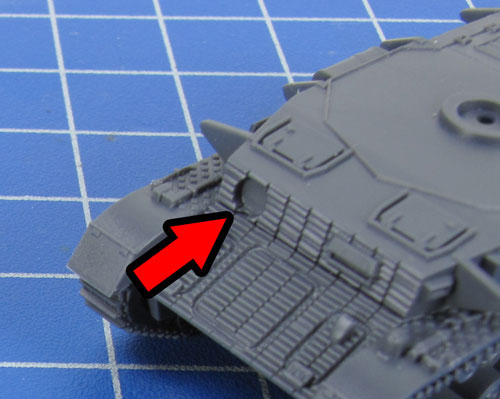
Step 6. Time to attach the hull machine-gun. |
 |
 |
 |
| Below: The hull machine-gun correctly attached to the front of the hull. |
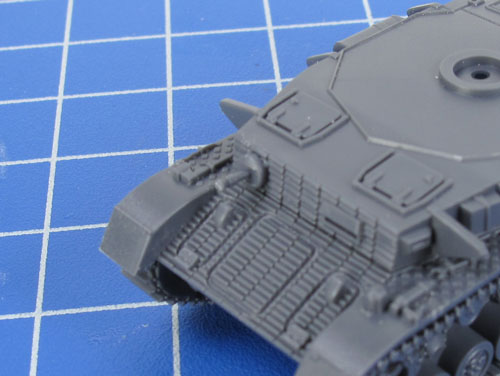
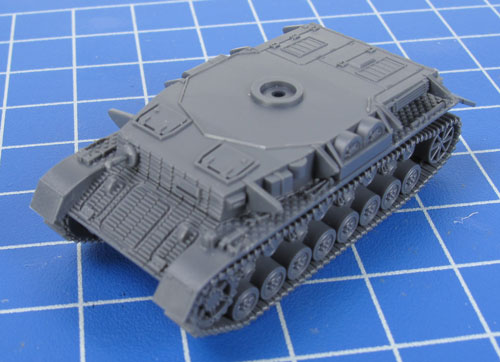
Below: With the hull machine-gun in place the hull of our Panzer IV (Late) is fully assembled. Now its time to add the Schürzen. |
 |
 |
 |
|
Components Required For The Panzer IV (Late) Schürzen
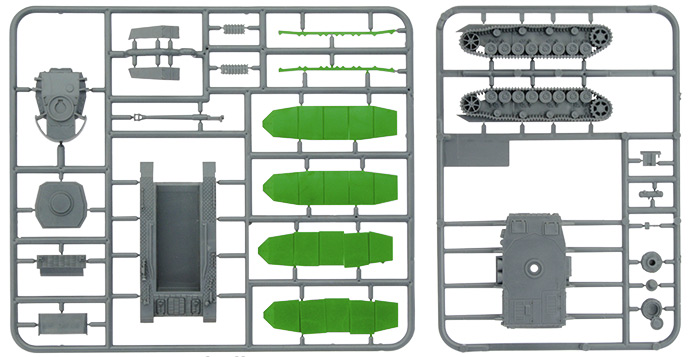
There are three different Schürzen variants included in the Panzer IV (Late) box set: a factory-fresh set, a damaged and misaligned set and the empty Schürzen rails. Feel free to mix and match the different type of Schürzen to create some variety amongst your miniatures.
The components required to assemble the Schürzen of the Panzer IV (Late) can be seen below highlighted in green on the appropriate frames.
|
 |
| Assembling The Panzer IV (Late) Schürzen |
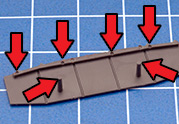
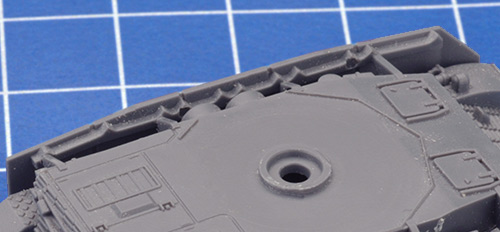
| Step 1.Add a small amount of plastic cement to each of the locations shown on the Schürzen plate below and attach it to the mounts located on the hull. |
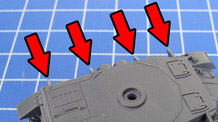
Below: The Schürzen plate attached correctly to the sides of the Panzer H IV hull. |
 |
 |
 |
| Tip: The pegs located near the bottom of the Schürzen attach just above the road wheels of the tracks. These help strengthen the Schürzen, protecting it from breaking if the tank is squeezed from the sides while moving it around. |
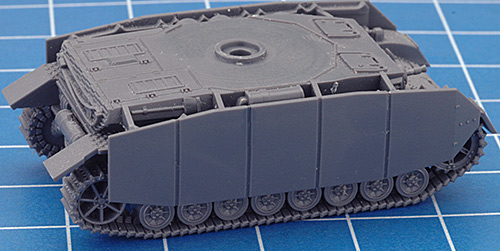
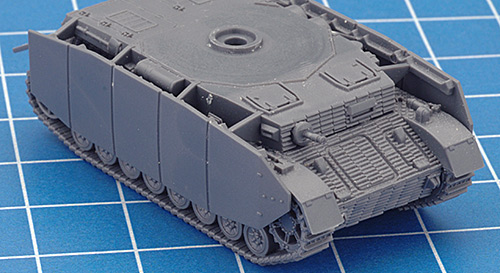
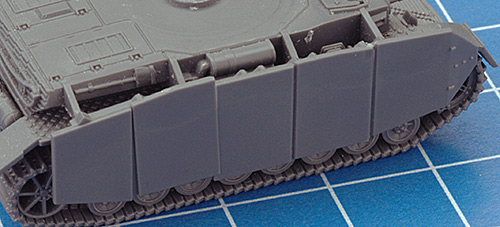
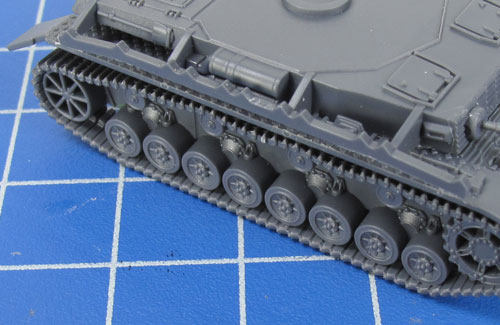
| Below: More views of the correctly attached Schürzen. |
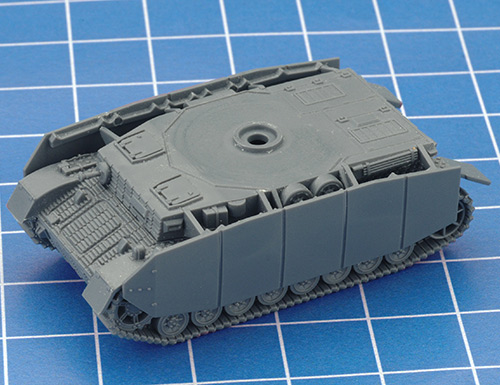
Below: The different varients of Schürzen all attach to the hull of the Panzer IV (Late) in exactly the same way; making assembly quick and easy. |
 |
 |
 |
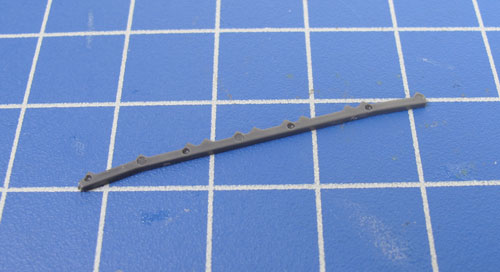
| Below: An example of just the Schürzen rail attached to the Panzer IV (Late) hull. |
Below: With the Schürzen in place (a factory fresh set) its time to assemble the turret. |
 |
 |
 |
| Components Required For The Panzer IV (Late) Turret |
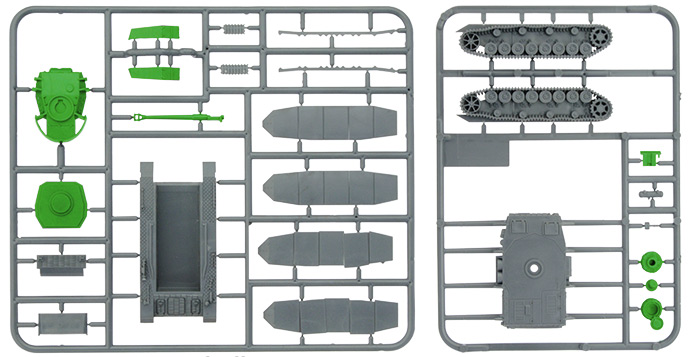
| The components required to assemble the turret of the Panzer IV (Late) can be seen below highlighted in green on the appropriate frames. |
 |
| Assembling The Panzer IV (Late) Turret |
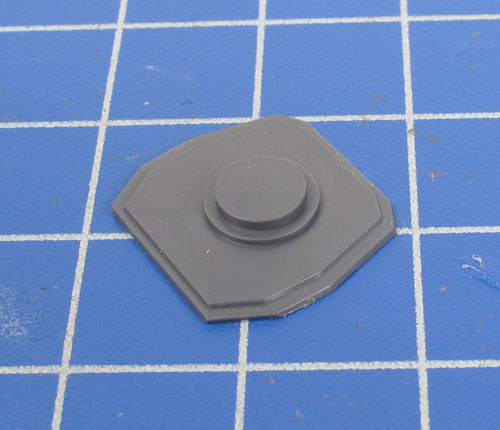
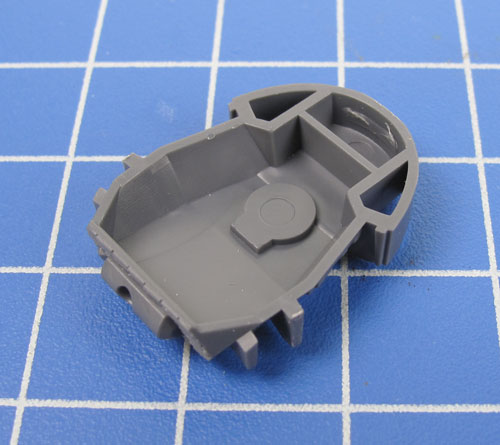
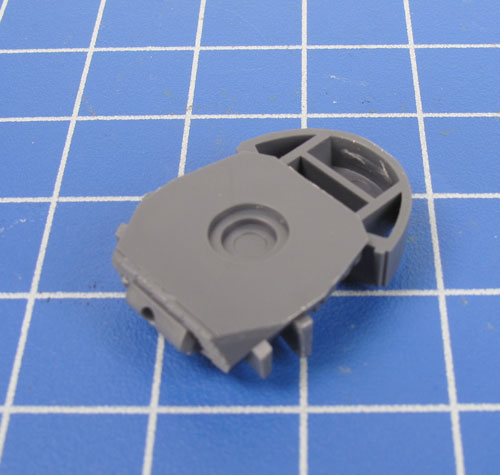
| Below: The turret consists of two pieces; an upper and lower halves as seen in the examples below. |
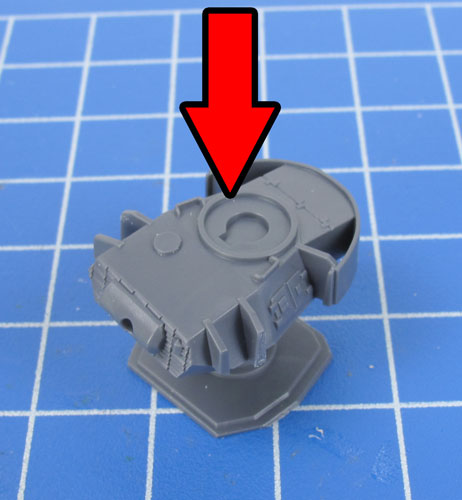
Step 1. Begin by joining the two halves of the turret. |
Below: The two halves of the turret fully assembled. |
 |
 |
 |
 |
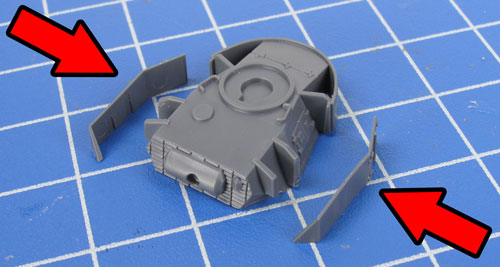
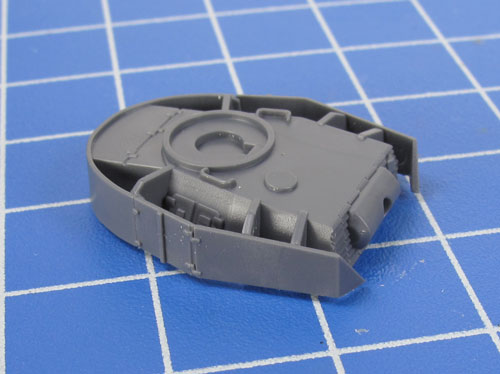
| Step 2. Next, attach the turret Schürzen. Add a small amount of plastic cement to locations indicated below. |
Below: Attaching the Schürzen to the sides of the turret. |
 |
 |
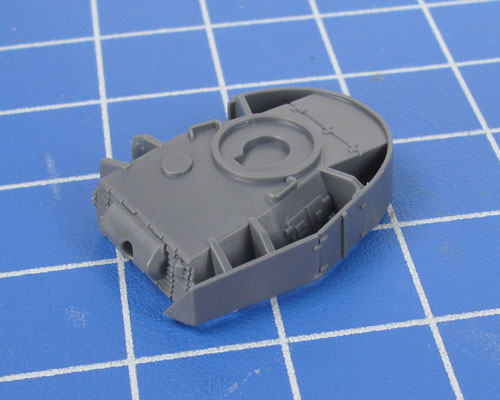 |
| Below: The Schürzen attached correctly to the turret. |
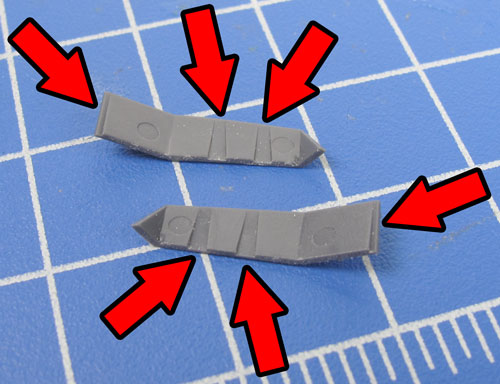
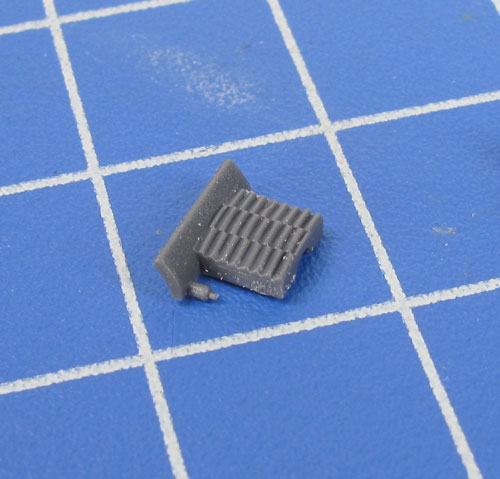
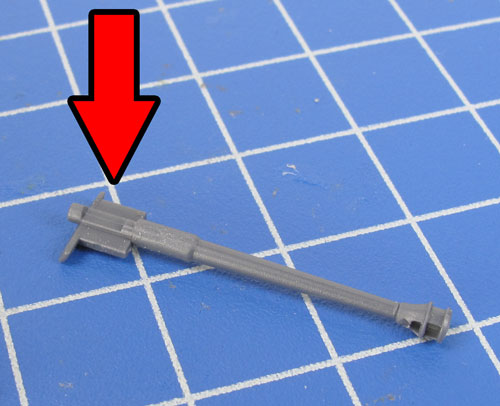
Step 3. Next, attach the top Zimmerit section to the top of the main gun. |
 |
 |
 |
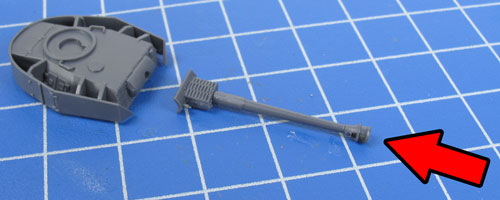
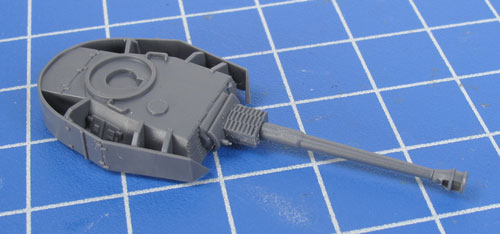
| Step 4. Attach the main gun to the front of the turret. |
Below: The main gun attached correctly to the turret. |
 |
 |
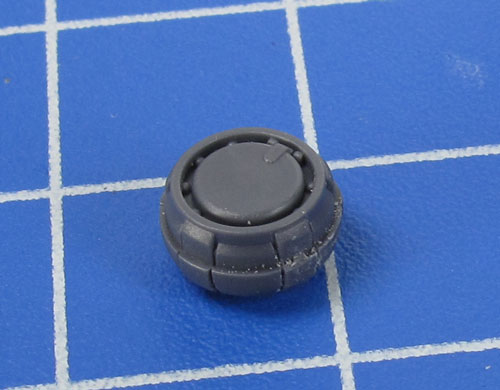
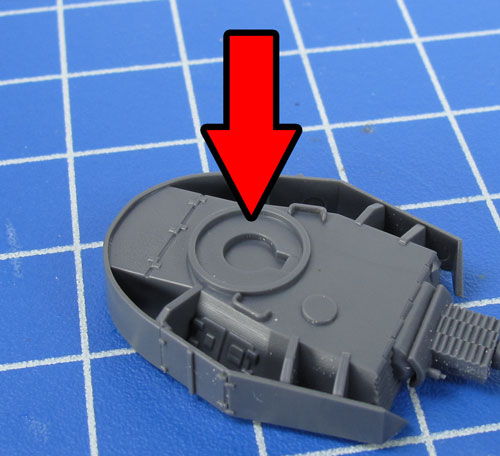
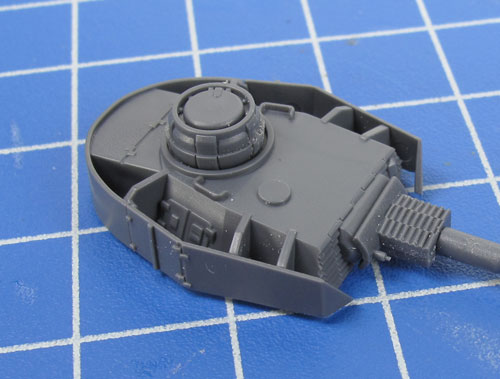
| Step 5. Finally, attach the cupola to the top of the turret. |
Below: The cupola attached correctly to the turret. |
 |
 |
 |
| Adding A Tank Commander |
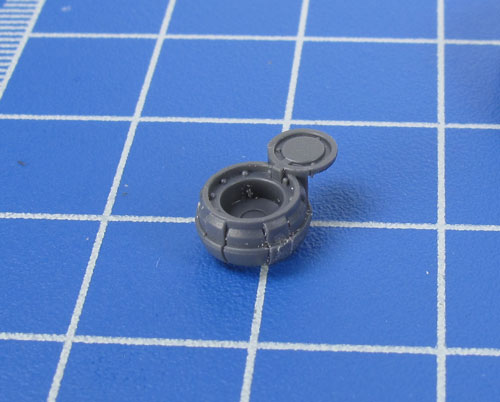
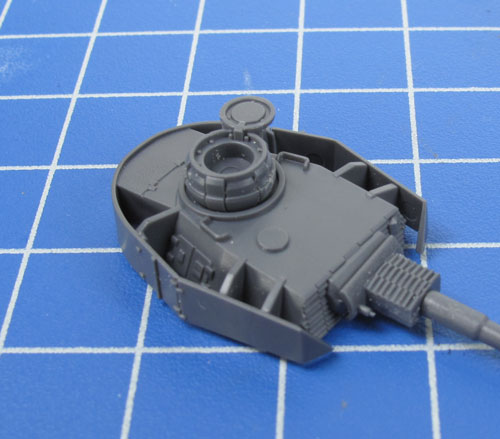
| Step 1. Begin by replacing the closed cupola with the open version. |
 |
 |
 |
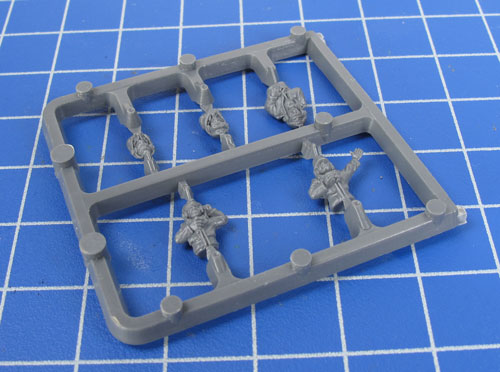
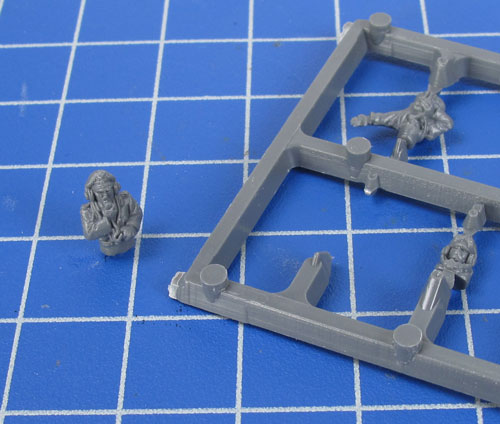
| Step 2. Next, select a Tank Commander from the sprue. |
Below: Our Tank Commander of choice. |
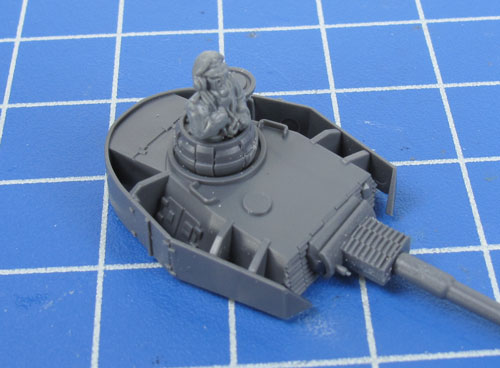
Step 3. Attach the Tank Commander to the inside of the open cupola. |
 |
 |
 |
|
Adding the Turret Peg
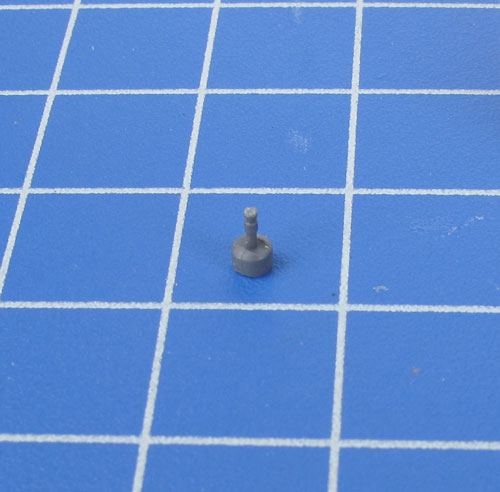
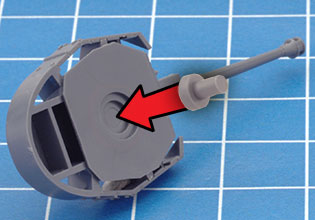
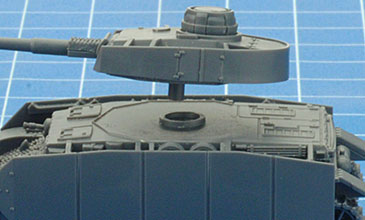
Finally, glue the turret peg into the hole in the bottom of your turret. It fits into the hole in the tank's turret ring (don't glue this!) allowing the turret to rotate to shoot at targets in any direction.
|
 |
 |
|
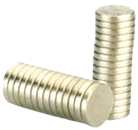
Alternatively, you may prefer to glue rare earth magnets into the recess in the hull and to the bottom of the turret. Magnets are a quick and secure way of fixing your turrets to the hulls, but they are a small added expense, which is why the turret peg is provided, leaving the choice up to you.
Rare Earth Magnets (XX105) are available through the online store here...
These 1mm x 5mm magnets fit perfectly into the round spaces in the hull and turret.
|
 |
| Adding Spare Track Sections |
|
|
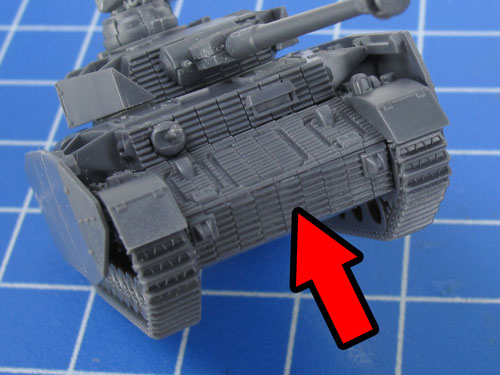
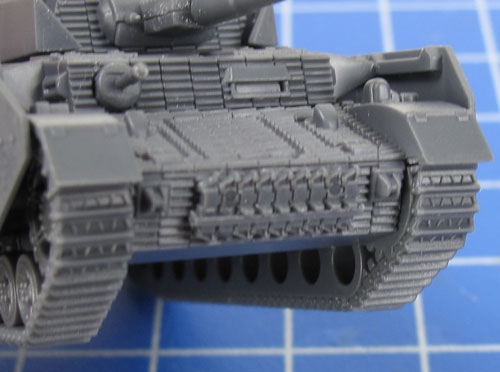
Included on the plastic sprue are two small sections of spare track links. These are optional but, along with the different variants of Schürzen, can help add some modelling variety to your miniatures.
A common place for the sections of spare tracks to be attached to the Panzer IV (Late) was on the lower half of the front hull.
|
 |
 |
Last Updated On Friday, June 7, 2019
|
|
|