
|
| |
|
|
|
|
 |
|
|
Making Gun Pits
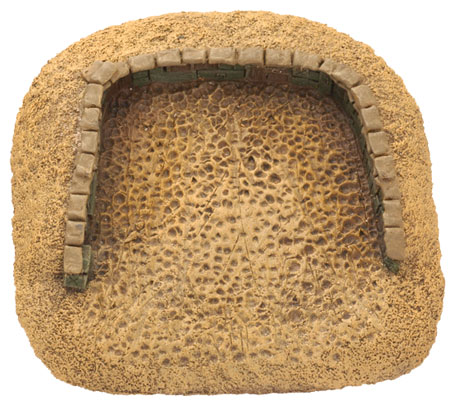 |
Gun Pits
One thing that always strikes me is how easy it is to come up with ideas to make your battlefield look great – it’s just when reality sets in and you realize time and skill is against you, aargh!
Don’t panic it can actually be quite simple, just break the idea into small and manageable chunks and have a go!
Try this step-by-step gun pit.
|
Step 1
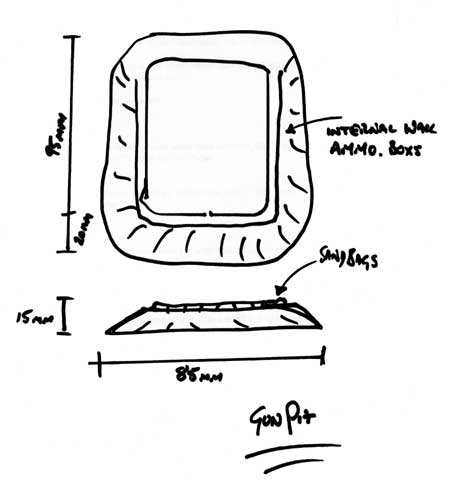
Starting with the idea I played about with sketches, then worked out measurements based on the size of a large artillery base.
[Tools you will need are; Sharp knife / steel ruler / ‘Das Putty’ or
other modelling putty or clay/ Stowage pack XX670 / PVA wood glue.]
Right: Richard’s initial sketch
|
 |
 |
Step 2
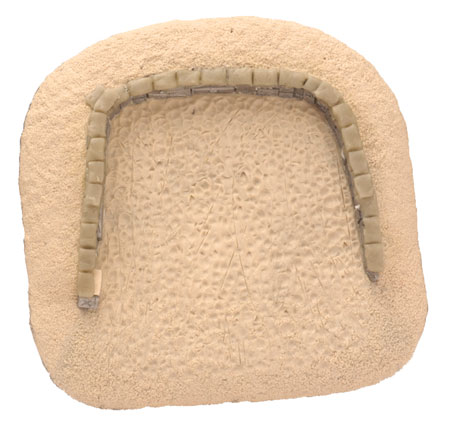
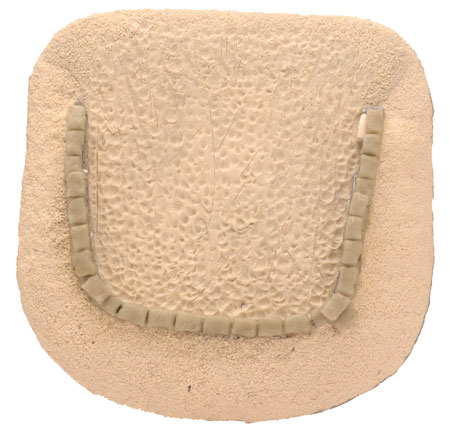
Starting with a Balsa wood base I layered ‘Das Putty’ over the Balsa until I had the right shape.
|
Step 3
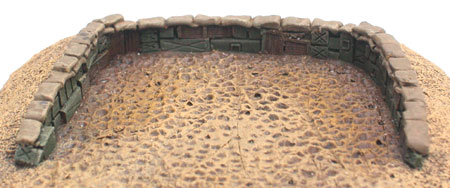
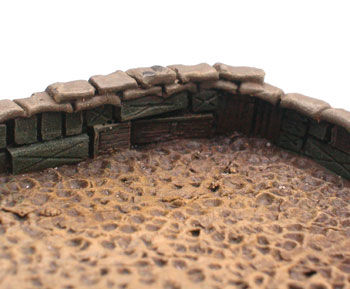
Before the ‘Das Putty’ dries add some stowage pack (XX670) bits as though they were the support for the bunker wall. Use a small ball of Das putty and gently push it down on the top edge, repeat until you have a line of ‘Sandbags’.
|
 |
 |
Step 4
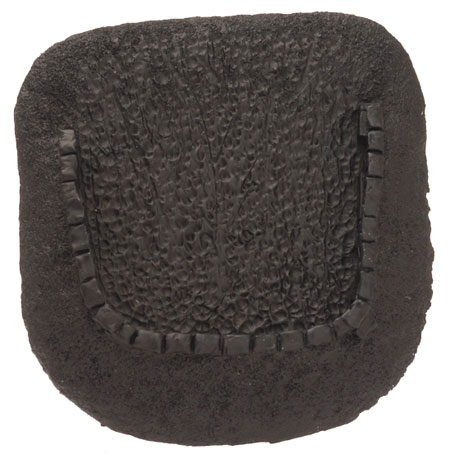
Once dry, I left it over night, I sprayed it black.
|
Step 5
Finally Dry-brush the gun pit in shades to match your gaming table
Voila! Finished in no time at all and you can use the same principle for any type of trench / bunker or defensive position. Go on - have a go!
Richard
|
 |
|
|
|