|
|
|
|
Products mentioned in this Article
--None--
|
|
|
|
|
|
|
|
|
 |
|
|
 |
Total War:
Market Garden in the Garden City
by Simon Macdonald
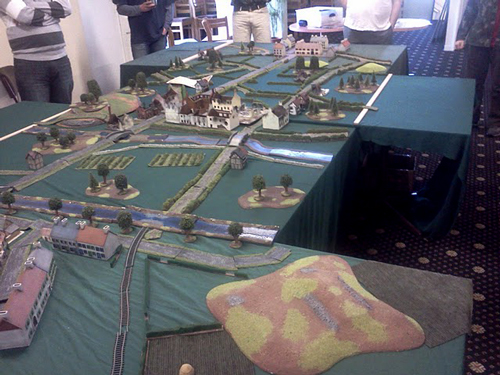
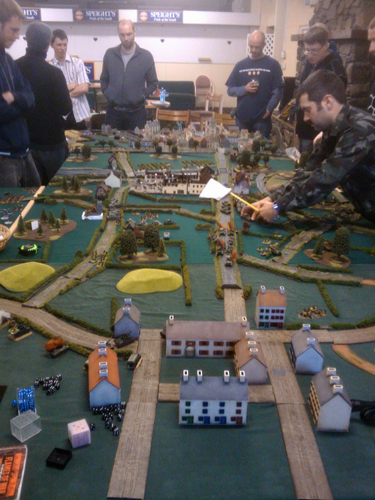
I would like to start by saying many, many thanks for such a fun day and the success of our (Christchurch’s) first 18,000 point game! I'm especially grateful that the three main goals were achieved; A fun day of gaming, inter‐player discussions (and bickering) plus getting some appreciation of the difficulties experienced during the actual operation during September 1944.
Learn more about Total War here...
|
Coming originally from the United Kingdom, it’s hard not to have heard
of Frost’s valiant stand on Arnhem Bridge. This herculean effort in such
a small time frame that ultimately ended in failure still has a place
in history, even today. Years after learning of the operation, my
interest was reawakened by my recent introduction into the world of
Flames Of War and Market Garden series of books.
Armed with the mechanics of Flames Of War and an interest in the operation, a plan started to form in my head. After some discussions around the gaming table, I had established that six other players were keen on Operation Market Garden, due to the buzz created in play testing more people started learning about the historic event and more people seemed to ask; Why did it fail? Yes, the operation was audacious; but with all those elite Allied units? With the growing level of enthusiasm, we had to halt applications at a total of fifteen players!
Learn more about Hell’s Highway here…
Learn more about A Bridge Too Far here… |
 |
|
The end result was a narrow German victory in which Frost's Paras just lost the bridge as the first Shermans were honing into view. The Germans had stalled the Allies long enough to squash the pocket around the bridge. As a result a sense of déjà fu came over the players.
I'd like to thank all the players for making this a fun day and especially the play testers. A special thank you also has to go to Field Marshal Andy Tucker for herding along the Germans forces and ironing out many of the early rules troubles. The unsung hero of the day was Steve Stout who contributed most of the terrain (and body count in Oosterbeek) on the day.
|
Development
Given the huge scale of Operation Market Garden and all its complexities and stages it soon became apparent that we would need to try and break it down into areas and have a more scenario based feel.
One of the things that struck us all about Operation Market Garden was its sheer daring. The attempt to put that many airborne troops into action and squeeze armour up a two tank front over a bridge 60 miles (100km) behind enemy lines borders on the absurd. With this in mind the map of the game had to reflect this super tight time frame and knowing that gamers can only stretch the good will at home so far would need to be carried out within a single day.
|
|
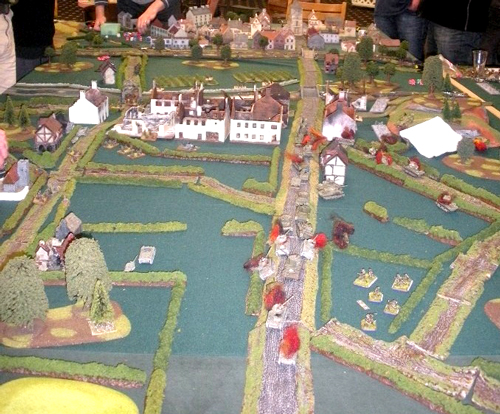
With these issues in mind we set about getting the size sorted. This mechanic was based on the Total War rules and ended up being a table 16 feet long and 6 feet wide, taking off deployment areas etc; this gave us 12 feet between XXX Corps and Arnhem Bridge. With a standard tank moving 12 inches per turn, this gave us a 12 turn game just to keep the armour on its toes.
Squeezing these turns into a single day was a challenge and meant adhering to strict 30 minute per turn timetable (15 minutes each side). This, in turn, governed the size of the companies; 1000 point per player seemed too small, especially for the XXX Corps armoured companies and 1500 points of Paras proved too large to manoeuvre within the 15 minutes. So, in the end we settled on 1200 points per company.
|
 |
Initially we based the table around a single Total War mission with the Allies starting on one of the thin ends of the table and the objectives staged up the road at roughly 2 feet (60cm) apart with each side accumulating a victory point per objective per turn. Unfortunately, this ended within four turns as the fully deployed German force chewed the Allies to bits.
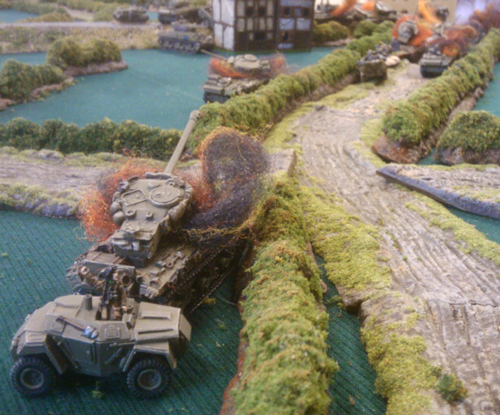
In the second attempt, half of the German companies deployed on table, the others half in reserve. To help balance the early loss of the Allies first time around, the Allies got rolling reserves of XXX Corps tanks. Every time an armoured platoon was destroyed on Hell’s Highway it was reborn further back down the road. This certainly prolonged the game; however the huge Allied steam roller of armour was obviously going to win through by sheer weight. It made the Allied tanks quite aggressive to the point of reckless as there was no incentive to save their own skins. The lack of flaming wreckage along the main road as tanks were removed to be recycled was also disappointing. Everyone (even the Allies) wanted to see long lines of burning tanks along the road!
|
 |
| These two play tests gave us a valuable insight
as to how to structure the game. It became obvious that the Allies
needed an early advantage in order to get anywhere, but needed to take
losses (and fear taking them) in order to stop completely reckless
behaviour. You can see this mechanic at work in any Flames Of War
mission with the Reserve special rule where at least half of the
defending army will be held in reserve.
|
We decided to upscale this mechanic in terms of 2:1 ratio of units on the table in the attackers (Allies) favour with reserves arriving later. The only alteration to this was to be around Arnhem Bridge, where we wanted the valiant Frost to hold on as long as possible, so we allowed a 1:1 deployment ratio here. The overall ratio was 9 Allied players versus 6 German (a 3:2 ratio overall), with two of the German forces held in Scattered, Delayed Reserve.
|
|
|
| The Armies |
|
|
|
British Airborne: Deployed at Arnhem Bridge.
|
Luftwaffe: Deployed in Nijmegen.
|
British Airborne:Deployed at Oosterbeek.
|
Fallschirmjäger: Deployed on Hell’s Highway.
|
| British Airborne:Deployed at Oosterbeek. |
German Infantry: Deployed in Oosterbeek.
|
US Airborne: Deployed at Nijmegen (East).
|
German Infantry: Deployed in Arnhem.
|
| US Airborne: Deployed at Nijmegen (West). |
German Armour: Held in Delayed Reserve.
|
XXX Corps: Deployed on Hell’s Highway.
|
German Armour: Held in Delayed Reserve. |
| XXX Corps: Deployed on Hell’s Highway. |
|
| XXX Corps: Deployed on Hell’s Highway. |
|
| XXX Corps: Deployed on Hell’s Highway. |
|
|
Setup and Map
In order to capture all the various elements of Operation Market
Garden, the whole table was broken up into several areas. These areas
along with the mission type are shown on the map below. |
A. Hell’s Highway
Deployed as per No Retreat where four companies of XXX Corps defend against a company of Fallschirmjäger. |
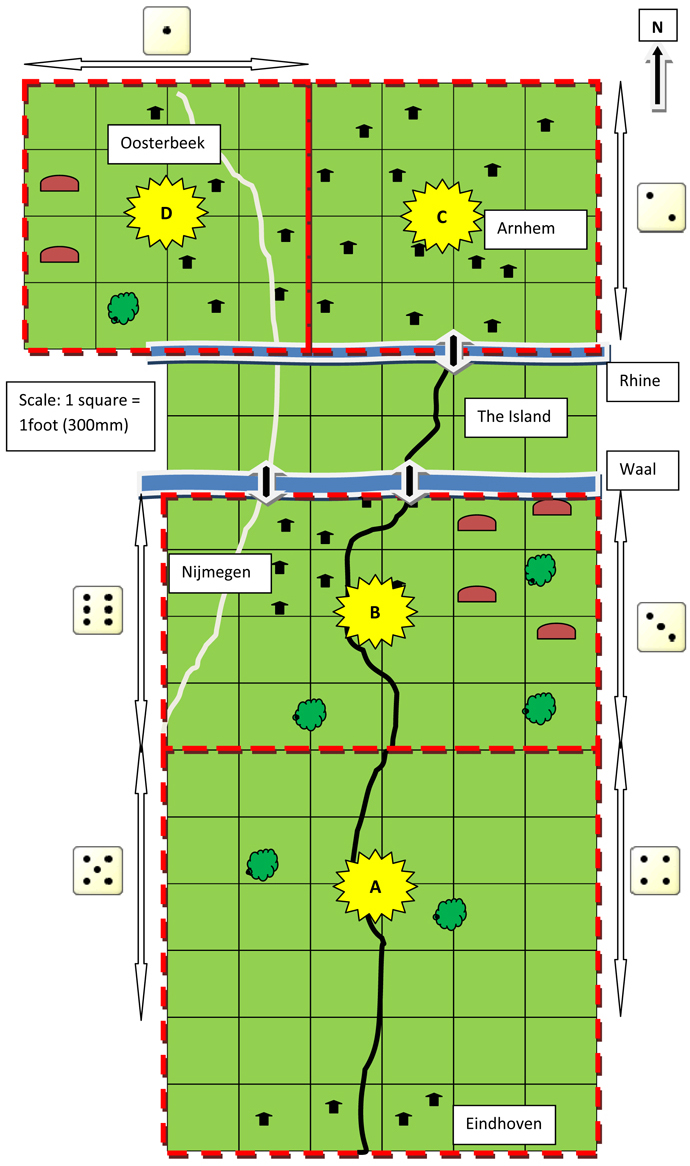 |
B. Nijmegen
Deployed as per Seize and Hold where a company of Luftwaffe defend against two US Airborne forces. These Airborne forces move on in their entirety for the East and West table edges at the start of turn one.
C. Arnhem
Deployed as per Witches Cauldron where one company of British Airborne deployed at the bridge with their backs to the Rhine. One German (SS) company moves onto the table on turn one.
D. Oosterbeek
Deployed as per No Retreat where one German company deploys as defender against two attacking British Airborne companies.
|
 |
The Battle
Turns One to Four
Hell’s Highway
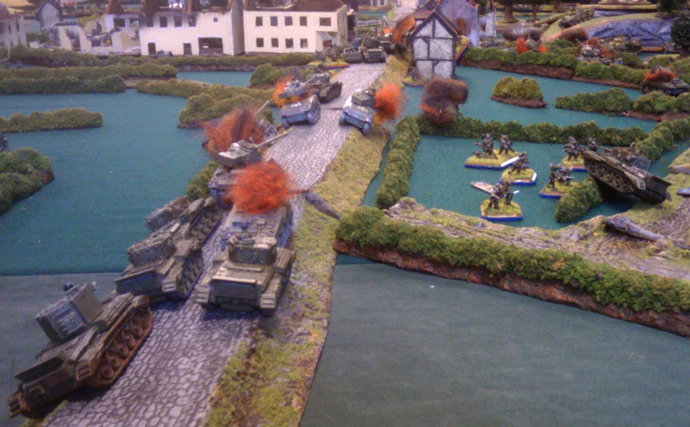
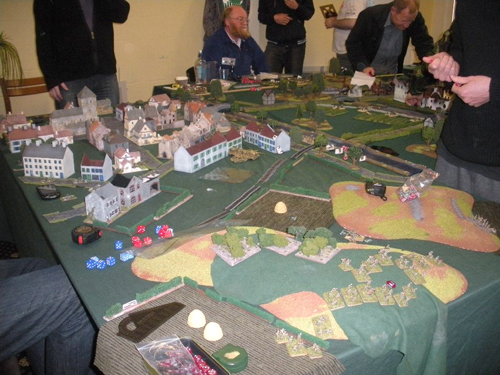
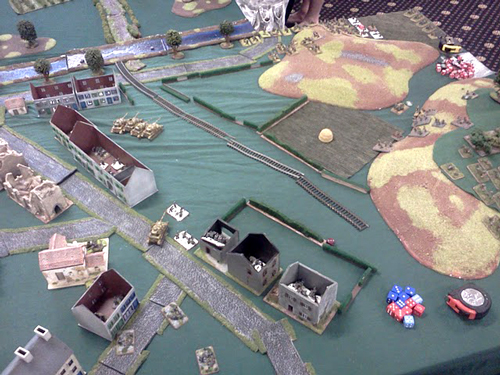
The four companies of Guards Armour rolled forwards with gusto up a Fallschirmjäger infested Hell’s Highway. With the primary FJ platoons equipped with Panzerfausts, a Panzerjäger, a PaK40 platoon in ambush in addition to 88s lobbing shells down the length of the road; the armoured commanders soon started to quake in their boots. It is rumoured that XXX Corps shamefully requested that it should be the airborne that should come to the rescue the tanks!
|
Arnhem & Oosterbeek
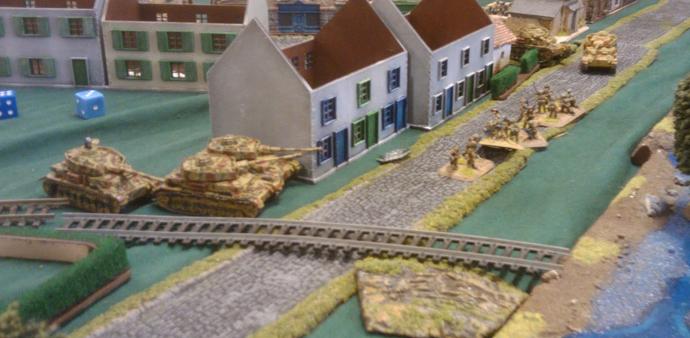
Frost’s dug in Paras easily rebuffed the initial advances and assaults
around the bridge; so confident were the Arnhem contingents that they
even tried breaking open the river corridor through to Oosterbeek
themselves! For their part the Oosterbeek contingent started to apply
pressure along the whole front with infantry and anti-tank guns, but the
Germans held fast. |
 |
|
Turns Five to Eight
Hell’s Highway
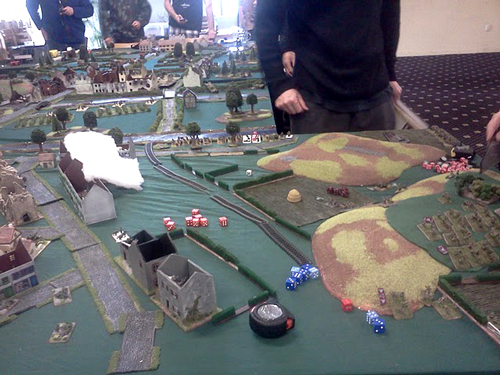
Finally, with the help of the 82nd Airborne the British tankers were breaking through to Nijmegen. The remnants of the FJs were still doggedly hanging onto the main road and limited the three possible routes down to only one on the West side of the town. The Luftwaffe was starting to feel the heat of the Airborne breaking into the Western suburbs until the first German reserves turned up in Nijmegen. Now the Allies had Panthers to deal with!
|
Arnhem & Oosterbeek
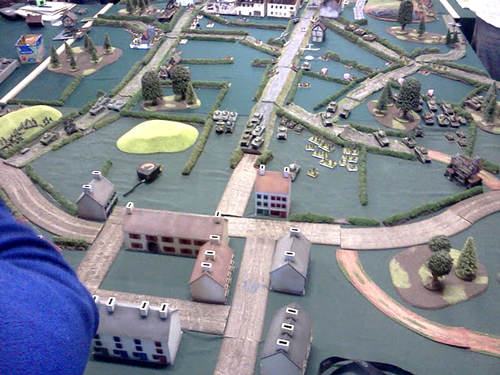
The Oosterbeek pocket continued to apply pressure on the German blocking force with little to show for it except some exceptionally bloody noses. The only hint of a breakthrough was along the river. For his part Frost was still holding on, but continued, relentless pressure by the Germans with an ever increasing amount of armoured reserves were certainly taking their toll as house by house one the Germans gained ground.
|
 |
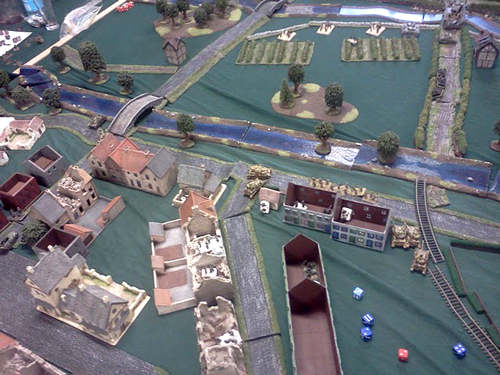 |
Turns Nine to Twelve
Hell's Highway
A continuous line of burning tanks now lay along the length of Hell’s
Highway from Eindhoven to Nijmegen. Josh counterattacked with his
Panthers just to the right of Nijmegen as the US Airborne assisted the
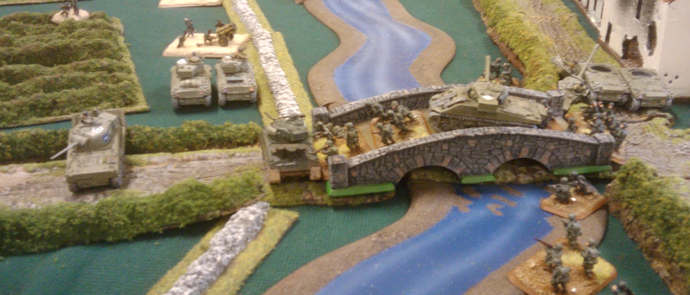
Guards tanks to cross the bridge onto The Island.
Frost's Last Stand
With the XXX Corps still out of reach, the German's finally manage to
put an end to Frost's stand at Arnhem Bridge. Frost's last platoon
breaks in the ruins of Arnhem as the StuGs finally cut them off from the
bridge.
|
Oosterbeek Pocket
Throughout the whole game the main body of the British Airborne are
cooped up in their pocket and suffer heavy losses at every attempt to
break through to Arnhem. The Paras continue trying to sneak along the
riverbank only to be pinched off once and for all by the German
counterattack. In the end it certainly proved to be a bridge too far.
~ Simon.
|
Back Row (left to right): Keith, Nathan,
Stephen, Lionel, Jason, Jamie, Martin, Pooch.
Front Row (left to right): Dave, Rick, Simon, Jeff, Josh, Andy. Brent on
Camera. |
Last Updated On Thursday, October 20, 2011 by Blake at Battlefront
|
|
|