|
|
|
|
Products mentioned in this Article
--None--
|
|
|
|
|
|
|
|
|
 |
|
|
Situation Report
German
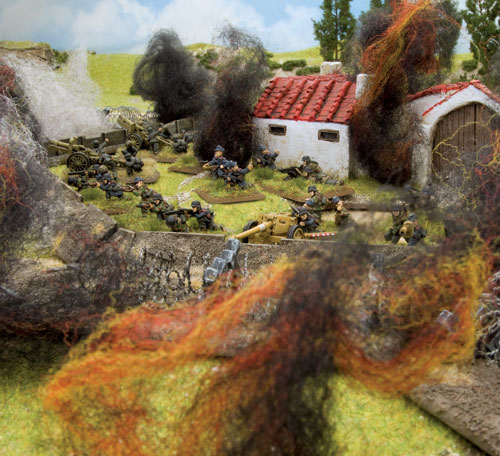
The American forces have broken out of their beachhead after landing successfully at Anzio. The ferocity of the fighting has been severe. Having taken heavy causalties trying to contain the breakout, the Germans are expecting the heavy fighting to continue with a renewal of the American offensive. Time is a factor. Time to regroup and fall back to a more defendable position; the enemy’s advance has to be delayed for as long as possible to allow for the safe withdrawal to the next defensible position. The Panzergrenadiers of the Hermann Göring Fallschirmpanzerdivision have been given the task of throwing the Americans out of Italy!
Right: The heavy fighting has taken its toll on the Germans. |
 |
 |
American
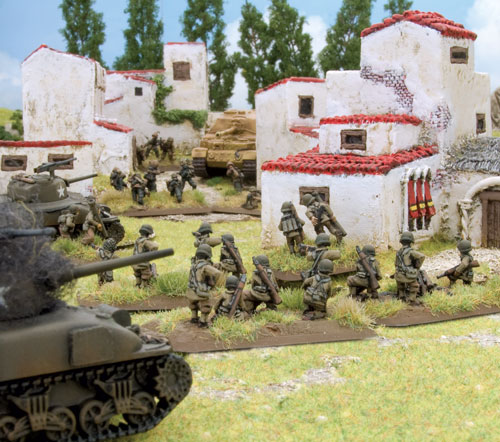
The Germans are on the run! The Americans need to exploit their gains by applying continuing pressure on the German forces. Time is a luxury that the Americans don’t have as the German forces are looking to pull back to a more defensible position. The Americans must cut off the Germans before this can be achieved. Achieving this goal will allow future casualties to be minimised and may even shorten the war. The fighting spirit of the men of the 3rd Infantry Division is surely up to the task.
Left: The Americans keep the pressure up on the German positions.
|
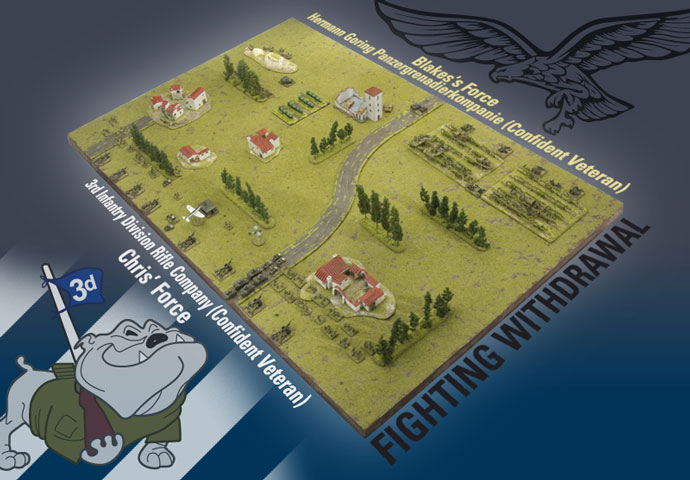
The Battlefield
|
Turn One
Advancing up the road with the Stuarts in support, the I&R (Intelligence and Recon) platoon are able to sniff out the position of the German ‘88s’. Reporting back to the Company Commander, the infantry is ordered to advance immediately on both the flanks.
Below: The Intelligence and Recon platoon advance supported by the Stuarts. |
|
|
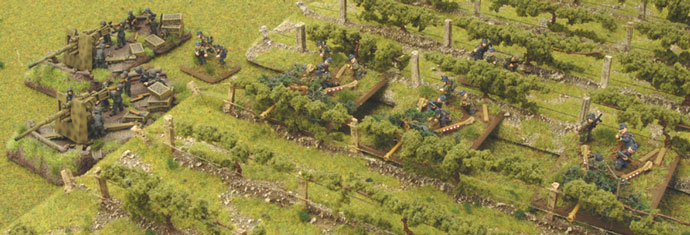
Left: The ‘88’ position with the PaK40 platoon waiting to spring an ambush. |
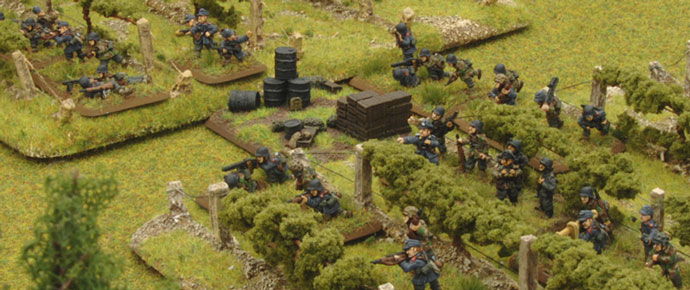
| Above and below: The American infantry advances on both flanks. |
| Below: The Strategic Bombardment in effect. |
| Right: The Panzergrenadiers rally behind the leadership of the Company Commander. |
 |
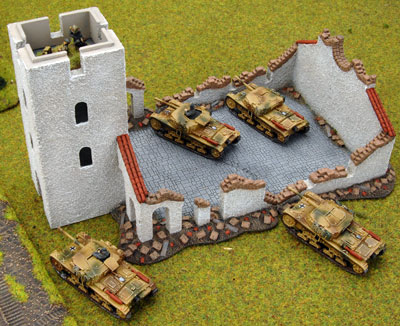 |
The American infantry on both flanks is pinned down with accurate artillery fire provided by the observer in the bell tower and the skilled crews of the 15cm infantry guns.
Left: The artillery spotter in the bell tower with the Semoventes lurking nearby.
|
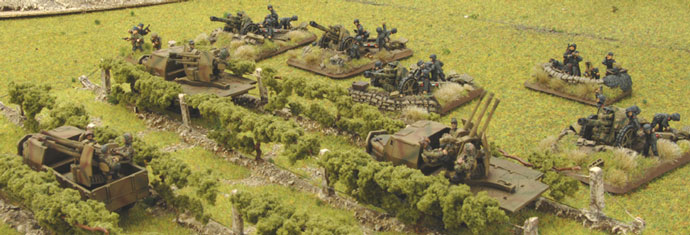
Below: The 15cm sIG33 infantry guns support the Panzergrenadiers.
|
Right: The German 10.5cm leFH18 Artillery position protected by the AA halftracks.
|
|
Turn Two
The Americans call in air support and artillery to try and soften up the German positions.
Below: American artillery tries to soften up the German positions.
|
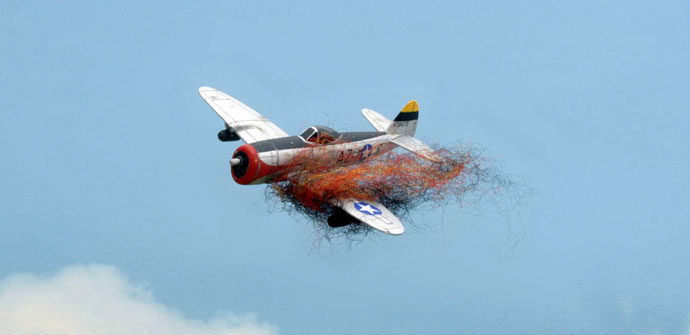
However, the German foxholes provide adequate protection and the anti-aircraft defence is up to the challenge and deals with the threat of the incoming air attack.
Right: A P-47 goes down in flames.
|
 |
To prevent the ‘88s’ from holding up the advance further still, the Stuarts dash out in a valiant attempt to eliminate the ‘88s’. Un-phased by both the artillery bombardment and the ensuing fire from the Stuarts, the ‘88s’ are able to rally and return fire.
Below: The Stuart’s dash out only to face the guns of the waiting Germans.
|
Undetected by the I&R platoon, the PaK40 platoon spring their ambush as the Semoventes move up into a flanking position in the tree line. The combined firepower of the ‘88s’, PaK40 platoon and Semoventes proves too much for the Stuarts and the unit is completely destroyed. First blood belongs to the Germans!
Below: The Stuarts wither in the German gun fire. |
The sacrifice of the Stuarts is in vain as the German artillery continues to prevent the American infantry from advancing on the flanks.
Turn Three
The Rifle platoon is able to rally and take cover in the village from any further artillery fire as the Assault platoon are able to dust themselves off long enough to move up to the tree line in front of the German position in the Vineyard. Dismounting their jeeps, the I&R platoon take shelter behind the burning Stuarts as the American artillery continues to pound the German positions unmercifully.
Below: The I&R platoon take up positions behind the destroyed Stuarts. |
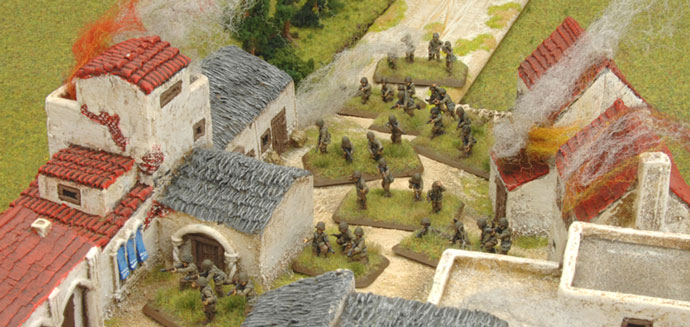 |
Left: The Rifle platoon enters the village taking cover from the artillery fire.
|
Above and below: The American artillery continues to soften up the German positions.
|
The German commander sensing his right flank is secure orders the withdrawal of the 15cm infantry guns knowing that the mobility of the Semoventes can provide aid if needed. The order is also given to open fire on the advancing Assault platoon.
Below: The Assault platoon move up to the tree line under fire from the German positions.
|
Turn Four
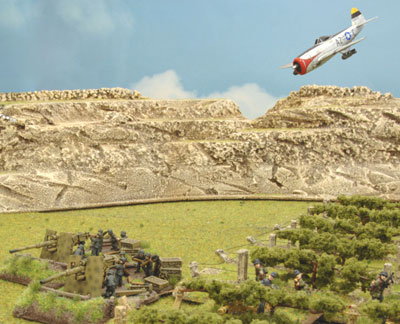
Air support is again called for in an attempt to eliminate the ‘88s.’
Right: A P-47 attempts to range in on the '88s.'
|
|
In one last attempt to weaken the German positions in the Vineyard, the Fire Direction Center (FDC) orders a Coordinated Bombardment which devastates the German positions.
Below: The Coordinated Bombardment hammers the German positions.
|
The Assault platoon is then ordered to engage the shattered German positions in the Vineyard. However, the battle-harden Panzergrenadiers are able return enough fire to break up the assault. Despite the hail of bullets, one man proves himself worthy of the Medal of Honor as he steps into the fray.
Below: A future Medal of Honor winner steps into the fray.
|
The heroic soldier of the 3rd Infantry Division is able to single-handedly destroy an AA halftrack as his buddies fall back to the tree line.
Below: Single-handedly taking out an AA halftrack. |
The Panzergrenadier’s weak counterattack is easily absorbed by the Assault platoons who, thanks to the leadership of the Company Commander are able mop up the remnants of this spent German unit.
Below: The weak German counterattack is easily handled by the Assault platoon.
|
Sensing victory is near; the Assault platoon punches a hole in the German line and continues the assault, this time targeting the PaK40 platoon. Two guns are quickly destroyed in the melee that follows as the remainder falls back. The handful of American infantry who survived the action are left to consolidate their position towards the objective.
Below: The Americans make a push for the objective.
|
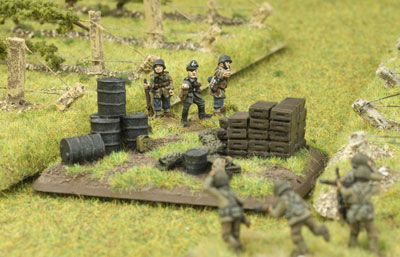 |
The German commander orders the withdrawal of the badly mauled PaK40 platoon and orders the members of the artillery platoon command team forward to contest the objective and prevent the collapse of the entire German front as the AA halftracks have since fled the field.
Utilising their mobility, the Semoventes attempt to support the heavily depleted left flank.
Left: The Artillery Command team contest the objective. |
Turn Five
With the German left flank under heavy pressure, the artillery switches its focus to the German right flank as the American Rifle platoon emerges from the village.
Below: The Rifle platoon applies pressure to the German right flank.
|
Catching the Semoventes in the open while attempting to relieve the left flank, an air strike is able to reduce an ‘88’ and a Semovente to a mass of twisted, burning steel.
Below: The Semoventes pay the price for being caught out in the open.
|
With the American artillery failing to range in on the German right flank, the Rifle platoon is forced to launch its assault without any fire support. In the face of murderous defensive fire, another hero steps forward. However, this time the fresh Panzergrenadier are able to counterattack and decimate the already weakened American formation.
Below: The German counterattack crushes the Americans. |
The hero survives however, but only long enough to cover the retreat of his comrades as they flee the battlefield. This Medal of Honor will be awarded posthumously.
Below: The Medal of Honor winner covers the retreat of his comrades. |
Undeterred by the air strike, the Semoventes are able to eliminate the last members of the Assault platoon and secure the objective on the German right flank.
Below: The Semovente platoon secures the objective.
|
With the objective now secure, the artillery battery is ordered to withdraw.
Turn Six
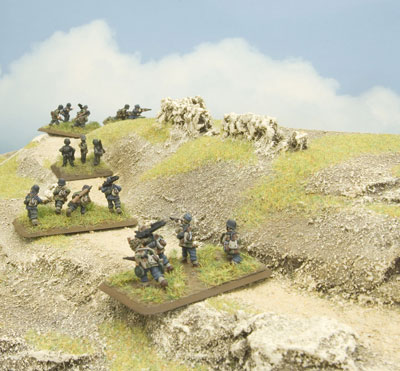
Desperate for a breakthrough; the Americans throw the kitchen sink at what is left of the German formations. However, the fog of war prevents any of the artillery or air support from inflicting any further damage on the German forces. With the right flank now secure, the Panzergrenadiers join the withdrawal taking the objective with them.
Right: The Panzergrenadiers withdraw after securing the right flank. |
|
Combined fire from the Semovente platoon and the lone ‘88’ keep the I&R platoon from a last ditch attempt at making a push for the objective.
Below: The last ‘88’ and Semovente platoon holds off the I&R platoon.
|
Turn 7
With the American artillery batteries still a non-factor, the endless waves of air support delivers what proves to be the fatal blow to the Germans. With the destruction of the last ‘88’ the German forces fall back is disarray.
Below: The fatal blow delivered to the last ’88.’
|
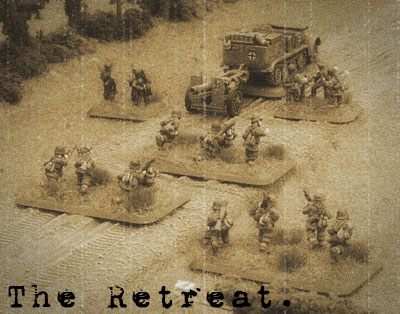 |
With this demoralising defeat, the Americans have cemented a foot hold in Italy. Can the Germans regroup after this retreat to fight another day?
Left: The Germans face a long road ahead. |
The American forces have achieved the breakthrough they were looking for. But can they cut off the remaining German forces in the area and ensure total victory in Italy? And at what cost will this victory be achieved?
Below: Victory but at what cost?
|
Last Updated On Monday, October 18, 2010 by Blake at Battlefront
|
|
|