|
|
 |
|
|
Assembling the DFS-230 Glider
|
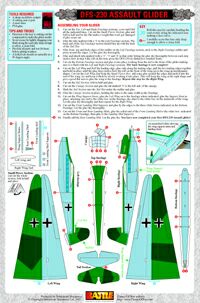
Download zipped PDF of Glider...
|
Card DFS-230 Glider
Dion, Battlefront’s Graphic Designer, is also a handy modeller and he has combined both skills nicely to bring you the great card model of the DFS-230 Glider that cames with the old Diving Eagles Handbook. You can now download the file and make as many as you like. Dion has also written a handy guide to putting your models together. Just follow the simple steps below and on the card.
For more Gliders permission is granted by Battlefront Miniatures to colour photocopy the original DFS-230 sheet for personal use only. Or you can down load a zipped PDF version of the original to print on a colour printer.
TOOLS REQUIRED
• A sharp modellers scalpel
• A cutting mat or pad
• A steel ruler
• PVA glue
|
ASSEMBLING YOUR GLIDER
Step 1
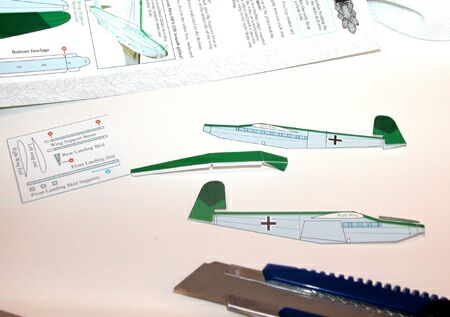
Cut out the Top, Left and Right Fuselage sections, score and fold all the indicated lines. Cut out the Small Pieces Section, glue and fold in half and let dry flat under a weight that won’t get damaged if glue seeps out.
|
 |
 |
Step 2
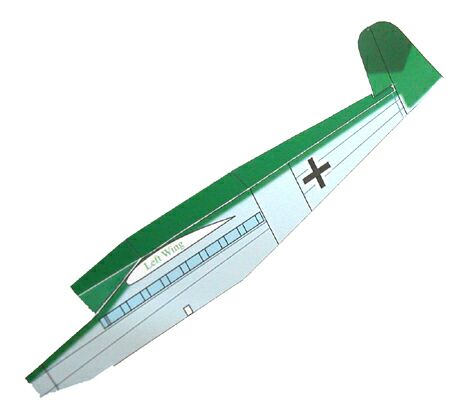
Glue the tabs marked with a ‘1’ to the Left Fuselage section. The back end of the Top Fuselage section should line up with the back of the Tail Slot.
|
|
Step 3
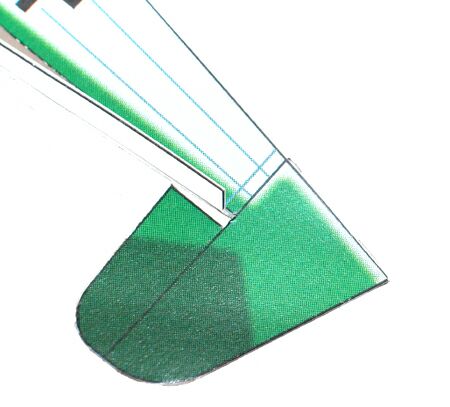
Glue front, top and back edges of the rudder on the Left Fuselage section, stick to the Right Fuselage rudder and press around the edges. Let the glue dry thoroughly.
TIPS AND TRICKS
• Precision is the key to cutting out the components to make the glider model.
• Score/crease by lightly dragging your blade along the card only deep enough to allow a clean fold.
• Pre-fold all parts and test fit them before gluing in place.
• A folded tab should sit naturally at a 90 degree angle.
|
|
 |
 |
Step 4
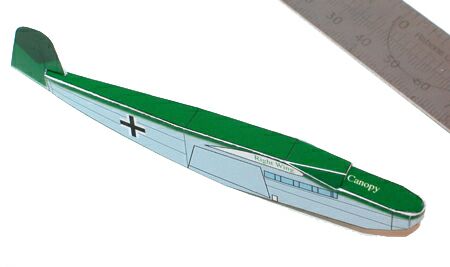
Glue and attach tabs marked with a ‘2’, ‘3’ and ‘4’ in that order letting the glue dry thoroughly between each step (notice how in step 4 the roll on the nose gives the DFS-230 its distinctive rounded front).
|
|
Step 5
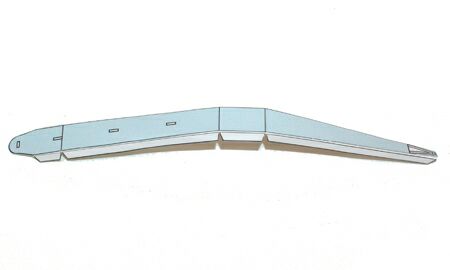
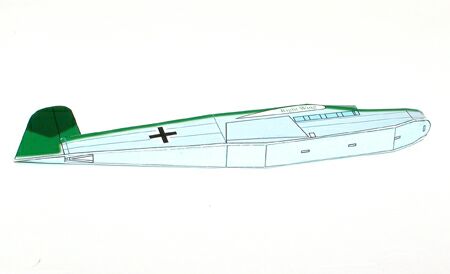
Cut out the Bottom Fuselage section and glue it into place working
from the tail to the front of the glider making sure it is flush with
the Left and Right Fuselage sections. The basic fuselage is now
complete!
|
 |
 |
Step 6
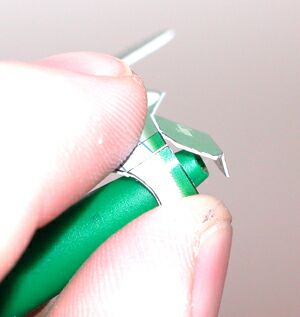
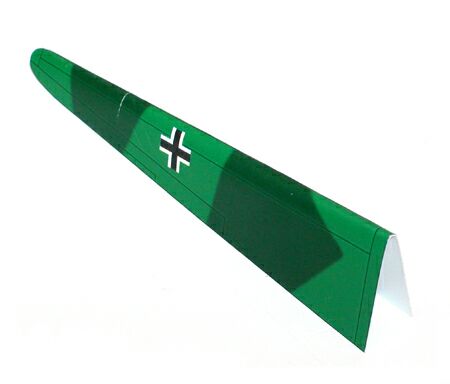
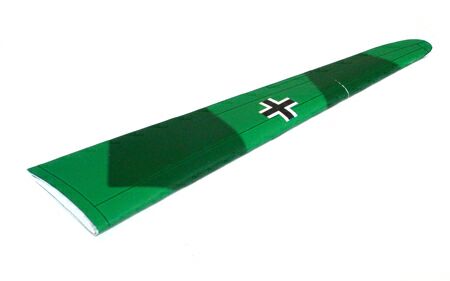
Cut out the Left Wing and Roll the leading edge, glue only along the trailing edge, pull the two trailing edges together and hold in place until the glue dries (notice how the roll on the front of the wing gives the wing an aerodynamic shape).
|
| Cut out the Left Wing End from the Small Pieces
Box, add some glue around the edges and push it into the end of the
wing, try and keep it flush by slowly working it into place. This will
keep the wing in the right shape and give a good flat area to glue the
wing to the fuselage. Repeat this step for the Right Wing. |
 |
 |
Step 7
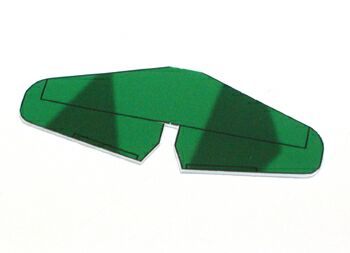
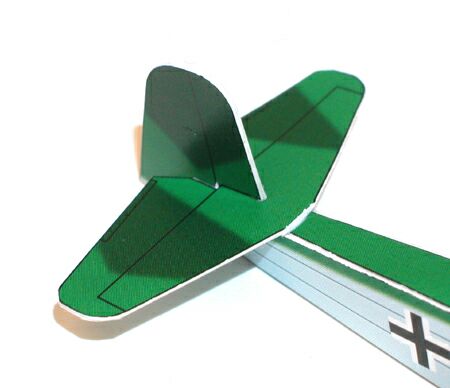
Cut out the Tail Section, fold in half and glue.
|
Step 8
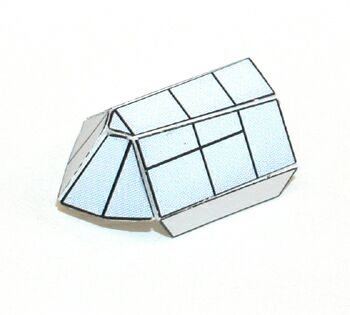
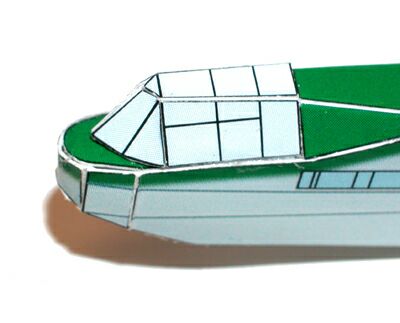
Cut out the Canopy Section and glue the tab marked ‘5’ to the left side of the canopy.
|
 |
 |
Step 9
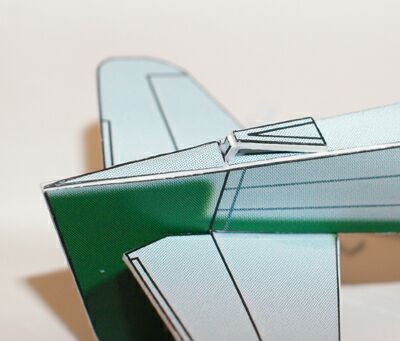
Slide the Tail Section into the Tail Slot under the rudder and glue.
|
Step 10
Glue the Canopy Section in place, holding the sides to the same width as the Fuselage.
|
 |
 |
Step 11
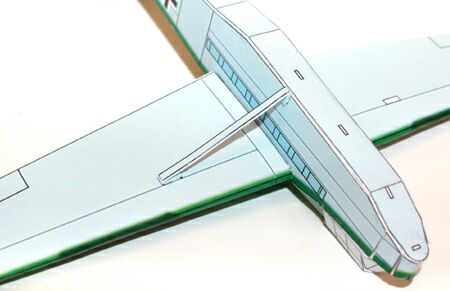
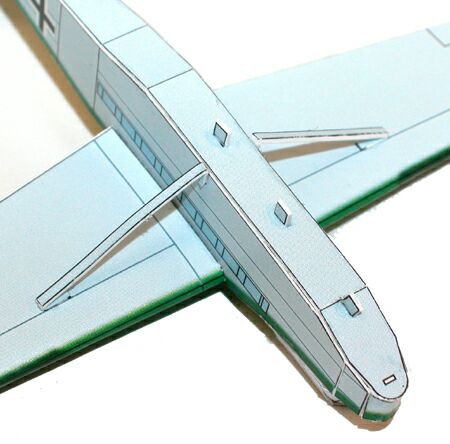
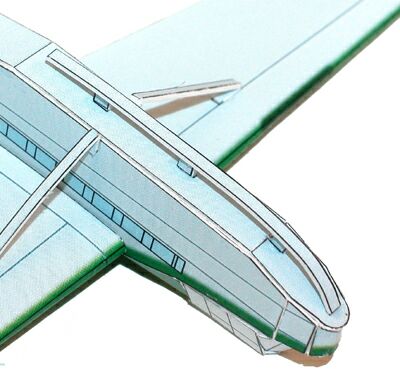
Cut out the Wing Support Struts, glue the Left Wing on to the fuselage where indicated, glue the Support Strut in place, attaching one end to the white box on the fuselage, the other to the white box on the underside of the wing. Let the glue dry thoroughly and then repeat for the Right Wing.
|
Step 12
Cut out the Front Landing Skid Supports and glue by the edges to the three white boxes indicated on the Bottom Fuselage, Let the glue dry thoroughly.
|
 |
 |
Step 13
Cut out the Front and Rear Landing Skids, glue the rolled end of the Front Landing Skid to the white box indicated on the Bottom Fuselage, then glue to the Landing Skid Supports.
|
Step 14
Finally add the Rear Landing Skid. Let the glue dry. You have now completed your first DFS-230 Assault glider!
|
 |
|
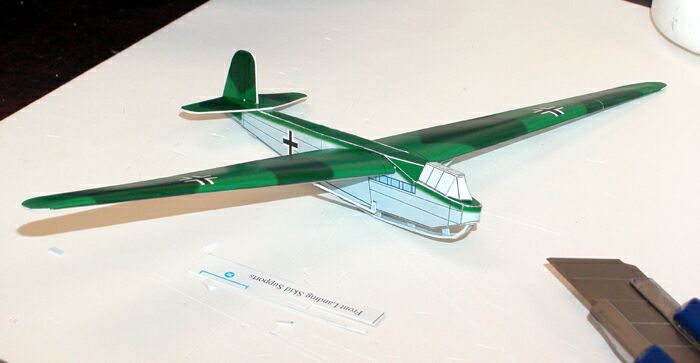
The completed DFS-230 Glider, all it needs now is a touch up with some paint along the score lines.
|
|
|
|