|
|
|
|
Products mentioned in this Article
--None--
|
|
|
|
|
|
|
|
|
 |
|
|
 |
If He Hollers, Let'em Go!
with Rick Gearheart
We Battle Badgers generally play every Thursday night at Games Universe in Franklin, but over the past two weeks a birthday and a work event have kept me from attending. My buddy and fellow Battle Badger Mark agreed to meet me at the Badger Bunker (conveniently located in the basement of my home and next to the scotch) for a friendly game of Flames Of War. We agreed to a 95 point game, using the More Missions battle plans, and built our lists knowing at least one of each other’s formations. Mark would be bringing DAK Rifles, and I would be playing my British Motor Company.
|
|
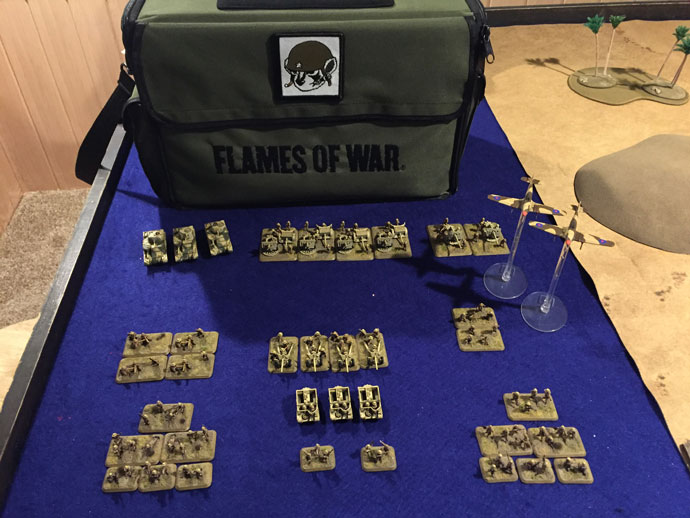
Rick’s Motor Company (pictured above) consisted of:
Motor Company Formation
Motor Company HQ
2 Motor Platoons
6 Pounders
Mortar Section
Vickers MG Platoon
Universal Carrier Patrol
Support
25 Pounders
17/25 Pounders
Hurricanes
Grants
Cards
Lucky, Guards Motor Company, Artillery Expert, Tenacity, and Captured Tank
|
|
We’re sort of sticklers for pretty games, so this list was a function of what I had painted, and what I expected I’d need. There’s a good deal of anti-infantry capability in there, with a nice strong formation for some staying power. The list also contains a large amount of anti-armor assets, though the one shortcoming is my reliance on a pair of pheasant guns (the 17 Pounders) to handle the possibility of Heavy Armor, a thing I was expecting to see as Mark has a penchant for tigers. However, the Brits don’t have much else to pull tiger teeth with without relying on some help from the Yanks, so them’s the breaks I suppose.
|
|
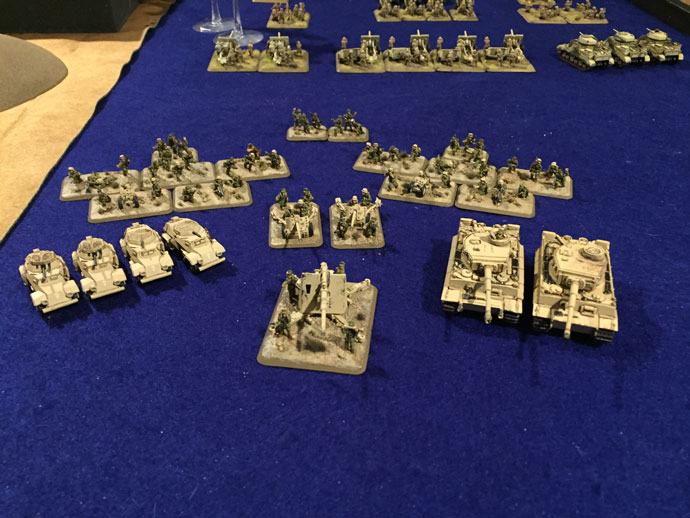
Mark’s DAK Rifle list (pictured right) consisted of:
Rifle Company Formation
Africa Rifle Company HQ
2 Africa Rifle Platoons
5cm Tank-Hunter Platoon
Support
SD KFZ 221 & 222 Light Scout Troop
8.8cm Heavy AA Platoon
tiger Heavy Tank Platoon
|
|
|
Selecting A Mission
Welp, it’s game-time, and Mark lets not one, but two VERY large cats out of the proverbial bag. Two tigers, I’m not really prepared for one tiger, a pair could make this game a very short affair indeed. I can’t do much about that with the list, so it’s time to start trying to minimize those tigers via game plan. You’d think my first reflex would be to hope to fight a defensive battle, but I’m not keen to rely on some slit trenches and a pile of AT9 weapons against those tigers. I figure I’m better served to try to force Mark to put those tigers in reserve, and try to bust his formation before the tigers could arrive and start dictating terms of their own. With all of this in mind, I chose to ‘Maneuver’ expecting Mark to ‘Attack’, as I felt the missions that could be rolled did a reasonable job of either forcing my opponent into a reserve situation, or left him with an objective of his own to defend. My guess was spot on, after Mark revealed his plan to attack we rolled up a game of Encounter. Excellent, I’d got what I wished for, now I just have to hope I know what I’m talking about.
|
|
|
|
Deployment
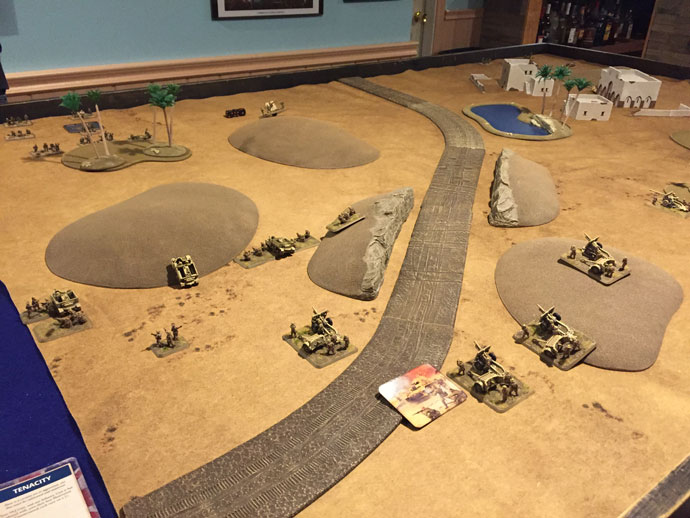
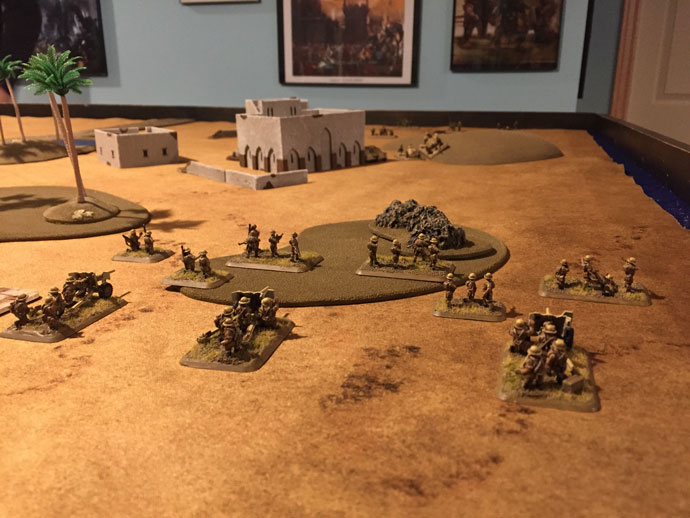
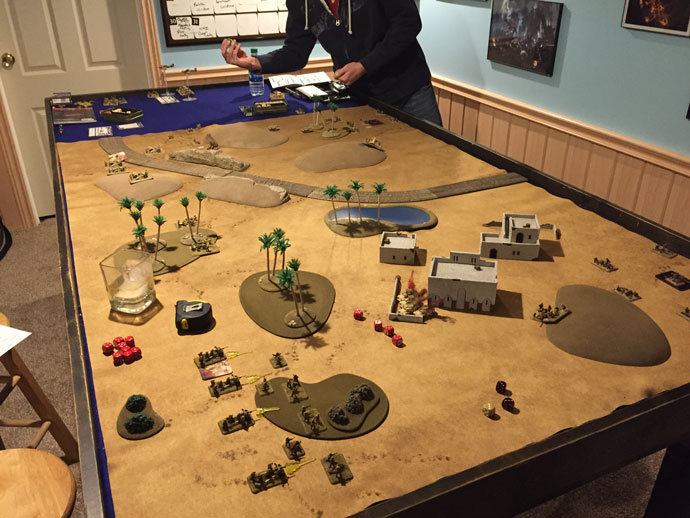
As Mark chose attack as his battle plan, he’s the attacker for our game of encounter. He chose the Northern edge of the board in an effort to keep my infantry from hiding from his tigers in the buildings. Looking at my side of the board, the first thing that struck me was the inability to cover both the eastern and western edges of the field with my pair of 17 Pounders. I decided to assign the 6 Pounders to the eastern objective, and my 25s to the west. I did the best I could to centrally locate my 17s, which unfortunately required them positioned in a grove of trees, with 1 gun facing west and the other east. Looking at Mark’s forces on board, I reasoned that he wouldn’t be doing much attacking before his tigers got around, with his 88 and the scout cars being the only assets I’d have to mind. His elevated central position for the 88 made it a threat I could do little to mitigate. So I resolved to ignore it and avoid the scout cars whilst targeting whichever objective happened to hold a rifle platoon and the HQ. I didn’t expect to be able to take and hold an objective, so smashing Mark’s formation was the order of the day. My reserves consisted of a Motor Platoon, my Grants, the Mortars, and the Hurricanes. I’d decided that my initial attack would consist of my Universal Carriers, who spearheaded forward, and my Vickers MG platoon who went along with the UCs.
|
|
|
|
The general idea was to advance to just outside of the Rifle platoon’s range, and then let loose with a pile of machine guns, while the 25’s pounded the same target, and the 17’s attempted to neutralize Mark’s 88.
|
|
|
Turn 1 - German
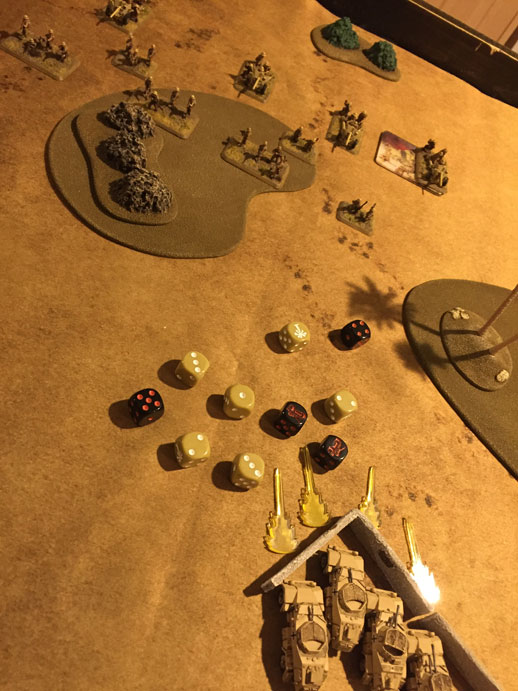
Mark opens up turn 1 by shifting his scout cars behind the cover of a wall on the southern edge of town in the east.
Once in position, the scouts and the 5cm guns open up on my 6 pounders. The guns were unable to find their mark, needing 7’s, while the scout cars were able to put 3 hits on their targets.
The 6 pounders made all 3 saves. Meanwhile, a single UC in the west wasn’t even afforded a chance at a save as a round from the 88 turned it into a pyre.
|
|
Turn 1 – British
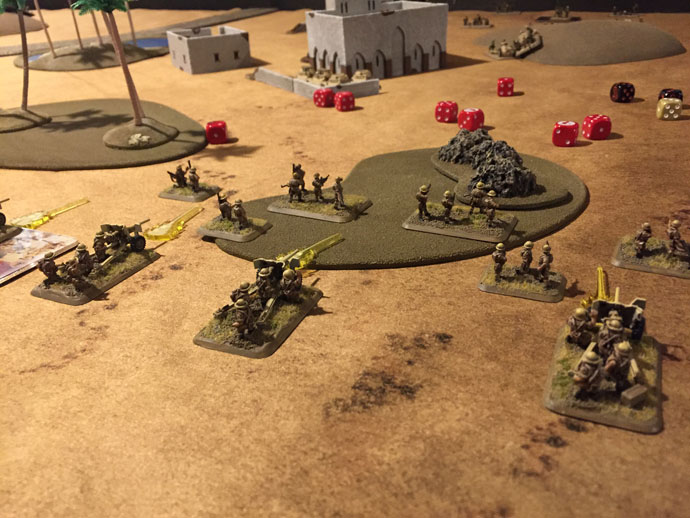
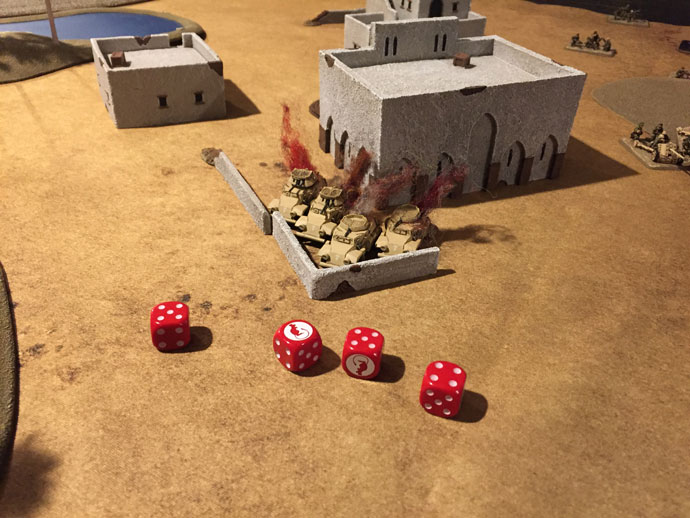
I wasn’t expecting Mark’s scouts to advance on my line quite yet. If anything I expected them to wiggle to the center and go harass my 17s. I start my game off running the UCs forward in the west to get away from the 88, but a failed follow me left them hanging in the breeze. With this in mind, I decided to keep the MGs in their fox holes, and focus on the 88, hoping to either pin it down or remove it from the field with a lucky 6+ firepower. Unfortunately, after both the MGs and one of the pheasant guns opened up, the 88 didn’t seem to mind one bit. The 25s range in with a little help from the formation commander, and are able to remove the MG team from the rifle platoon in the west. In the east, the 6 pounders target the scout cars, and with a handful of hot dice, they turn all 4 into flaming wrecks. Things are going very well in the east!
|
|
|
 |
|
Turn 2- German
Mark’s turn 2 got off to a sour start with his rifles in the west refusing to unpin—not a big deal, as there’s little for them to do at the moment. The 5cm Tank Hunter platoon dashed away, to possibly put pressure on my pheasant guns, as the loss of the scout cars left them hopelessly outgunned in the east. Ignoring the incoming machine gun fire, the gunners behind the German 88 take aim on the UC patrol as they attempt to sneak across the open sand. Though it’d seem the machine gun fire was effective enough, as the big gun is unable to find its mark.
|
|
|
|
Turn 2- British
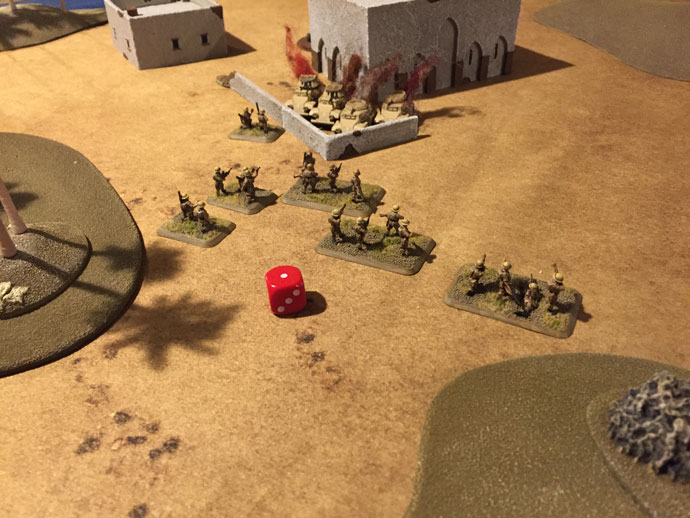
Counting their blessings, whilst simultaneously thanking their lucky stars, the two remaining UCs advance to escape the 88, and put a little pressure on the pinned rifle platoon in the west. The pheasant guns continue to ineffectually duel with the 88. With the German 5cm guns vacating their position, I pushed forward with my motor platoon in the east, hoping to take up a position in the buildings overlooking the objective and possibly forcing the tigers to play a defensive game when they show up. Things are going VERY WELL in the east!
|
|
|
|
Turn 3 – German
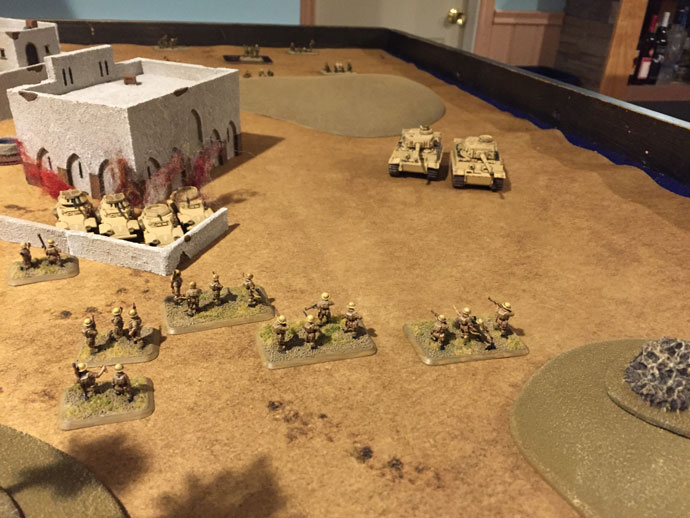
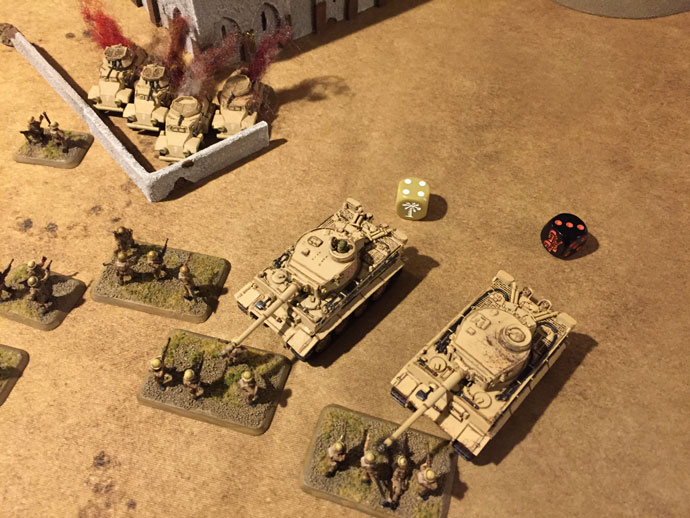
The rifle platoon in the west rallies with the arrival of some wonderful news! tigers! The tigers are coming! In the center of the board the 88 and the pheasant guns keep up their deadly game with the 88 scoring a hit on its counterparts which is promptly saved. With his first reserve roll, Mark’s tigers arrive from the NE corner of the board, unfortunately catching my motor platoon with their pants down in the middle of the desert. Reasoning that keeping my infantry out of the buildings to the north was a worthwhile task, the tankers choose to ‘Follow Me’ into an assault position rather than machine gun the infantry. The tigers’ assault kills a pair of infantry stands, and the British infantry break off. Things are not going very well in the east.
|
|
|
 |
|
Turn 3- British
Clearly my tommies aren’t using whatever road the tigers used to arrive so quickly, as my reserves come up empty. Realizing the importance of not cowering in the sand before the tigers, the Lieutenant responsible for my motor platoon starts kicking his lads in the pants and pointing to the nearby tree line. The motor platoon scurries away into the palm grove to lick their wounds and regroup. I’m hoping the tigers will advance on my gun line, leaving my motor platoon to their rear, where they’ll be able to capitalize on any opportunity the tigers might present. Hearing the sheer panic on the radio, from their cohorts to the east, the pheasant guns pack up their kit and attempt to ‘Cross Here’ into a position that will allow them to defend the eastern objective from the coming onslaught. One of the guns fails their cross roll, but as this seemed a rather important position to be in, I chose to spend ‘Lucky’ and the reroll was kind.
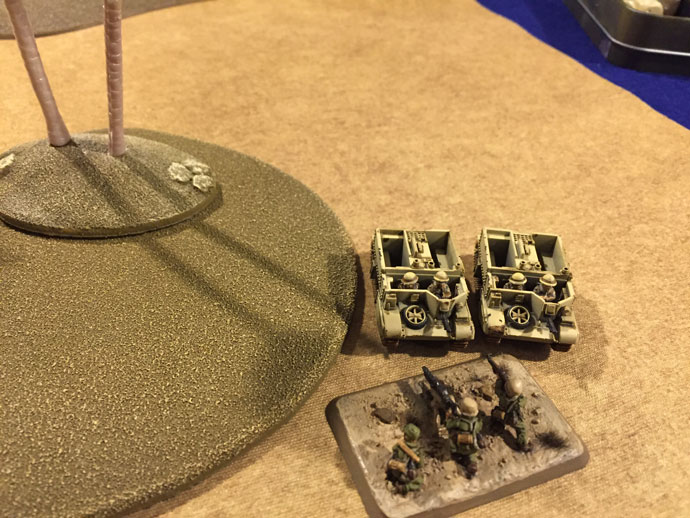
In the west the British 25 pounders continue to rain on the German Rifles, taking out a stand from the formation HQ. The universal carriers and the machine gun platoon continue to apply pressure to the German infantry pinning them down in preparation for a desperate assault by the universal carriers. Thankfully the German anti-tank rifle was out of position for defensive fire. I’m hoping to push the German platoon out of their fox holes and then hose them down with machine guns before the tigers can do me in in the east. The fire from the rifles was just shy of effective with 4 hits, 1 shot short of the 5 required to stop my 0 top armor assault. Armor saves are made, and the assault removes a German stand before the rifles break off. With the job done, the UCs consolidate backwards in an attempt to mitigate the coming return fire.
|
 |
|
Turn 4- German
In the west, the German Rifles are able to dig back in, though the formation HQ are unable to get the job done themselves, even after spending their lucky card. Clearly they’ve just found a particularly rocky bit of ground and this was not indicative of a skipping on a bit of training at a soft officer’s school. The Anti-Tank rifle manages to not only dig their slit trench, but to bail out one of the marauding Universal Carriers.
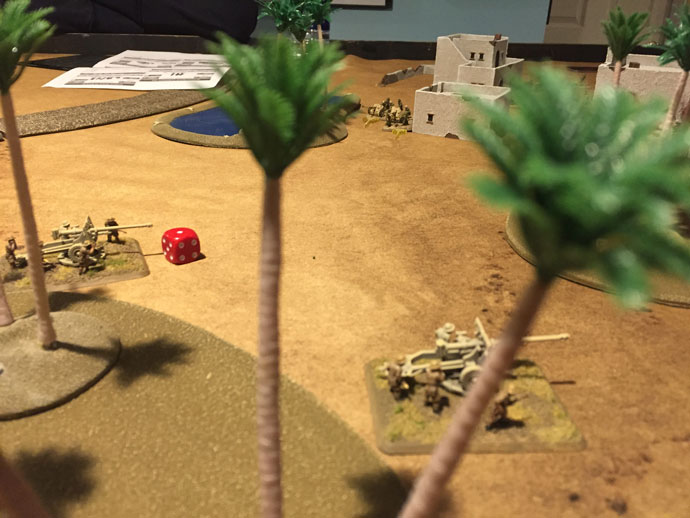
The German 5cm guns finish moving into position and fire on the Pheasant Guns as they hustle across the sand to answer the tiger threat. One of the 17 Pounders fail their save, but are held together with a little bit of luck and their gun shield as the aggressor fails its firepower. Sensing the serious shift of momentum in the east, the German Rifles leave their slit trenches behind and head south through the town to lend whatever aid they can with the coming assault. Unwilling, or perhaps unable, to wait for their infantry support, the tiger tanks advance on the British gun line, machine guns banging away. The assault kills 2 gun teams and captures a third when the 6 pounders fail to counter-attack and are forced to break off. The lone remaining gun team scoots a couple inches east and hopes to exact revenge. Things are going VERY poorly in the east.
|
 |
|
Turn 4 – British
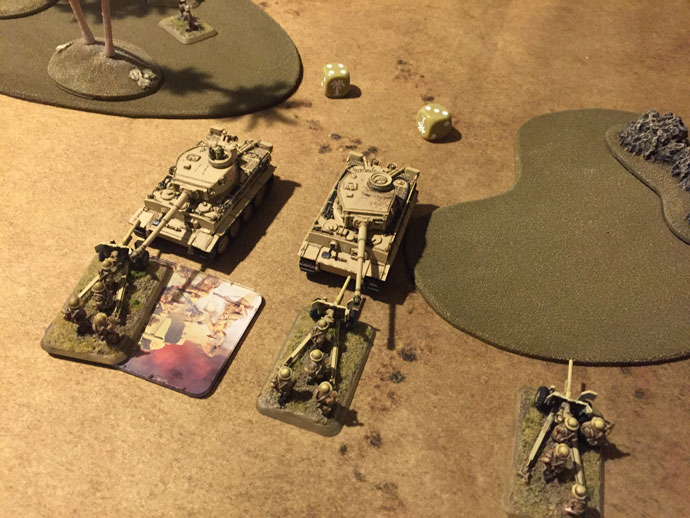
Our valiant scouts remount their Universal Carrier in the west. While the fearless crew of the sole remaining 6 pounder decides to stick it out. Our first platoon arrives from reserves. Because of the scattered reserves rule I chose the Grant platoon, as they were the only option that could make a difference no matter where they came in. I was hoping to find them in the west where they could take over for the hardworking scouts, but they showed up in the east. Clearly they’ve given up on the chance at glory for pushing home the assault against the already beleaguered German infantry, and have instead chosen to ride to the defense of their buddies in the east, where we’ll try their AT9 against the tiger’s side armor of 8.
In the west, the machine guns and the UCs continue their advance, leading to another assault from the scouts that fails to remove a single stand, but does succeed in once again pushing the German rifles out of their fox holes.
|
 |
|
Realizing that the position they were previously shelling is currently being overrun by their own lads, the 25 pounders shift their focus to the 5cm gun platoon in the center of the board. They fail to destroy anything, but do manage to pin the platoon, here’s hoping that will prolong the lives of our 17 pounders.
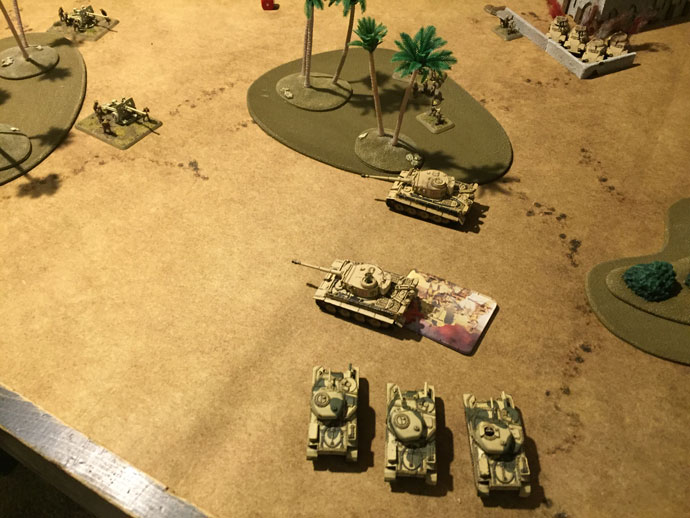
In the east, reasoning that this was likely to be the best chance we’d see, the Motor platoon repositions itself in preparation for an assault against the tiger platoon. The lone 6 pounder, and the Grants put everything they have into the tiger platoon’s rear, while the 17 Pounders try their luck from the front. Nothing manages to penetrate the tiger’s thick hide, but a particularly loud shot from the Grants bails out a tiger, and as luck would have it, it’s the one sitting right next to my Motor Platoon.
|
 |
|
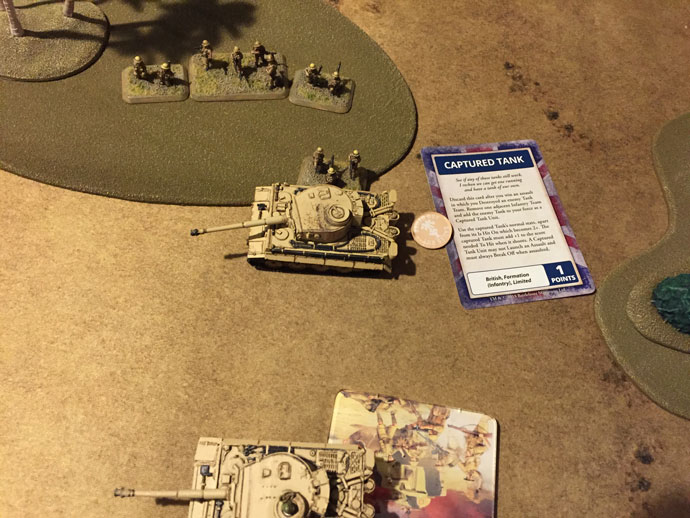
Sensing a chance to exact a bit of a cold dish here on the hot sands, the motor platoon leader sneaks forward assaulting the bailed tank, and avoiding the defensive fire from the active tiger by using the bailed tank for cover. A quick bit of dirty work handles the cowering crew, and as the remaining tiger is more than 4 inches away the assault is won, but not before I play my ‘Captured Tank’ card. I’m the proud owner of a slightly used tiger, with nothing more than a few dings on the outside and a slightly stained interior. Thing are going swimmingly in the east!
|
 |
|
Turn 5- German
Having lost a tank, and having only the 1 remaining, the tiger platoon takes and passes a Last Stand test.
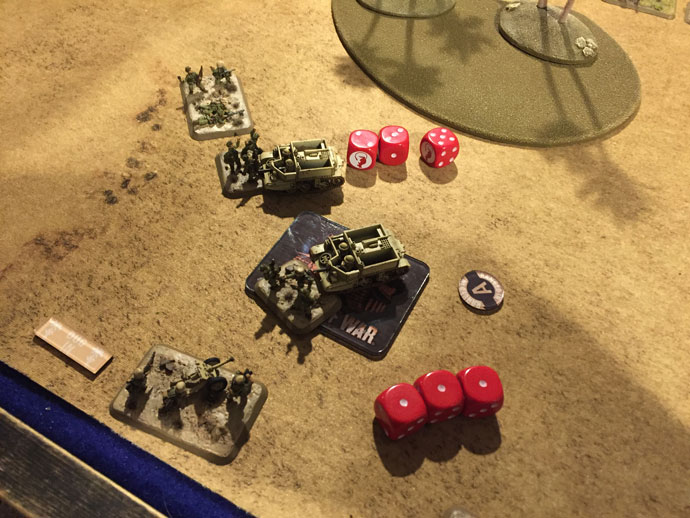
In the west, the German infantry find their resolve and decide they’ve truly had just about enough of these darn scouts and set off to do a little pushing of their own. Their assault is a quick and bloody one, that ends with two smoking Universal Carriers.
|
 |
|
In the east the 5cm guns again attempt to silence their larger British counterparts, but the 17 pounders are untouched. Meanwhile, the German Rifle platoon commits to an assault against the British Motor platoon.
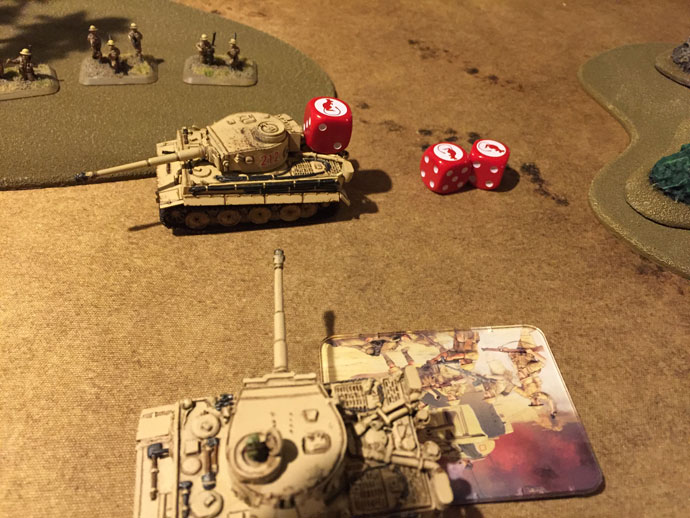
Having witnessed their platoon mate’s demise at the hands of the British Tommies, the remaining tiger turns its turret to blast the captured tiger in the side. Things are about to go very poorly in the east. Both shots hit, and with an AT value of 14 against the tiger’s side armor of 8, a pair of 6s is the only thing that’ll make a difference. Wouldn’t you know it? My armor save comes up box cars! This little tiger tank has quite the story to tell. Things are going REALLY AMAZINGLY WELL in the east!
|
 |
|
Turn 5- British
The new crew of the captured tiger tank find yet more resolve and manage to remount their new ride.
I failed all 3 of my reserve rolls, so with my default reserve, I choose my remaining Motor Platoon. They come on in the middle of the board, and I decided to shore up the defenses around the eastern objective with them.
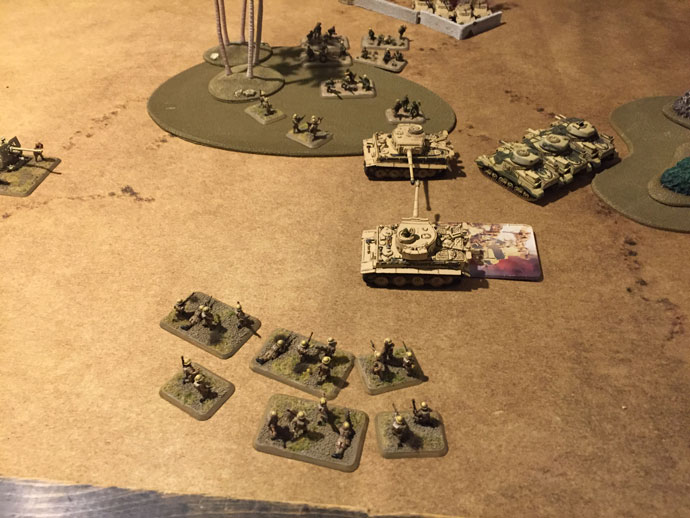
With all of the excitement around them, the now British tiger sends every shot they have wide of their target. However the 17 pounders are able to strike home, and bail the German tiger tank in preparation for yet another Motor platoon assault from the lads that have just come on from reserve. With that, the tiger threat is no more.
|
 |
|
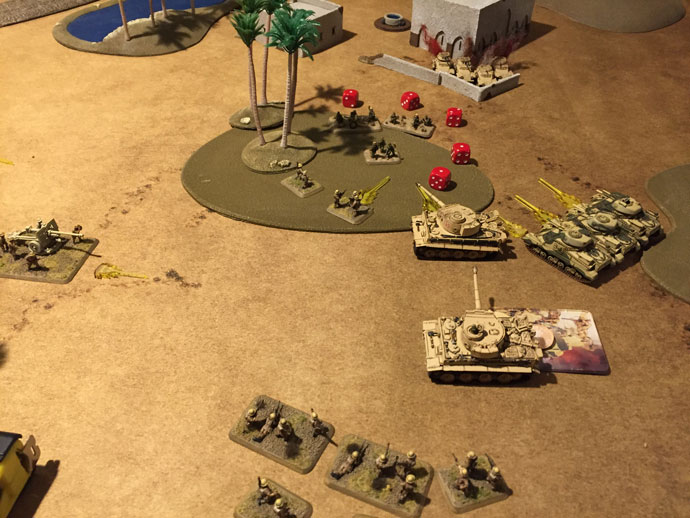
In the west, the machine gun platoon takes up aim and cuts down the German Rifles who are up and out of their trenches at this point, wiping out the platoon.
At the end of the turn, with his tigers either captured or burning, and his rifle formation nearly broken, Mark concedes the game.
|
 |
|
Epilogue
I really wasn’t expecting this game to go the way it did. I honestly took the ‘Captured Tank’ card as a bit of a joke. Mark is quite fond of his tigers and I thought it’d be a fun thing to have happen. Imagine my surprise when it worked out right away for me. I’ve enjoyed playing with my Motor Company thus far. It was the project I picked out of the Desert Rats book with the initial release of V4 Mid War. They’ll likely see the display shelf soon however, as we shift our focus to the Eastern Front.
|
Last Updated On Thursday, February 28, 2019
|
|
|