|
|
|
|
Products mentioned in this Article
--None--
|
|
|
|
|
|
|
|
|
 |
|
|
 |
| |
 |
|
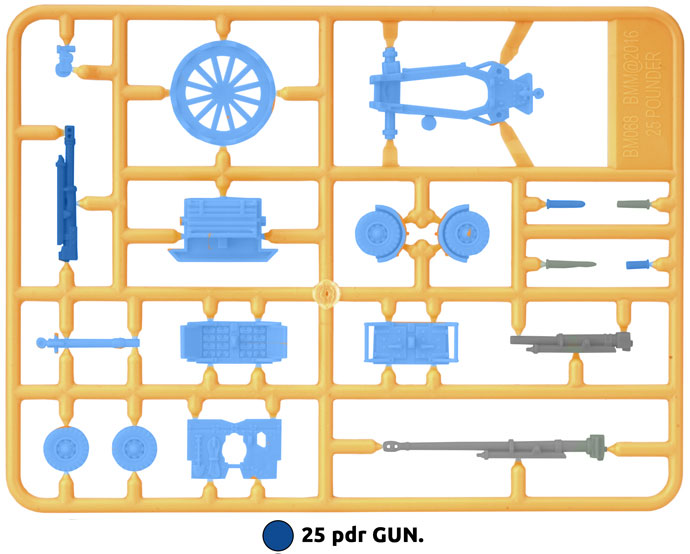
Note: the there are two versions of the 25 pdr gun,
the Mid-War version uses the short barrel without the muzzle break (shown in black above),
whilst the Late-War version uses the short barrel with the muzzle break (shown in dark blue above)
|
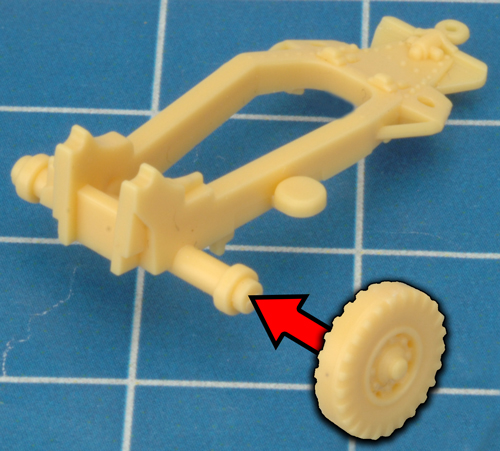
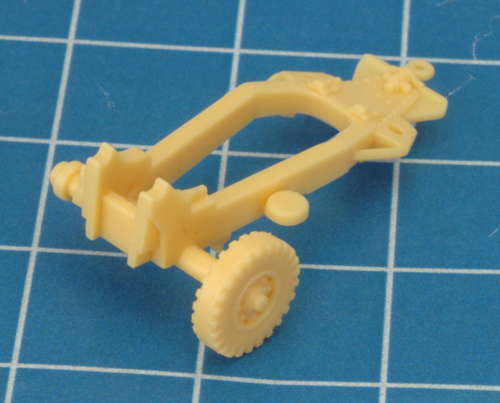
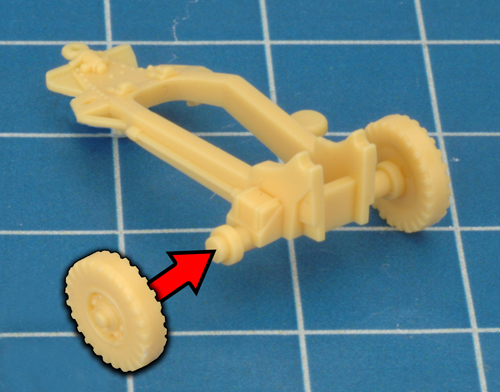
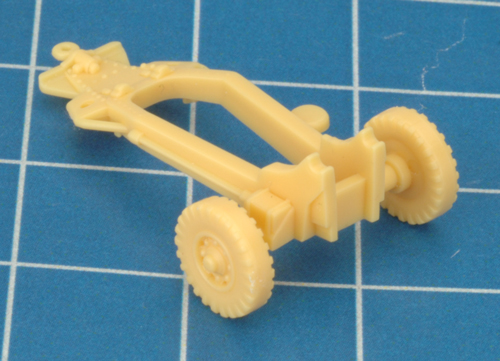
| Step 1. Begin assembly of the 25 pdr gun by attaching the wheels to each side of the gun carriage. |
 |
 |
 |
| Below: The wheels successfully attached to the gun carriage. |
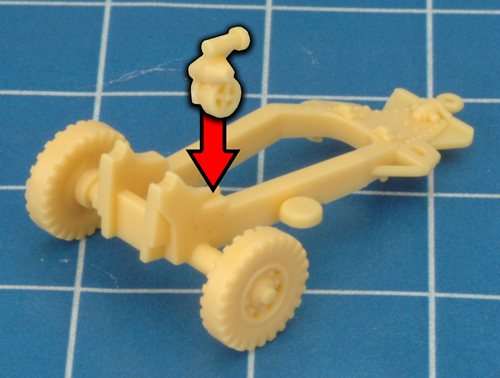
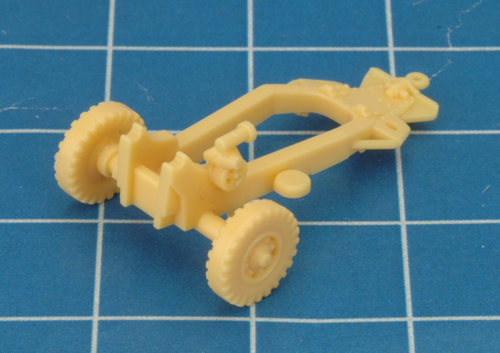
Step 2. Next, add the gun sight to the left-hand side of the gun carriage. |
 |
 |
 |
|
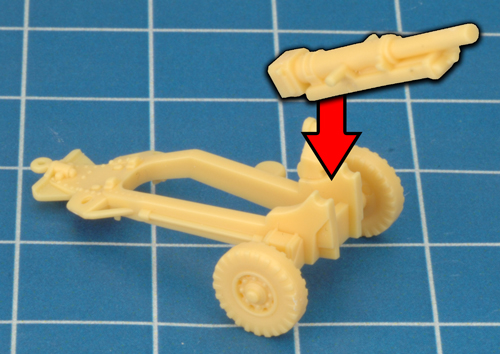
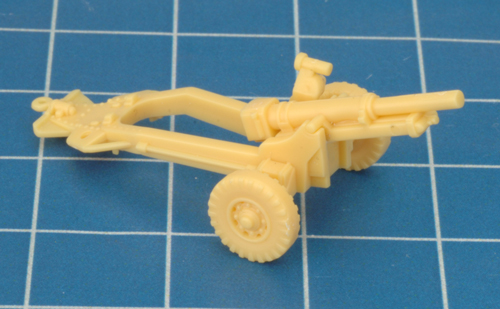
Step 3. Attach the 25 pdr gun barrel to the gun carriage.
Make sure you use the barrel with the muzzle break.
|
Step 4. Next, attach the gun shield to the front of the gun carriage. |
 |
 |
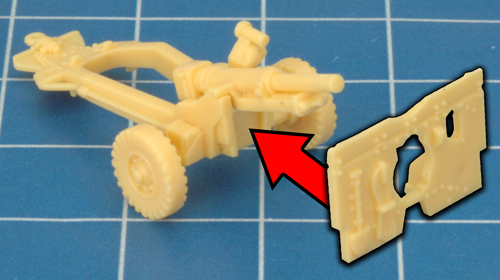 |
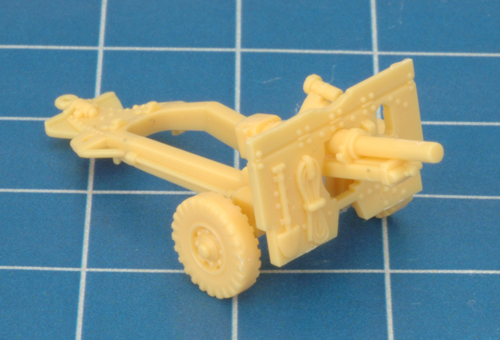
| Below: The gun shield successfully attached to the front of the gun carriage. |
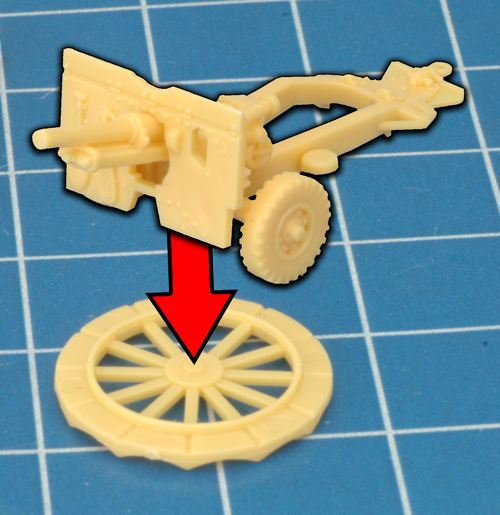
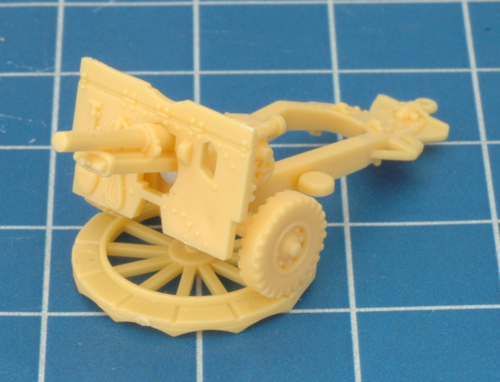
Step 5. Finally, attach the assembled 25 pdr gun to the gun turntable. |
 |
 |
 |
 |
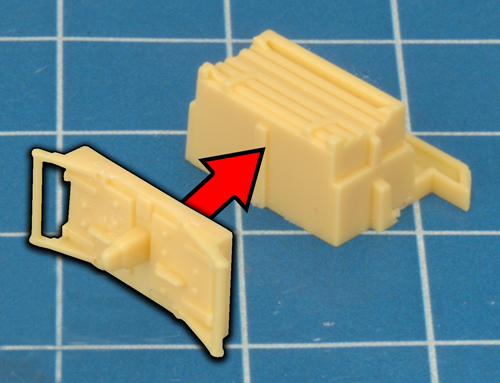
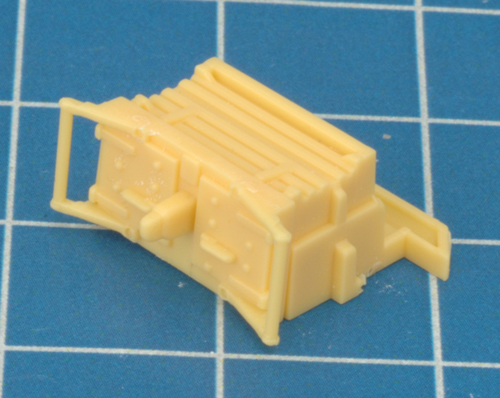
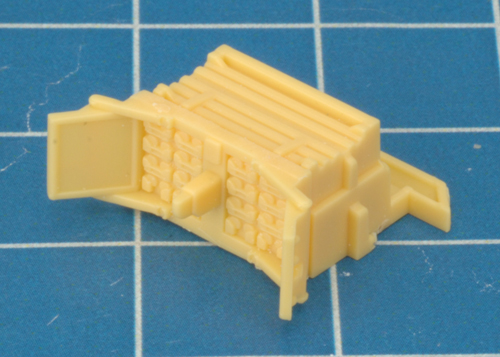
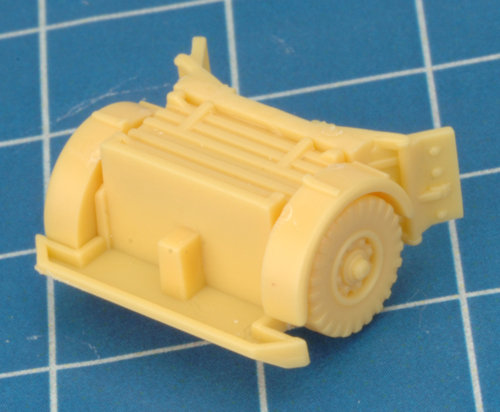
| Step 1. The 25 pdr gun limber can be modelled closed or with the doors to the ammunition stowage open. |
 |
 |
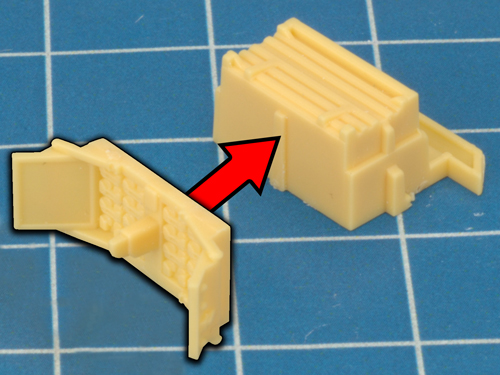 |
| Below: The gun limber with open doors. |
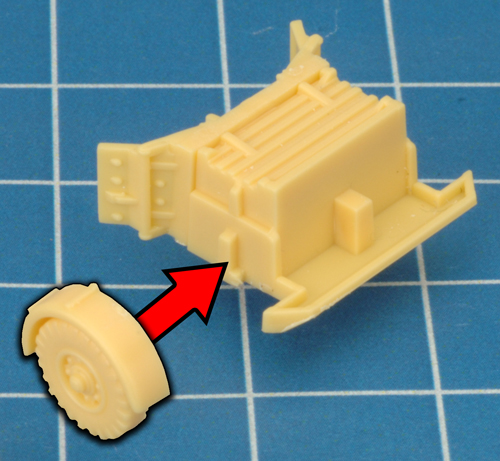
Step 2. Next, attach the right-hand side wheel to the gun limber. |
 |
 |
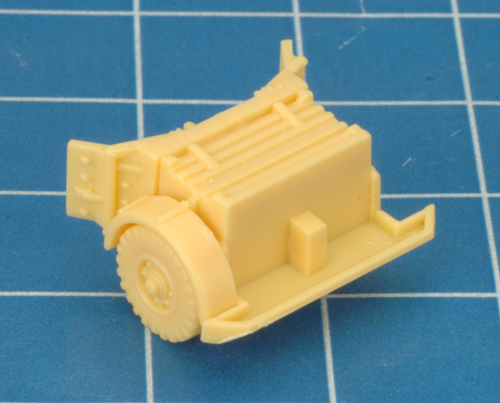 |
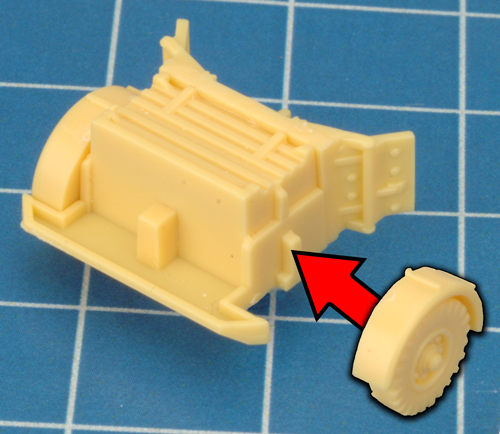
| Step 3. Attach the left-hand side wheel to the gun limber. |
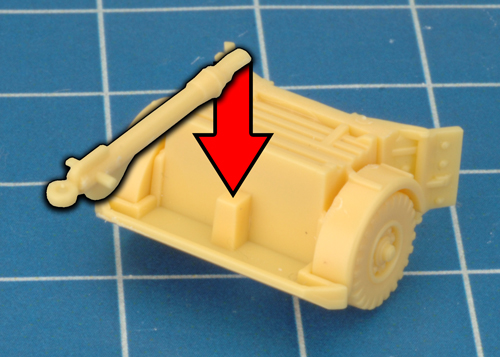
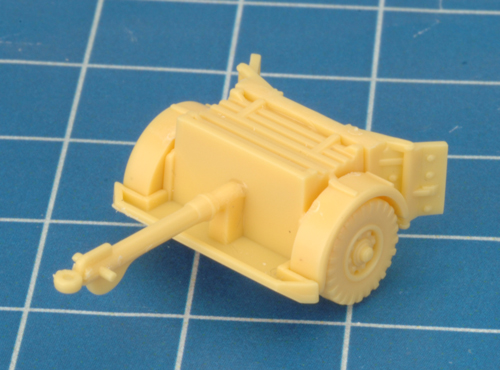
Step 4. Finally, complete assembly of the gun limber by attaching the tow bar. |
 |
 |
 |
 |
 |
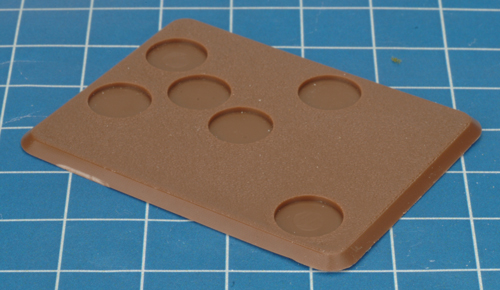
| Below: The 25 pdr gun is based on a large six-hole base. |
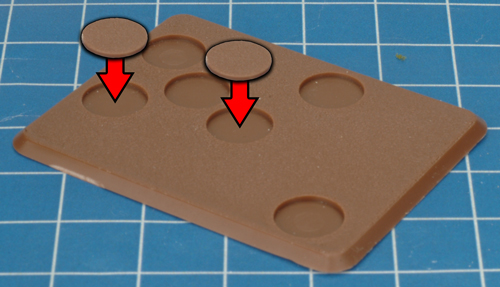
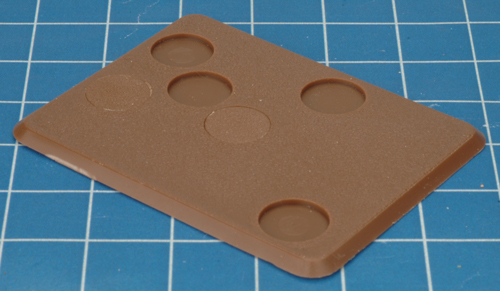
Step 1. Use the base plugs to fill any holes on the bases that aren't required. The 25 pdr gun has five crew but the gunner is mounted on the gun itself. |
 |
 |
 |
| Below: The 25 pdr gun includes two loader figures. In the image below, the figure on the left is the loader for the 17/25 pdr and the figure on the right, the 25 pdr. Note the difference in size of the ammunition in respects to each loader. |
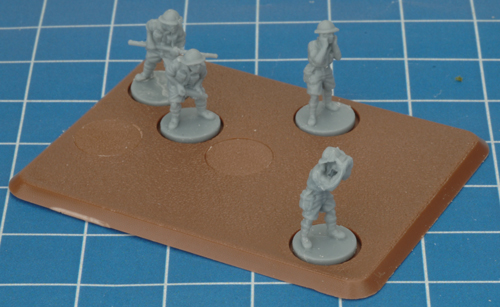
Step 2. Position the 25 pdr gun crew on the base. |
| Below: The crew positioned on the base. |
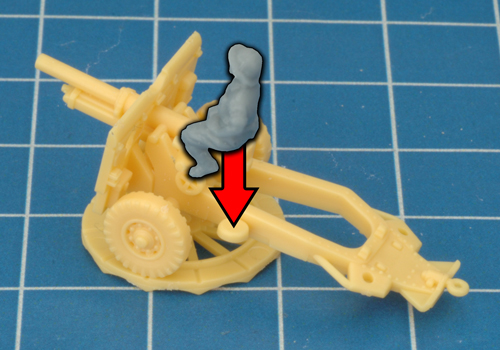
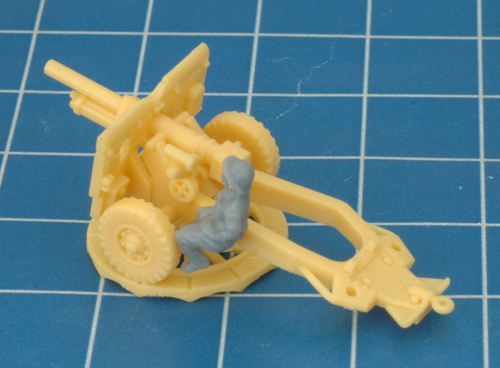
Step 3. Next, attach the gunner figure to the gun carriage. |
 |
 |
 |
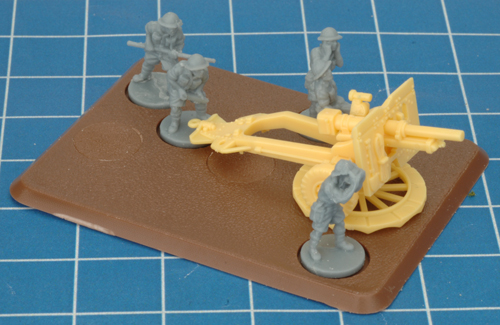
| Step 14. Attach the 25 pdr gun to the base. |
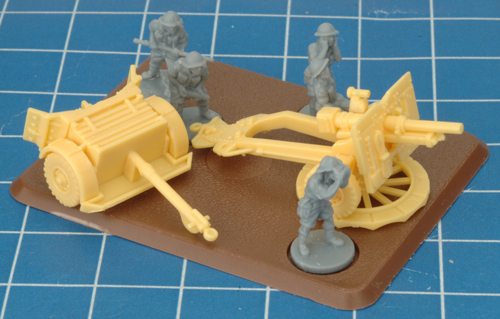
Step 15. To complete assembly of the 25 pdr gun, position the gun limber of the base near the loader. |
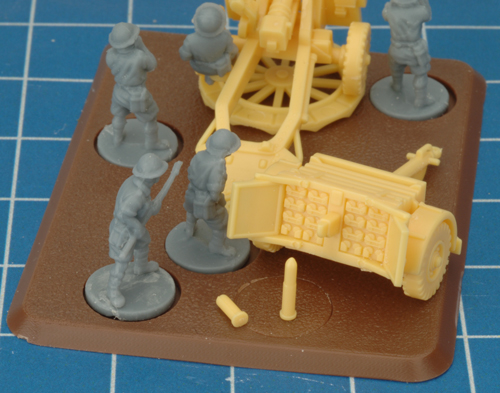
Optional Step: Use the spent ammunition casing and loose ammunition to personalise your 25 pdr gun. |
 |
 |
 |
Last Updated On Sunday, November 19, 2017
|
|
|