|
|
 |
|
|
Red Devils In The Desert: A Battle Report
 |
Red Devils In The Desert: A Battle Report
with Tama Maschelle, Calum Hughes, Alexander Nebesky
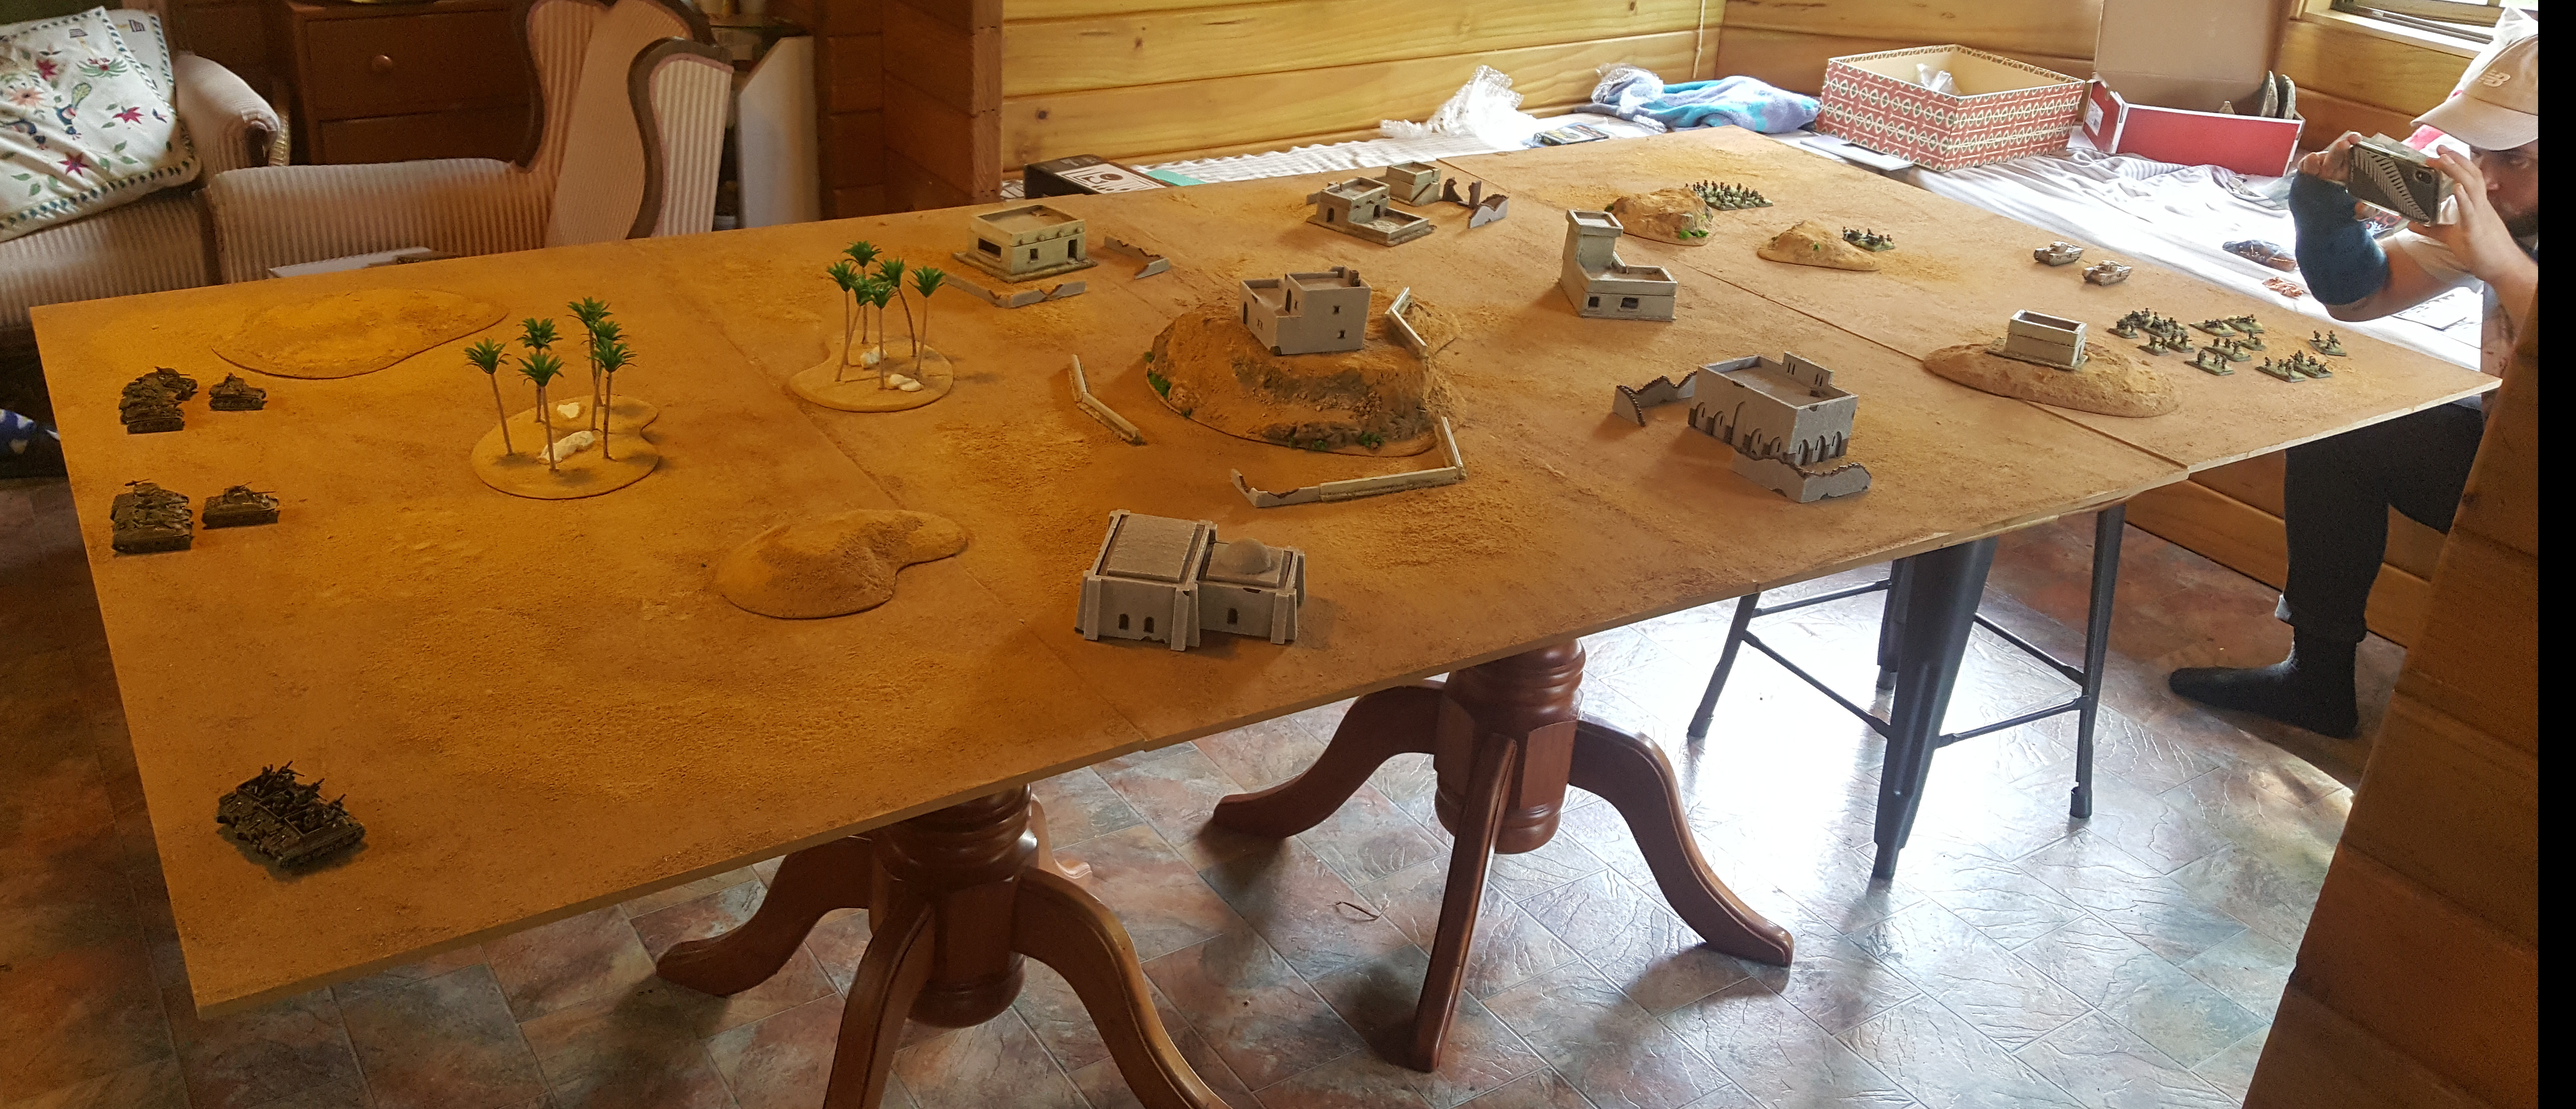
Alex here. After having worked on our desert terrain board for some weeks, and with a copy of Red Devils ready to be given its first spin, Calum and I invited our friend Tama up from Hamilton to play a big old fashioned weekend of Flames Of War. Given there were three of us, we split the Allied force in two against a combined Axis force.
|
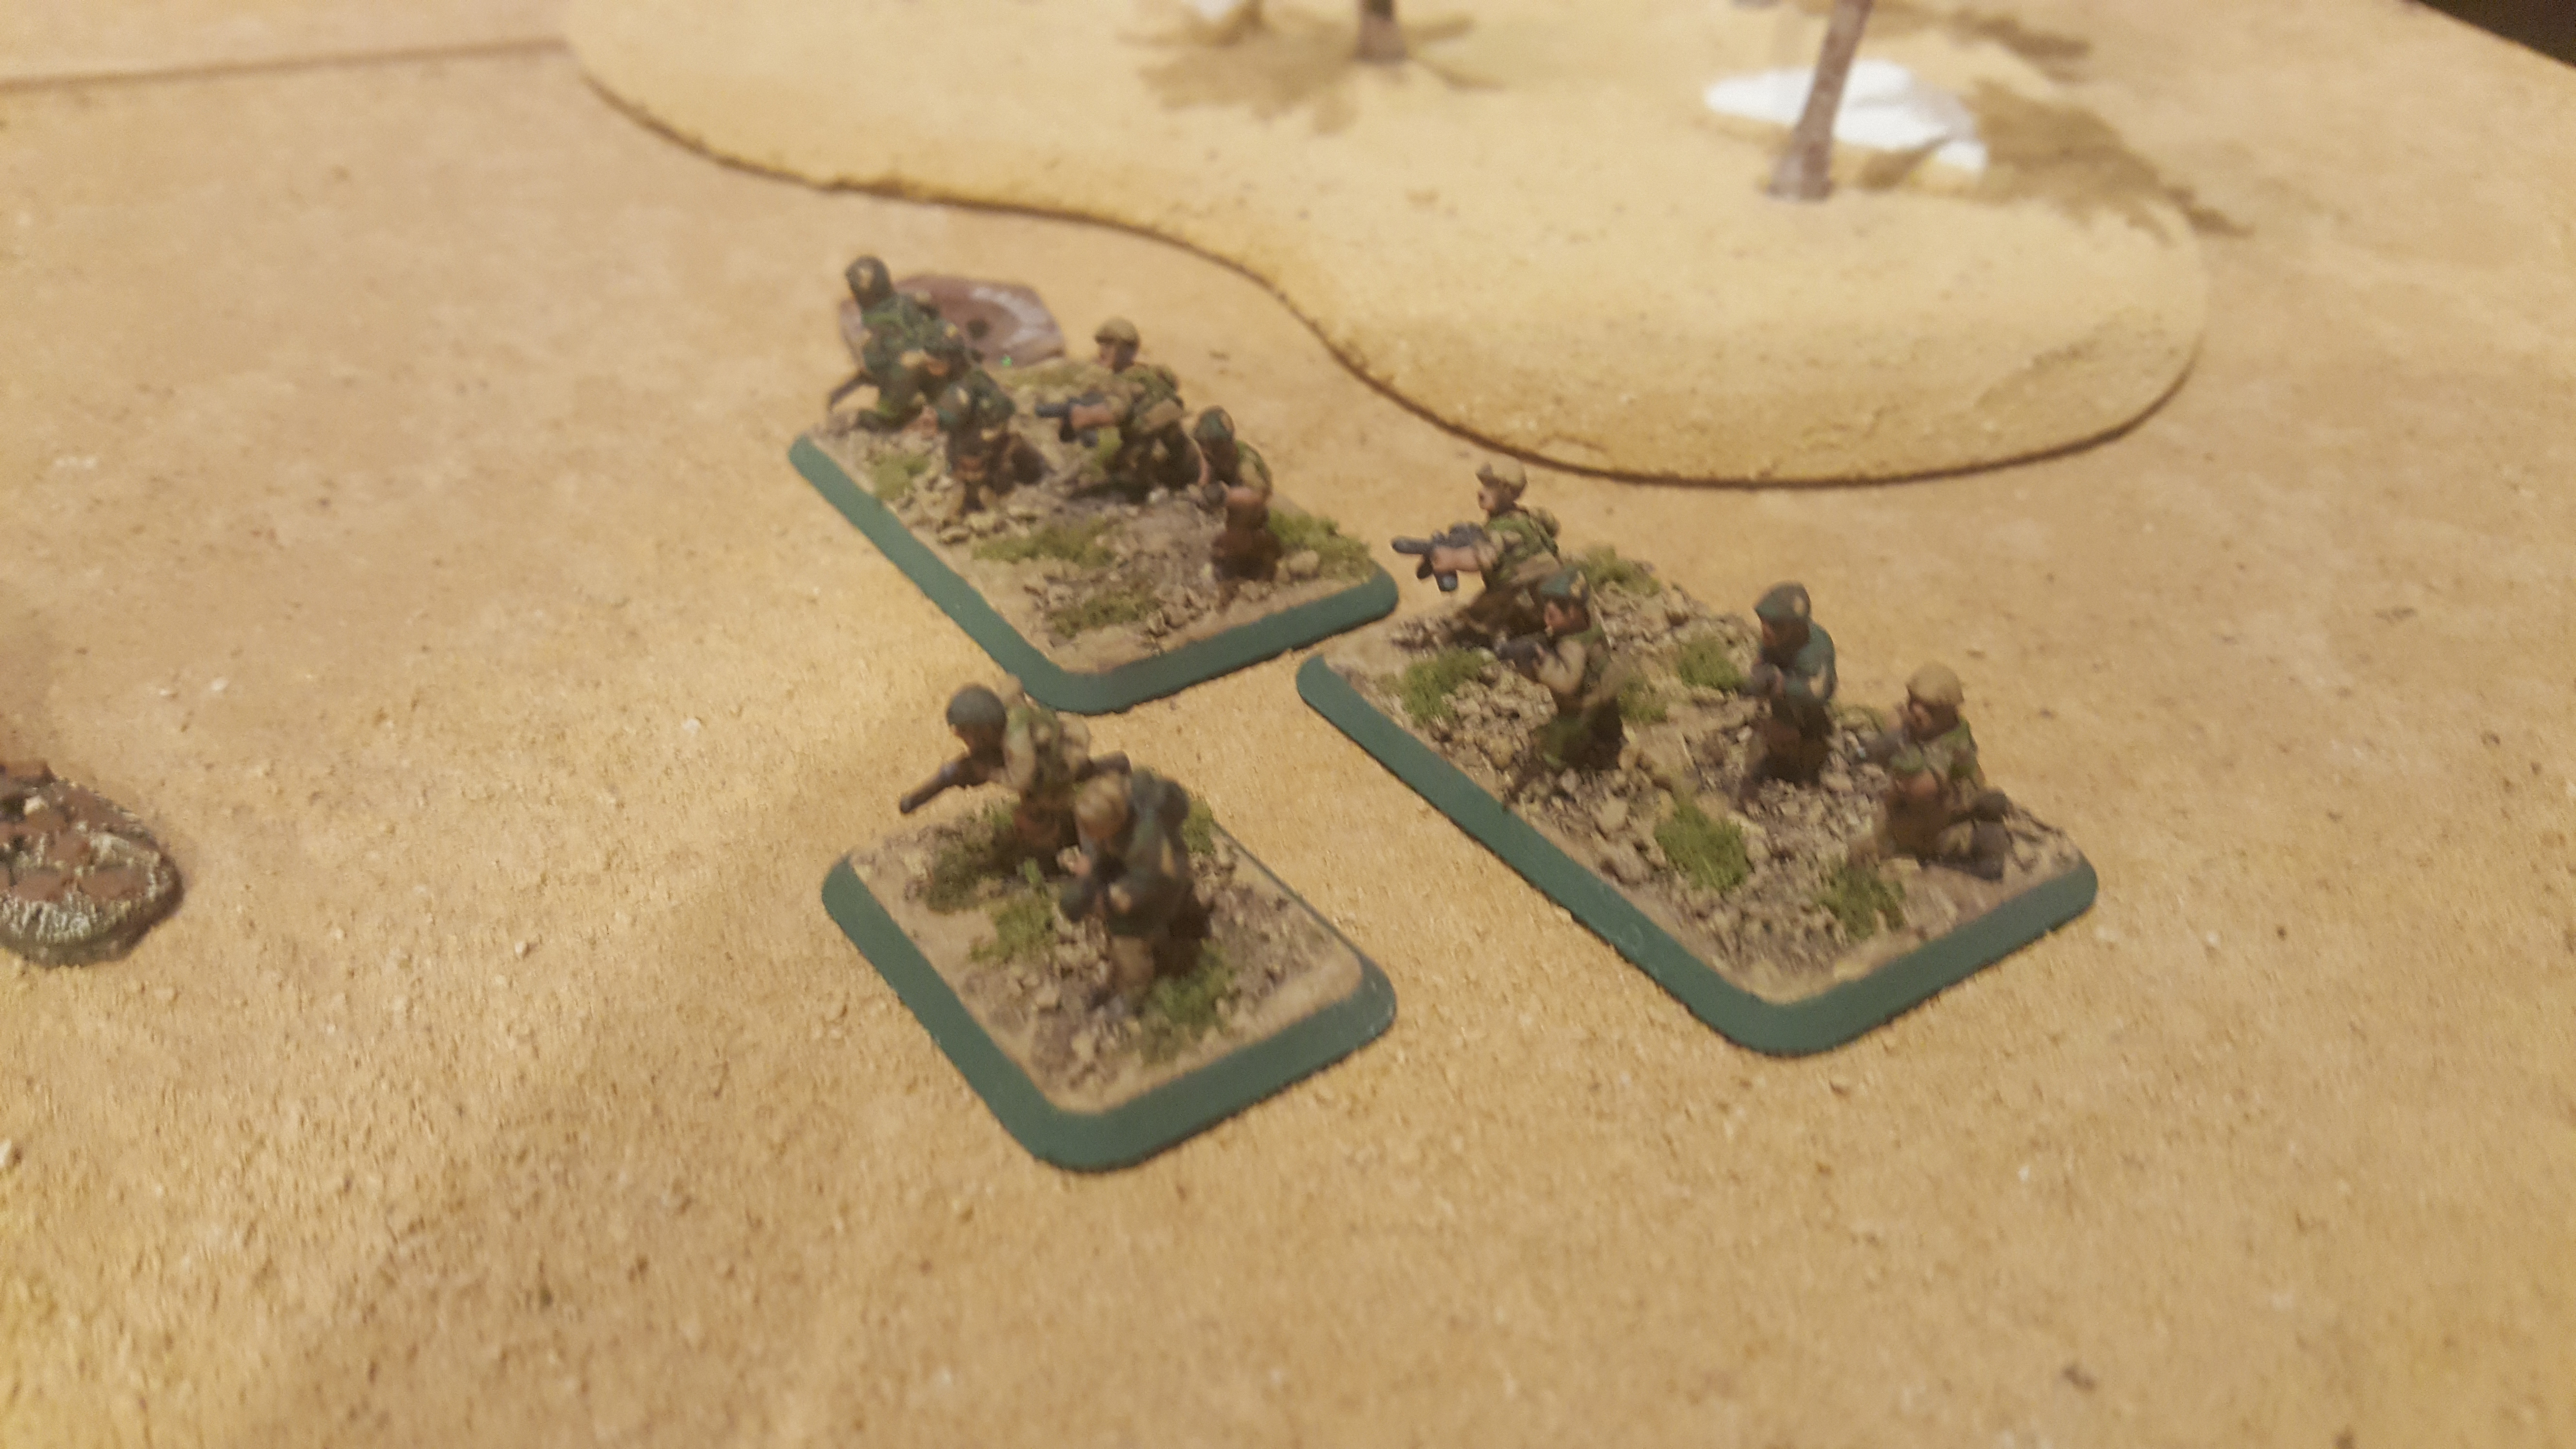
Calum played US, Tama British, and I had Italians. The key point of interest was that we each of us included Mid War airborne forces from the new Death From Above, All American, and Red Devils booklets.
|
|
|
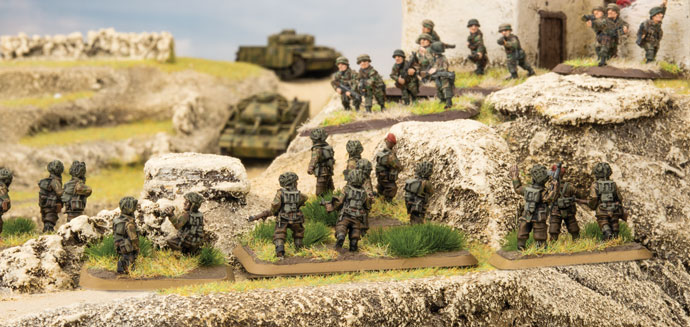
Picture a perfect day in the North African Desert, clear blue skies complimented by a harsh and unrelenting sun; and the only shade for 30 miles lies within a small village that an entire Italian Carri Company with paratroopers and support weapons in tow has dug themselves into. This is the scene of our battle. A small British Paratrooper company has been tasked to uproot said Italians with the help of an American Sherman Armoured company.
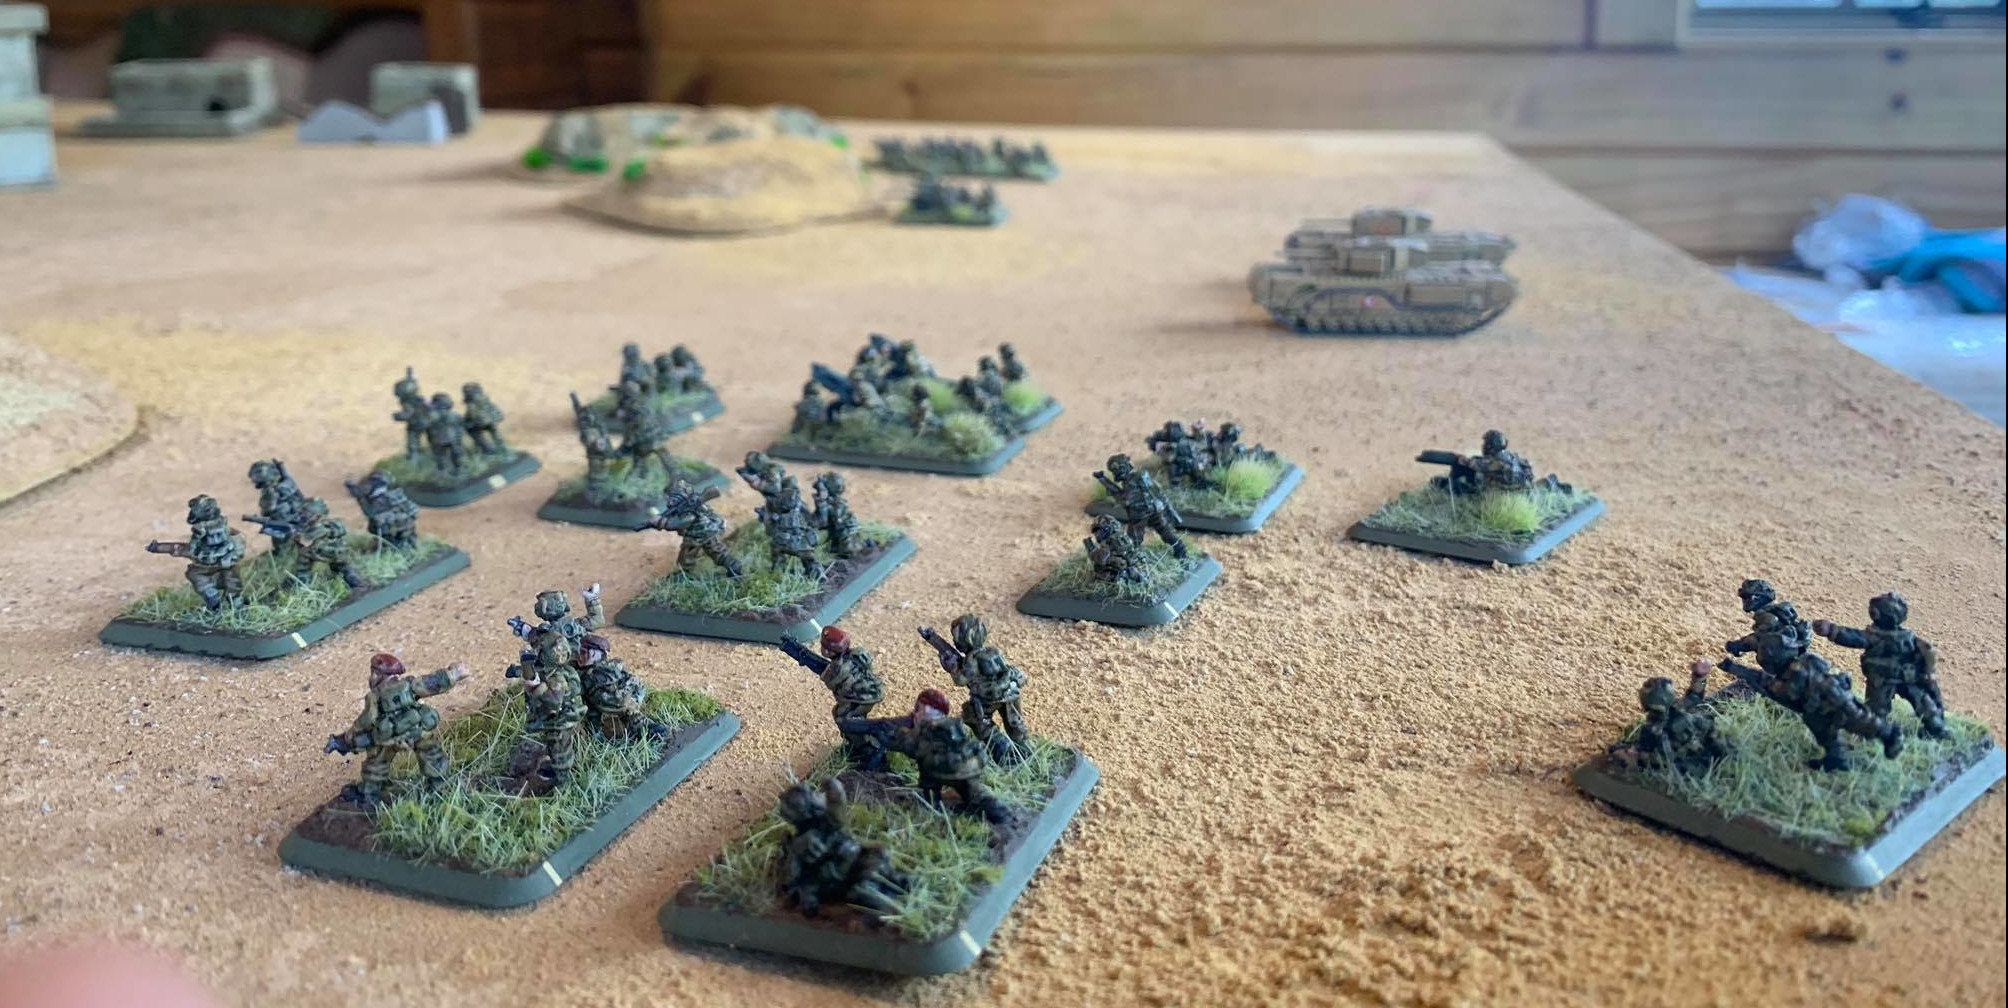
The army list I used for this battle was fairly straight forward. One Company HQ, two large paratrooper platoons, both equipped with a Boys AT rifles (proxied Piat teams) and 2-inch mortars. I also saw fit to add extra firepower to my infantry in the form of the Gammon Bombs Command Card, since I was planning to engage enemy tanks in close quarters throughout the Village. Accompanying these platoons were two Vickers HMG teams which would be vital in taking and holding ground, as well as providing area denial protection to my flanks.
In terms of support, I had a little bit of variation to counter the variation seen in the Italian forces. First I had a small platoon of two 6 pounder anti tank guns that I paired with the Portees command card, which enabled the Portees to now act as unarmoured tank teams; affording them much needed maneuverability during this assault of the village. Next I had a small platoon of 75mm Howitzers which would be crucial in covering the movements of my infantry as well as providing the desired level of artillery support. Last but definitely not least, I had two churchill mk IIIs. Arguably the greatest infantry support tank ever full stop, I believed these Churchills would be well suited to the task of supporting my infantry advancing through the village, as well as using their 6 pounder guns to dispatch any light Italian tanks we may encounter along the way.
-Tama
|
|
|
For this battle I was running an M4 Sherman Tank Company with a platoon of 81mm hal-tracked Mortars. I also took an All American Paratrooper platoon to help clear out buildings and hold onto any strategic ground I managed to capture.
-Calum
|
|
|
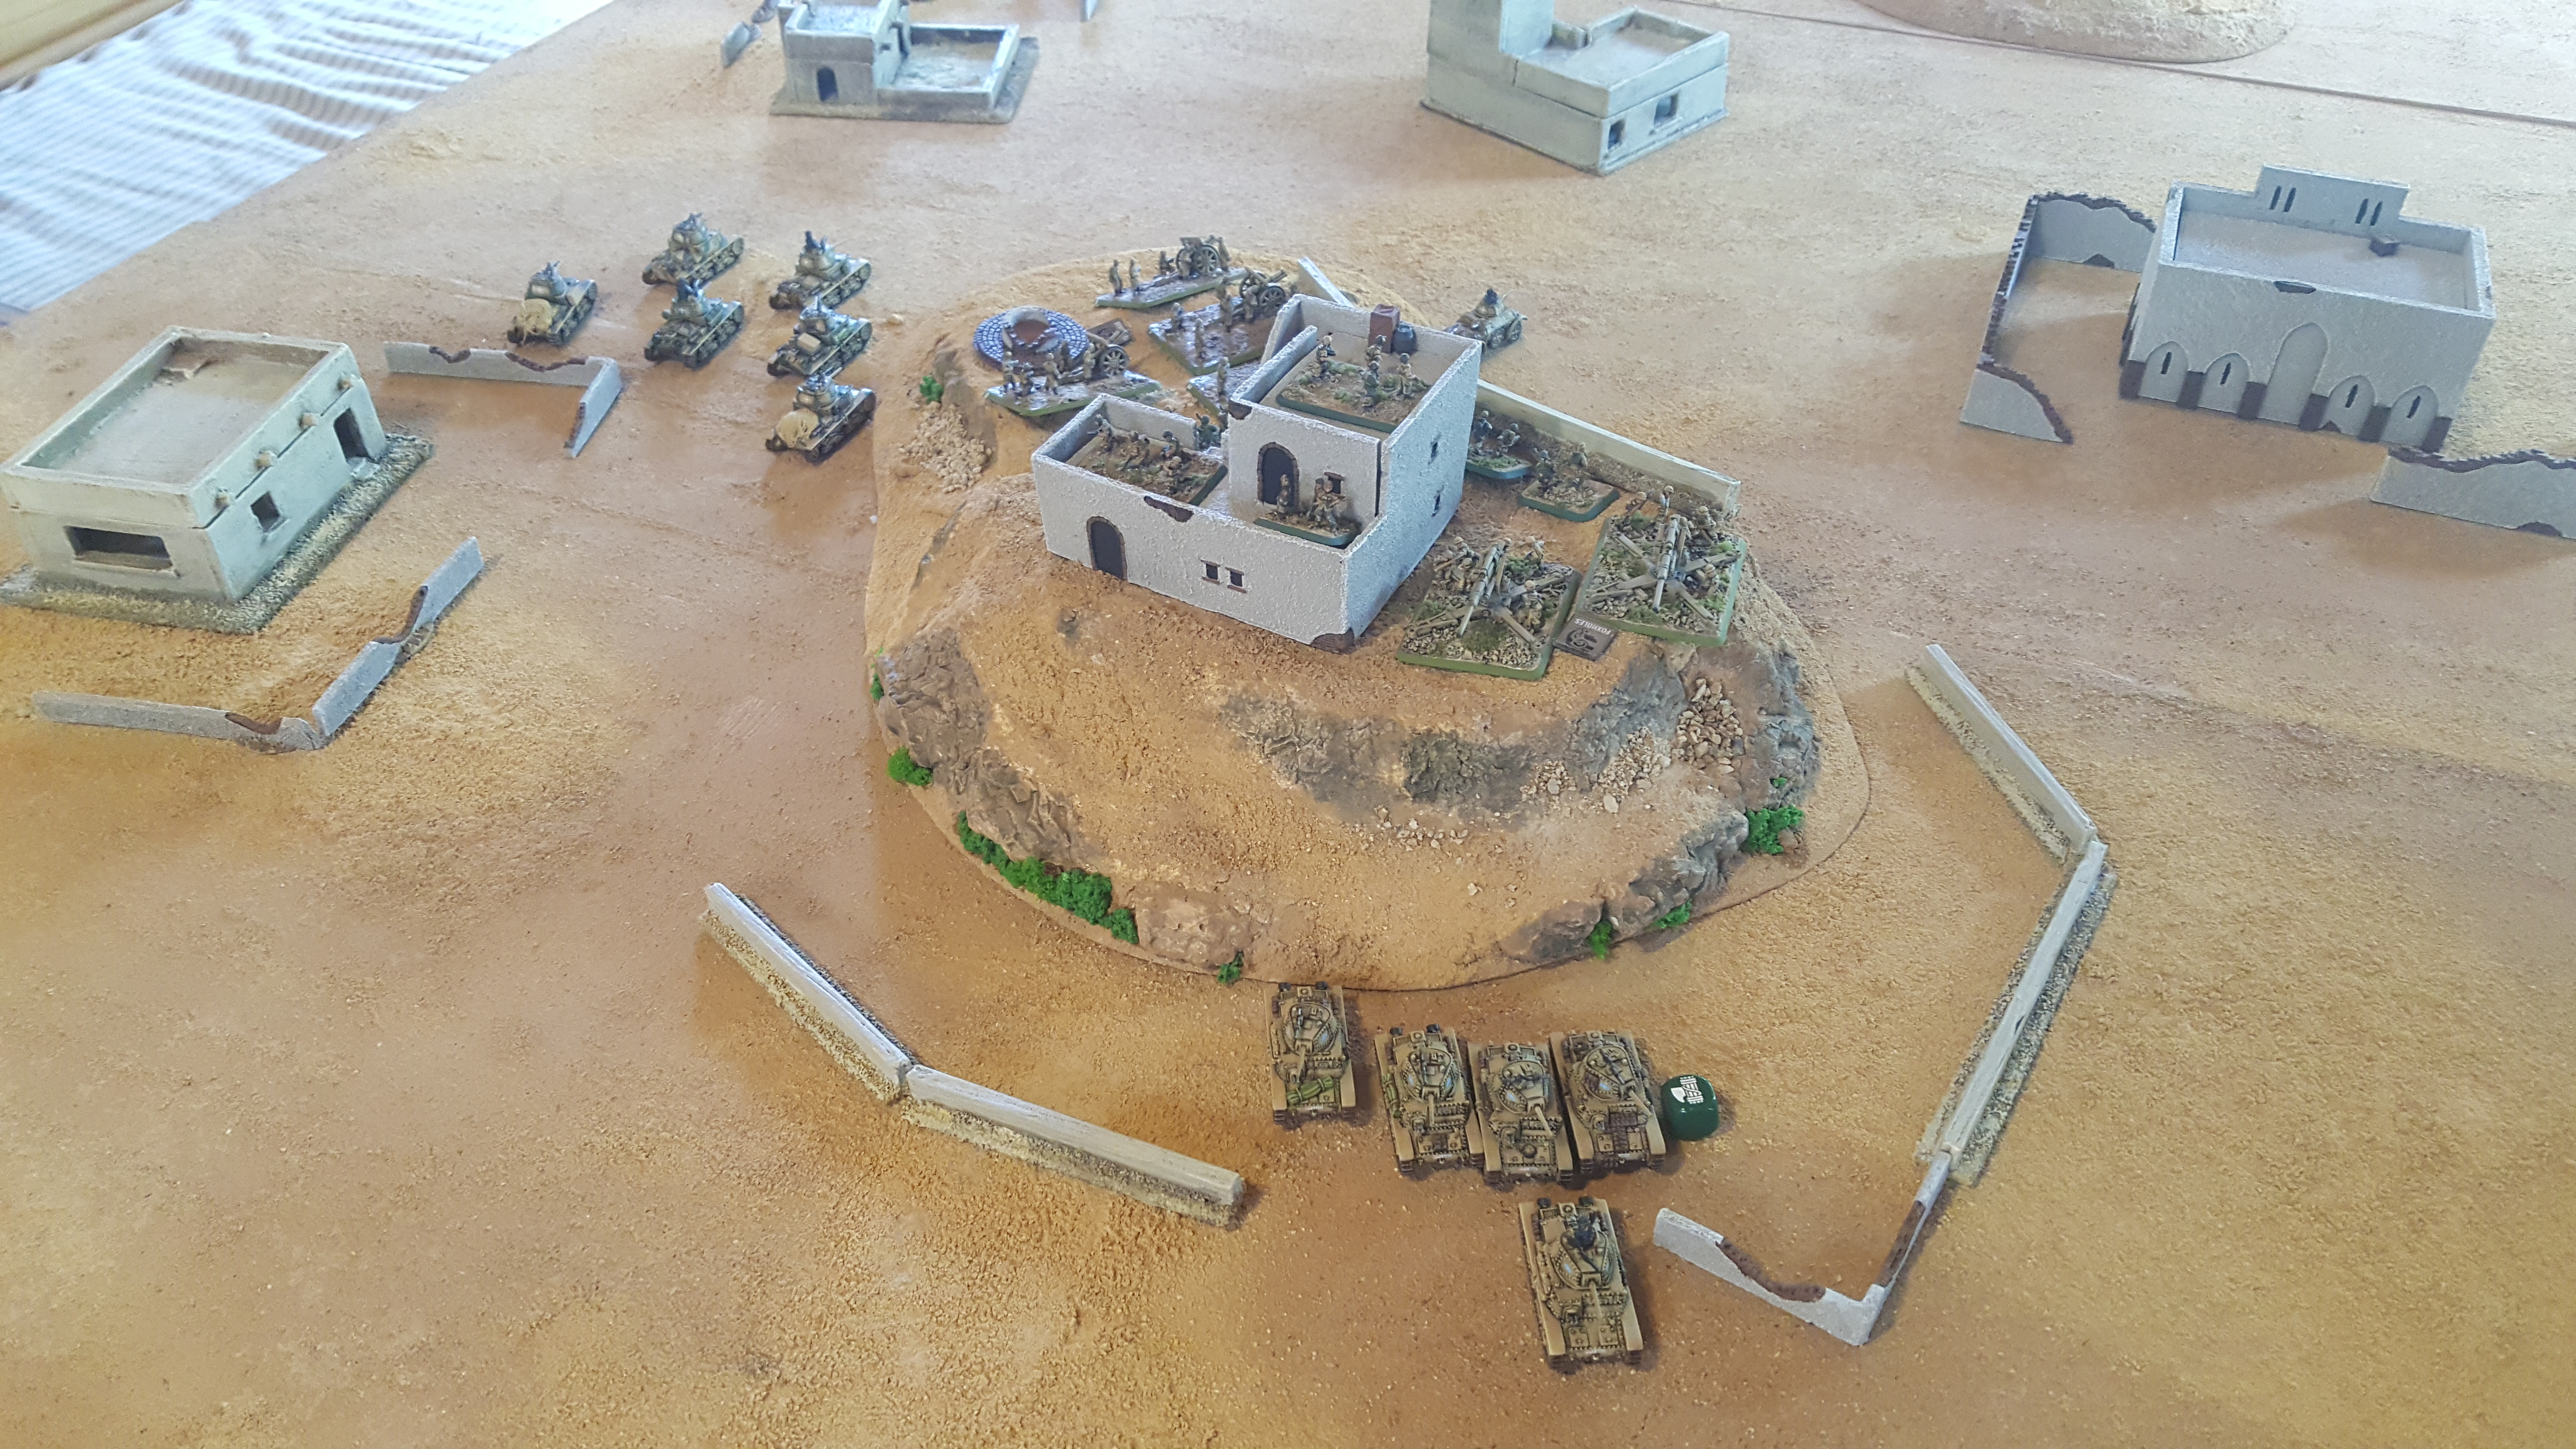
I was running a Complete Carri Company at 50 points, 4 100mm Howitzers, a fully tricked out platoon of Folgore, some lighter L6/40s, and a platoon of Panzer IIIs on loan from the Afrika Korps. Starting the match I had the Howitzers, tow tank platoons and the HQ, and the Folgore on the table. I would have to wait for Delayed Scattered Reserves, which we also made random choices so I wouldn’t know who I was getting, when I was getting them, or where!
-Alex
|
|
 |
 |
|
Turn 1
|
|
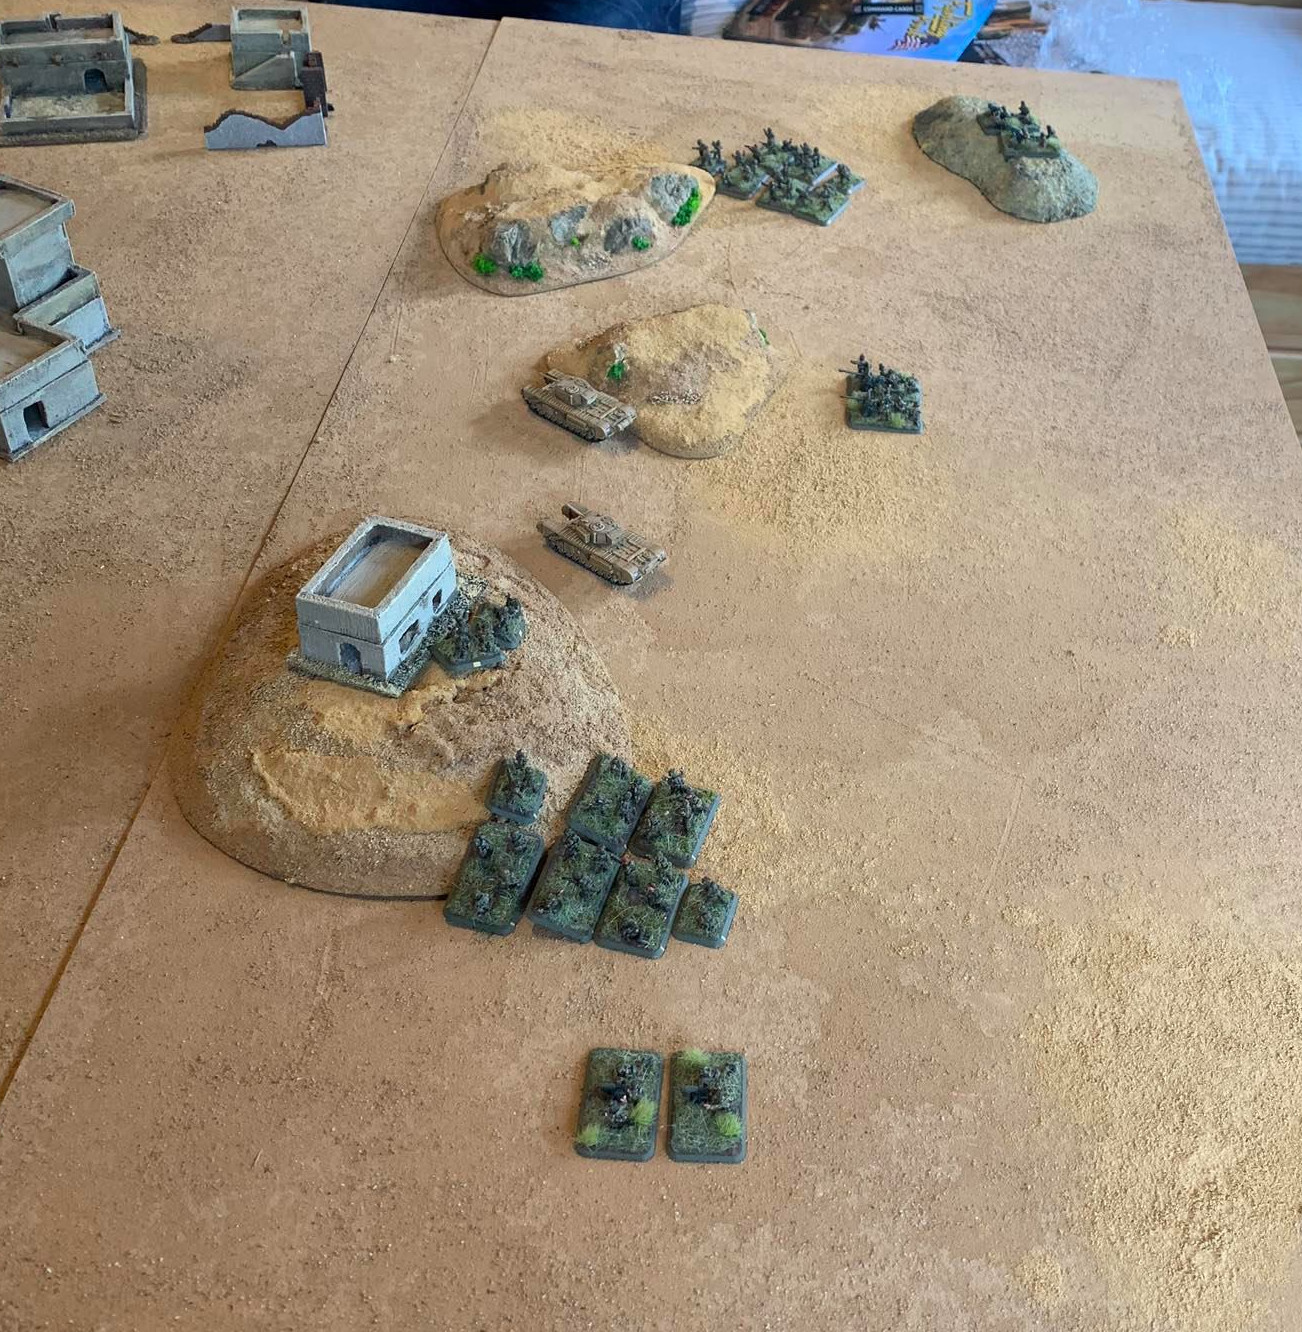
The battle started out as many battles often do, with lots of movement and just as much “um-ing” and “ah-ing’’. Fortunately, my American counterpart was a tad more Gung-ho and moved his Sherman Platoon toward the enemy. Unfortunately he was now in clear sight and range of Italian 88s and first blood was claimed by the enemy. I, on the other hand, moved cautiously towards two areas I had identified as good starting points from which I could consolidate my strength and move against the enemy. The first of which was a house atop a hill which had a good view of the enemy positions within the town. The second was a small walled compound that had little strategic value other than the fact that if I did not secure it the enemy could use this position to outflank my men and slow down my advance. 1st platoon and company HQ moved towards the hill on the left flank, 2nd platoon moved towards the compound on the right flank supported by the 6 pndr portees, while the Churchills advanced slowed into the town through the centre.
-Tama
|
|
|
|
My 88s wasted no time in cracking off a handful of shots long distance at the US Sherman, putting a hole right through one of them. Fighting at both ends, I figured my best strategy was to try and break the more mobile and aggressive armoured formation of the US first and sit tight with my artillery and Folgore to keep the British paras at bay until more of my scattered reserves could join the fray. In saying that, I had to put up something serious to slow the british and the US, so I split my armour to send one platoon to harass the US mortars (killing one), trained the 88s that direction too, and waited for the Panzer IIIs I had waiting in the wings to arrive (hopefully). My second M14/41 platoon rolled far out to engage the right flank of the British Paras and to avoid the Churchills.
-Alex
|
|
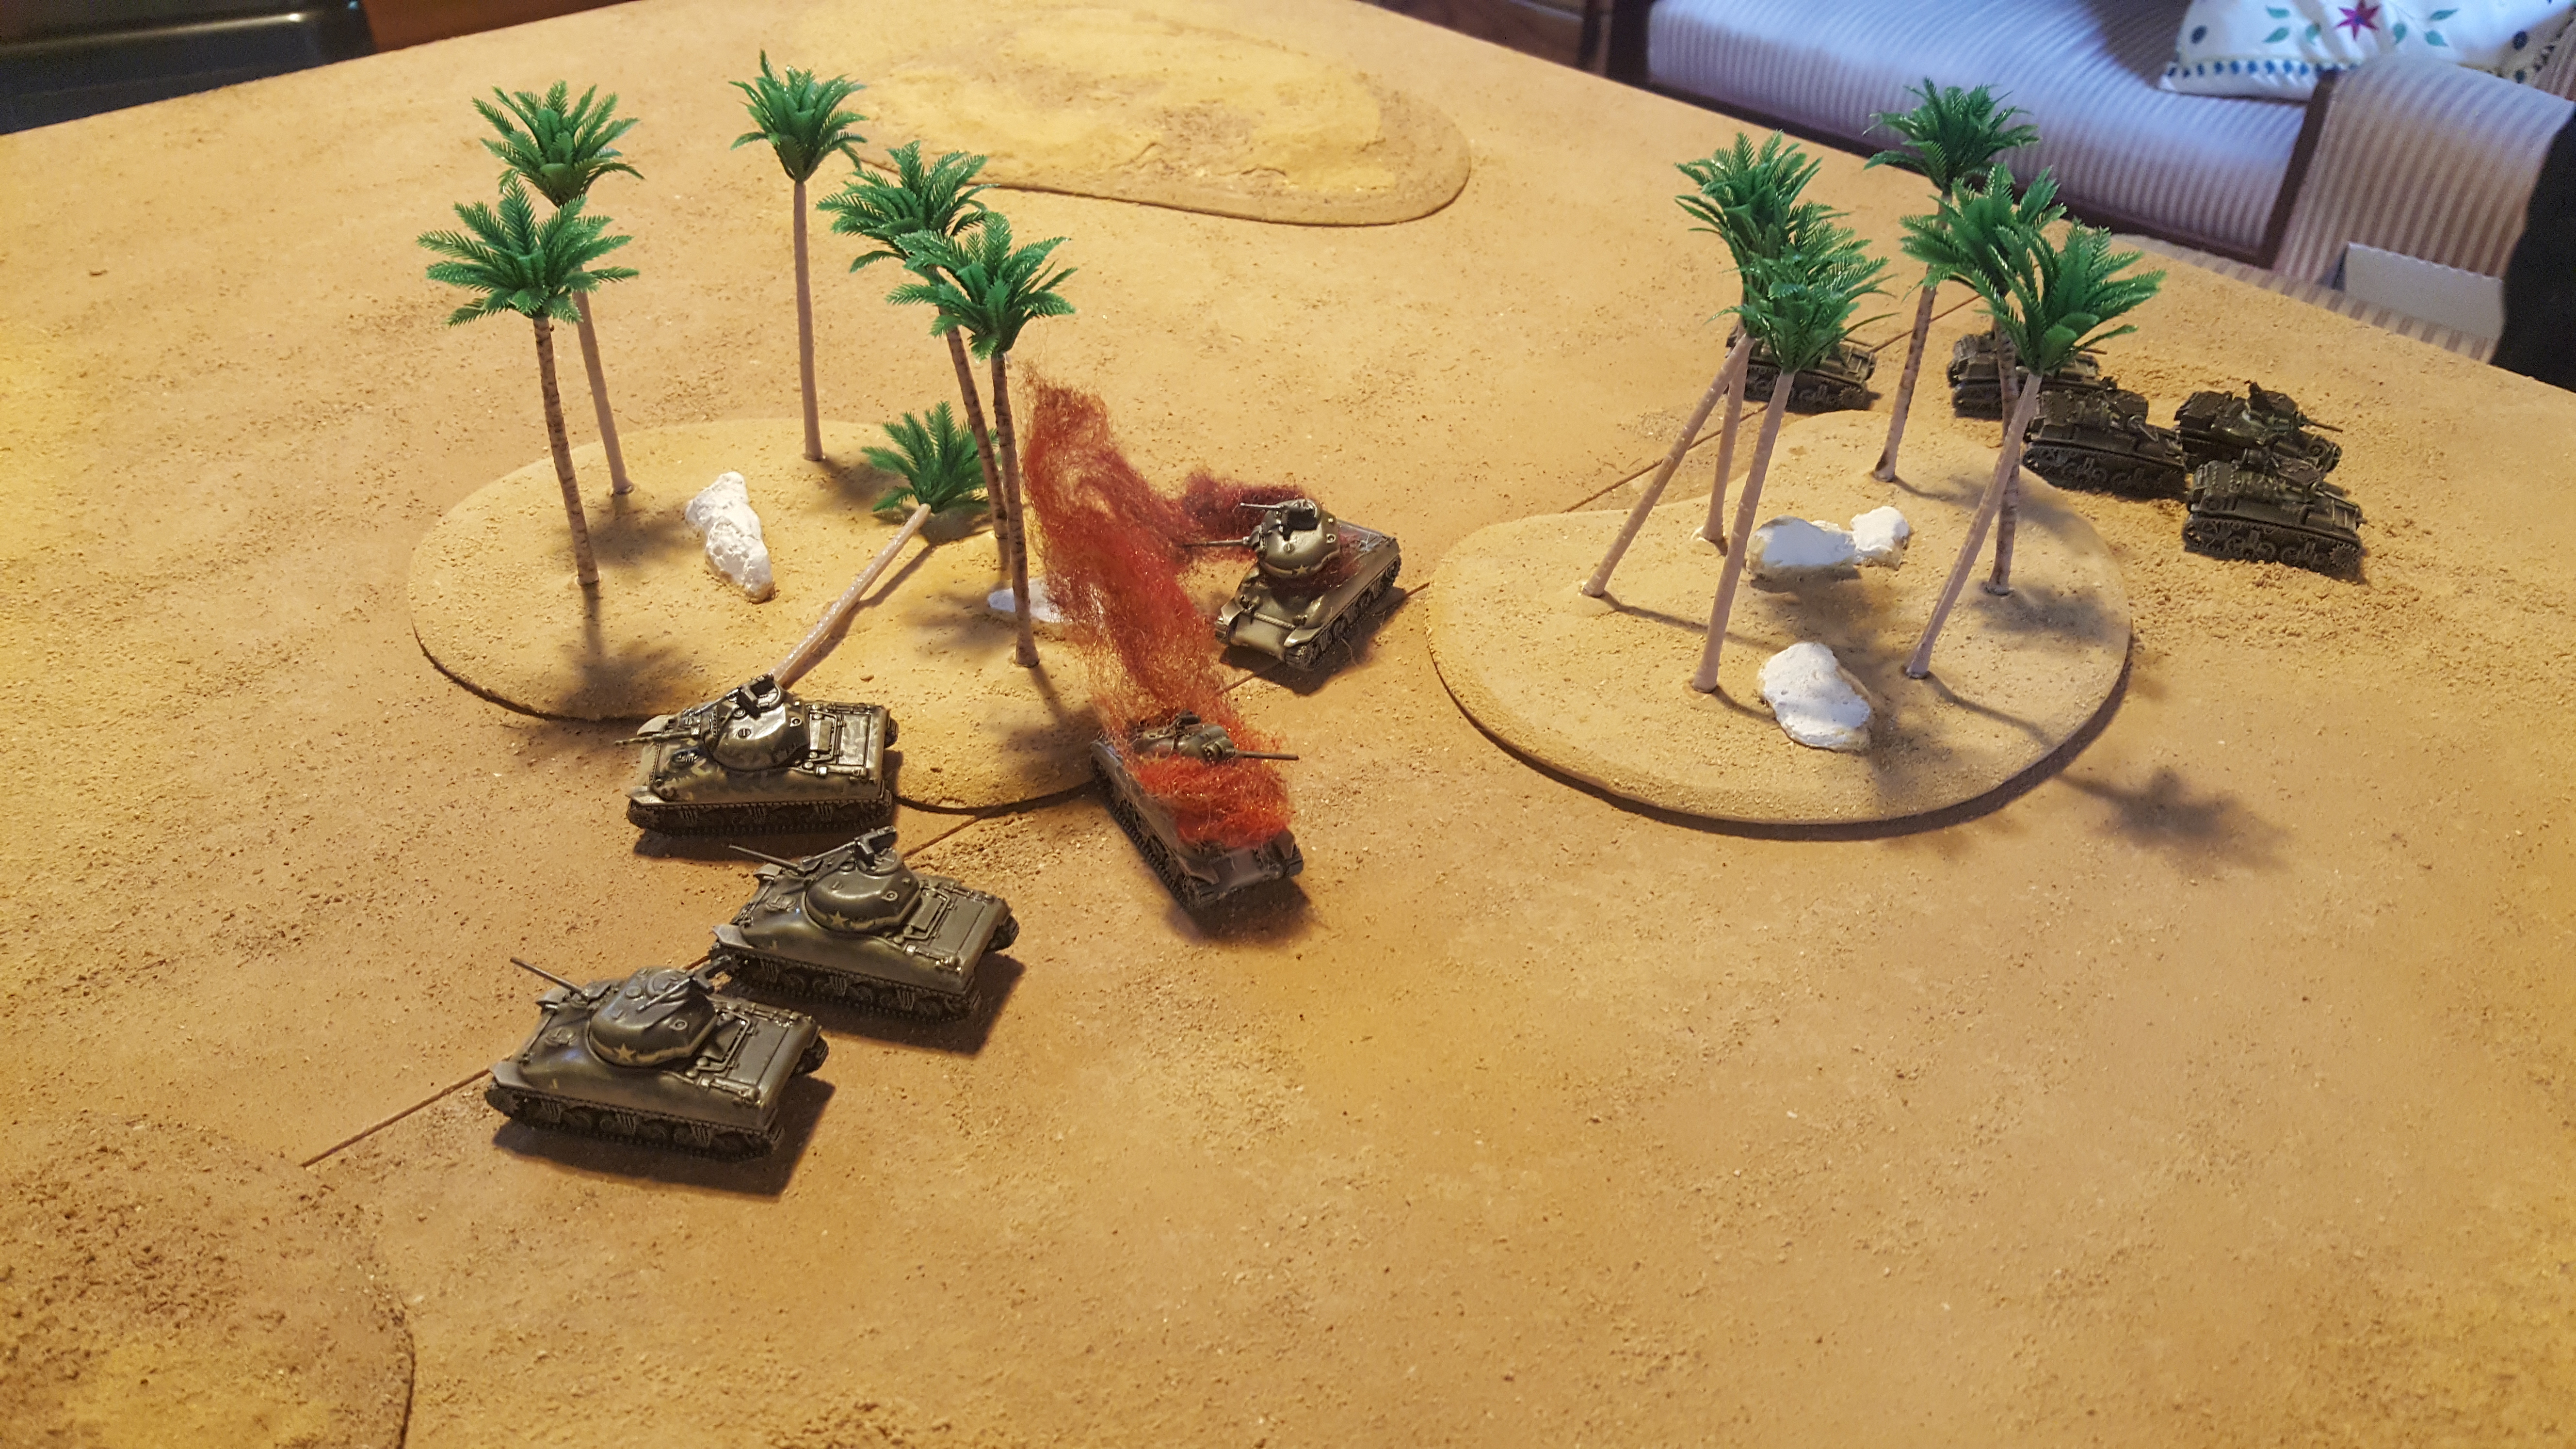
I started by getting my Stuarts and Shermans forward and behind some trees and my Mortars over behind cover in and out of line of sight of the enemy. I wanted to protect my artillery as their armour is weak and utilise my radio ability as Mid-War US to range in from my Platoon Commanders who were out in the field. I lost a Sherman to a lucky 88 shot, and knew that my top priority would be clearing these can openers off the battlefield before I could consider engaging infantry or Italian tanks. Much to my chagrin, my artillery failed all three attempts to range in so I wouldn’t be bombarding or smoking any Italian guns any time soon.
-Calum
|
|
|
|
|
|
|
On Turn 2 the enemy reacting to 1. Platoon’s advance up the hill had fired a barrage of 10cm artillery, Company HQ took casualties and I adjusted the position of the platoon accordingly. On the right flank they had checked the advance of the 2. Platoon on the compound with a platoon of tanks. Fortunately the Churchills were close at hand and were able to reposition themselves in order to support 2. Platoon. I then moved the 6 pounders into firing positions.
-Tama
|
|
|
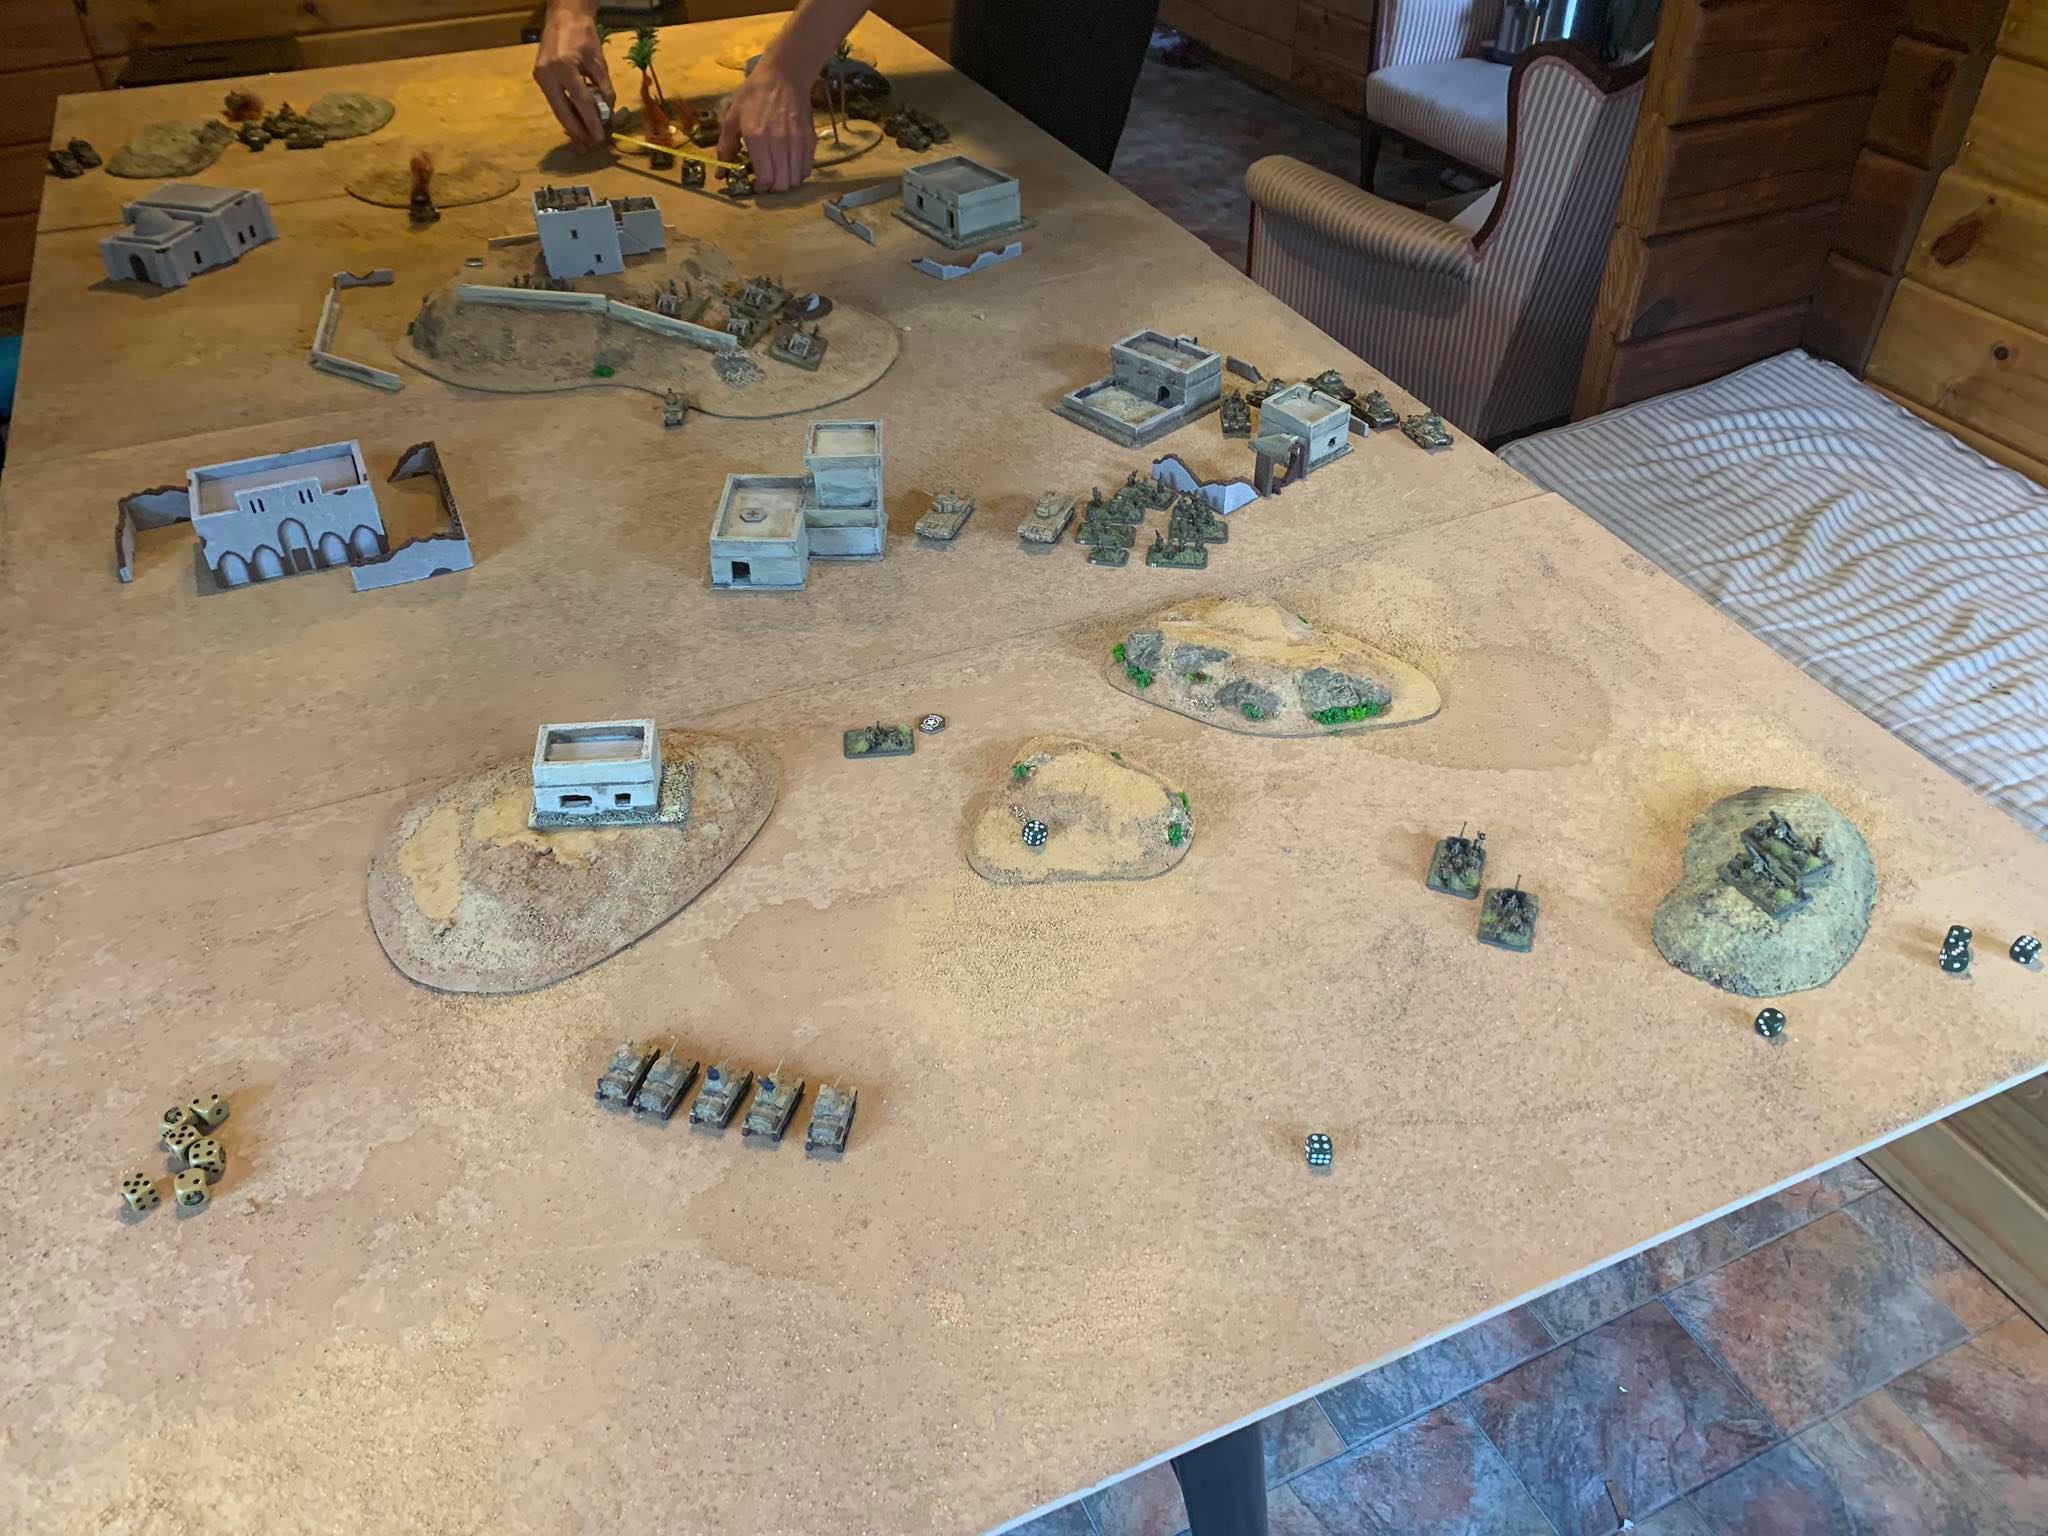
I moved a platoon of M14/41s up to pursue the mortars and hopefully get around behind the enemy tanks with a wide flank. Still, I was playing to hold out for Semoventes and Panzer IIIs to show up and turn the tide of the battle. I was very aware that my platoon of tanks facing the British were grossly outgunned by 6pdr Portees, Churchills, and AT rifles, but bravely they soldiered on, while my howitzers hammered the British platoon on his left.
-Alex
|
|
|
|
|
Along with my Sherman eating an 88 round, one of my Mortar teams got popped by advancing Italian tanks, so I knew the strategy had to change. I gave up trying to advance towards the middle and decided to consolidate my forces on my end of the board and lay down covering fire on the advancing tanks. My Stuarts turned back and joined the Shermans among the trees. The 3 Stuarts that had LOS on the enemy fired at their moving ROF (2) from their 37MM and didn't get any kills. My mortars, in a wise act of self-preservation, dropped a smoke bombardment between themselves and their assailants.
-Calum
|
|
|
|
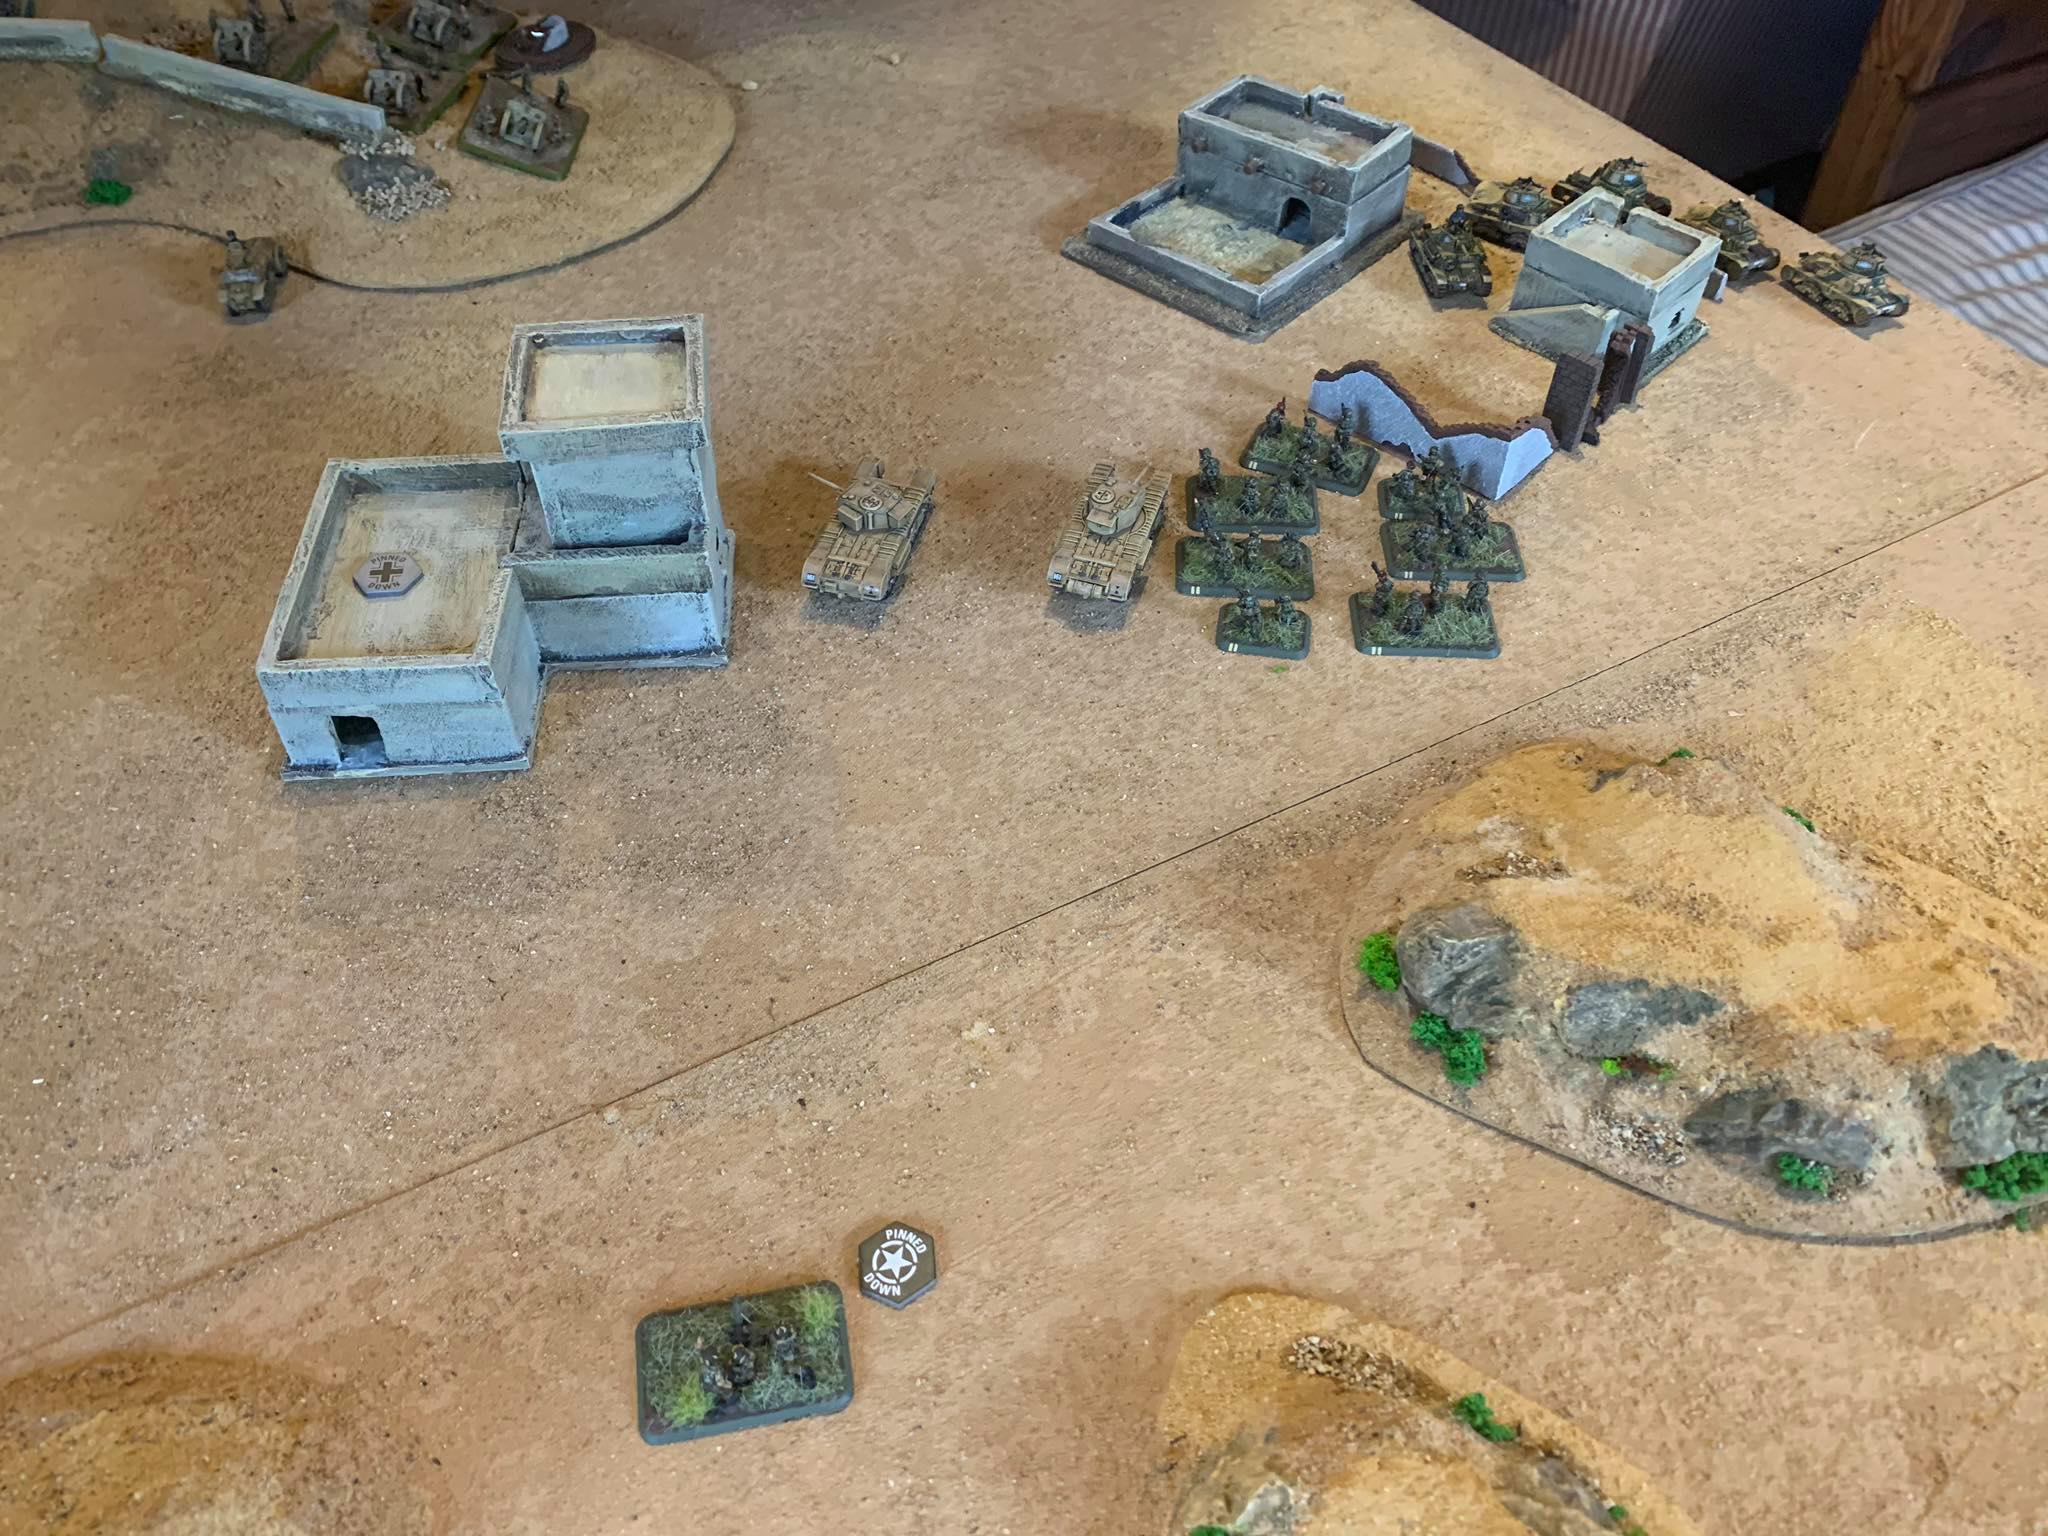
Once rallied, I swiftly moved 1. Platoon to rendezvous with Company HQ who were, at the time, pinned from yet another Italian arty barrage. 2. platoon fared much better, having moved into the compound they prepared to engage the enemy tanks at close range with support from both our own Churchills and American Shermans firing long-distance into the backs of the tanks.
-Tama
|
|
|
|
|
First chance at reserves and no dice. Now it’s time to do some pushing of my own. I bring my Folgore platoon off their perch and get them moving forward to start dealing with the infantry my howitzers are pounding. My plan being to cook them with flame throwers and have one less problem to think about.
-Alex
|
|
My Stuart platoon split fire, with half using their machine gun fire to attack the hill fort to no avail. The other three go behind the building on table’s edge and attack the enemy tanks at the far end outside the compound to ease the pressure on my ally who is attempting various movements and assaults through open ground and terrain down there. We destroy one tank. My Shermans decided to go hell for leather and crack on with uprooting the two 88s that were dug in up on a hill overlooking my section of the battlefield and posed a huge threat. I had lost one Sherman in the opponents last turn to these 88s and was not looking to lose another. Laying down a large amount of fire the Shermans incredibly scored plenty of hits and even passed both firepower checks on the dug-in guns, destroying both 88s and opened up the battle-field for clear movement of my teams.
-Calum
|
|
|
|
|
With terrible luck leaving 1. Platoon and company HQ bogged down on the left flank, I turned my attention to the Italian tanks on my right. Unfortunately the enemy received another platoon of light tanks to the rear of my 6 pounders, turning to face them, my guns managed to score hits but unfortunately failed to hit their firepower rolls. With my infantry ready to engage the Italian tanks that were mere centimeters away, and with the Americans knocking out an Italian tank or two; the time had come to press the advantage and secure the flank. It was then that I announced my intention to assault the survivors of the Italian M14/41 platoon, with 2. Platoon using Boys Rifles and my Ace-in-the-hole: Gammon Bombs! The ambush was successful, with my Red Devils coming from nowhere and with Gammon Bombs having automatic firepower, 2. Platoon was able to force two tanks to abandon their post and flee.
-Tama
|
|
|
 |
|
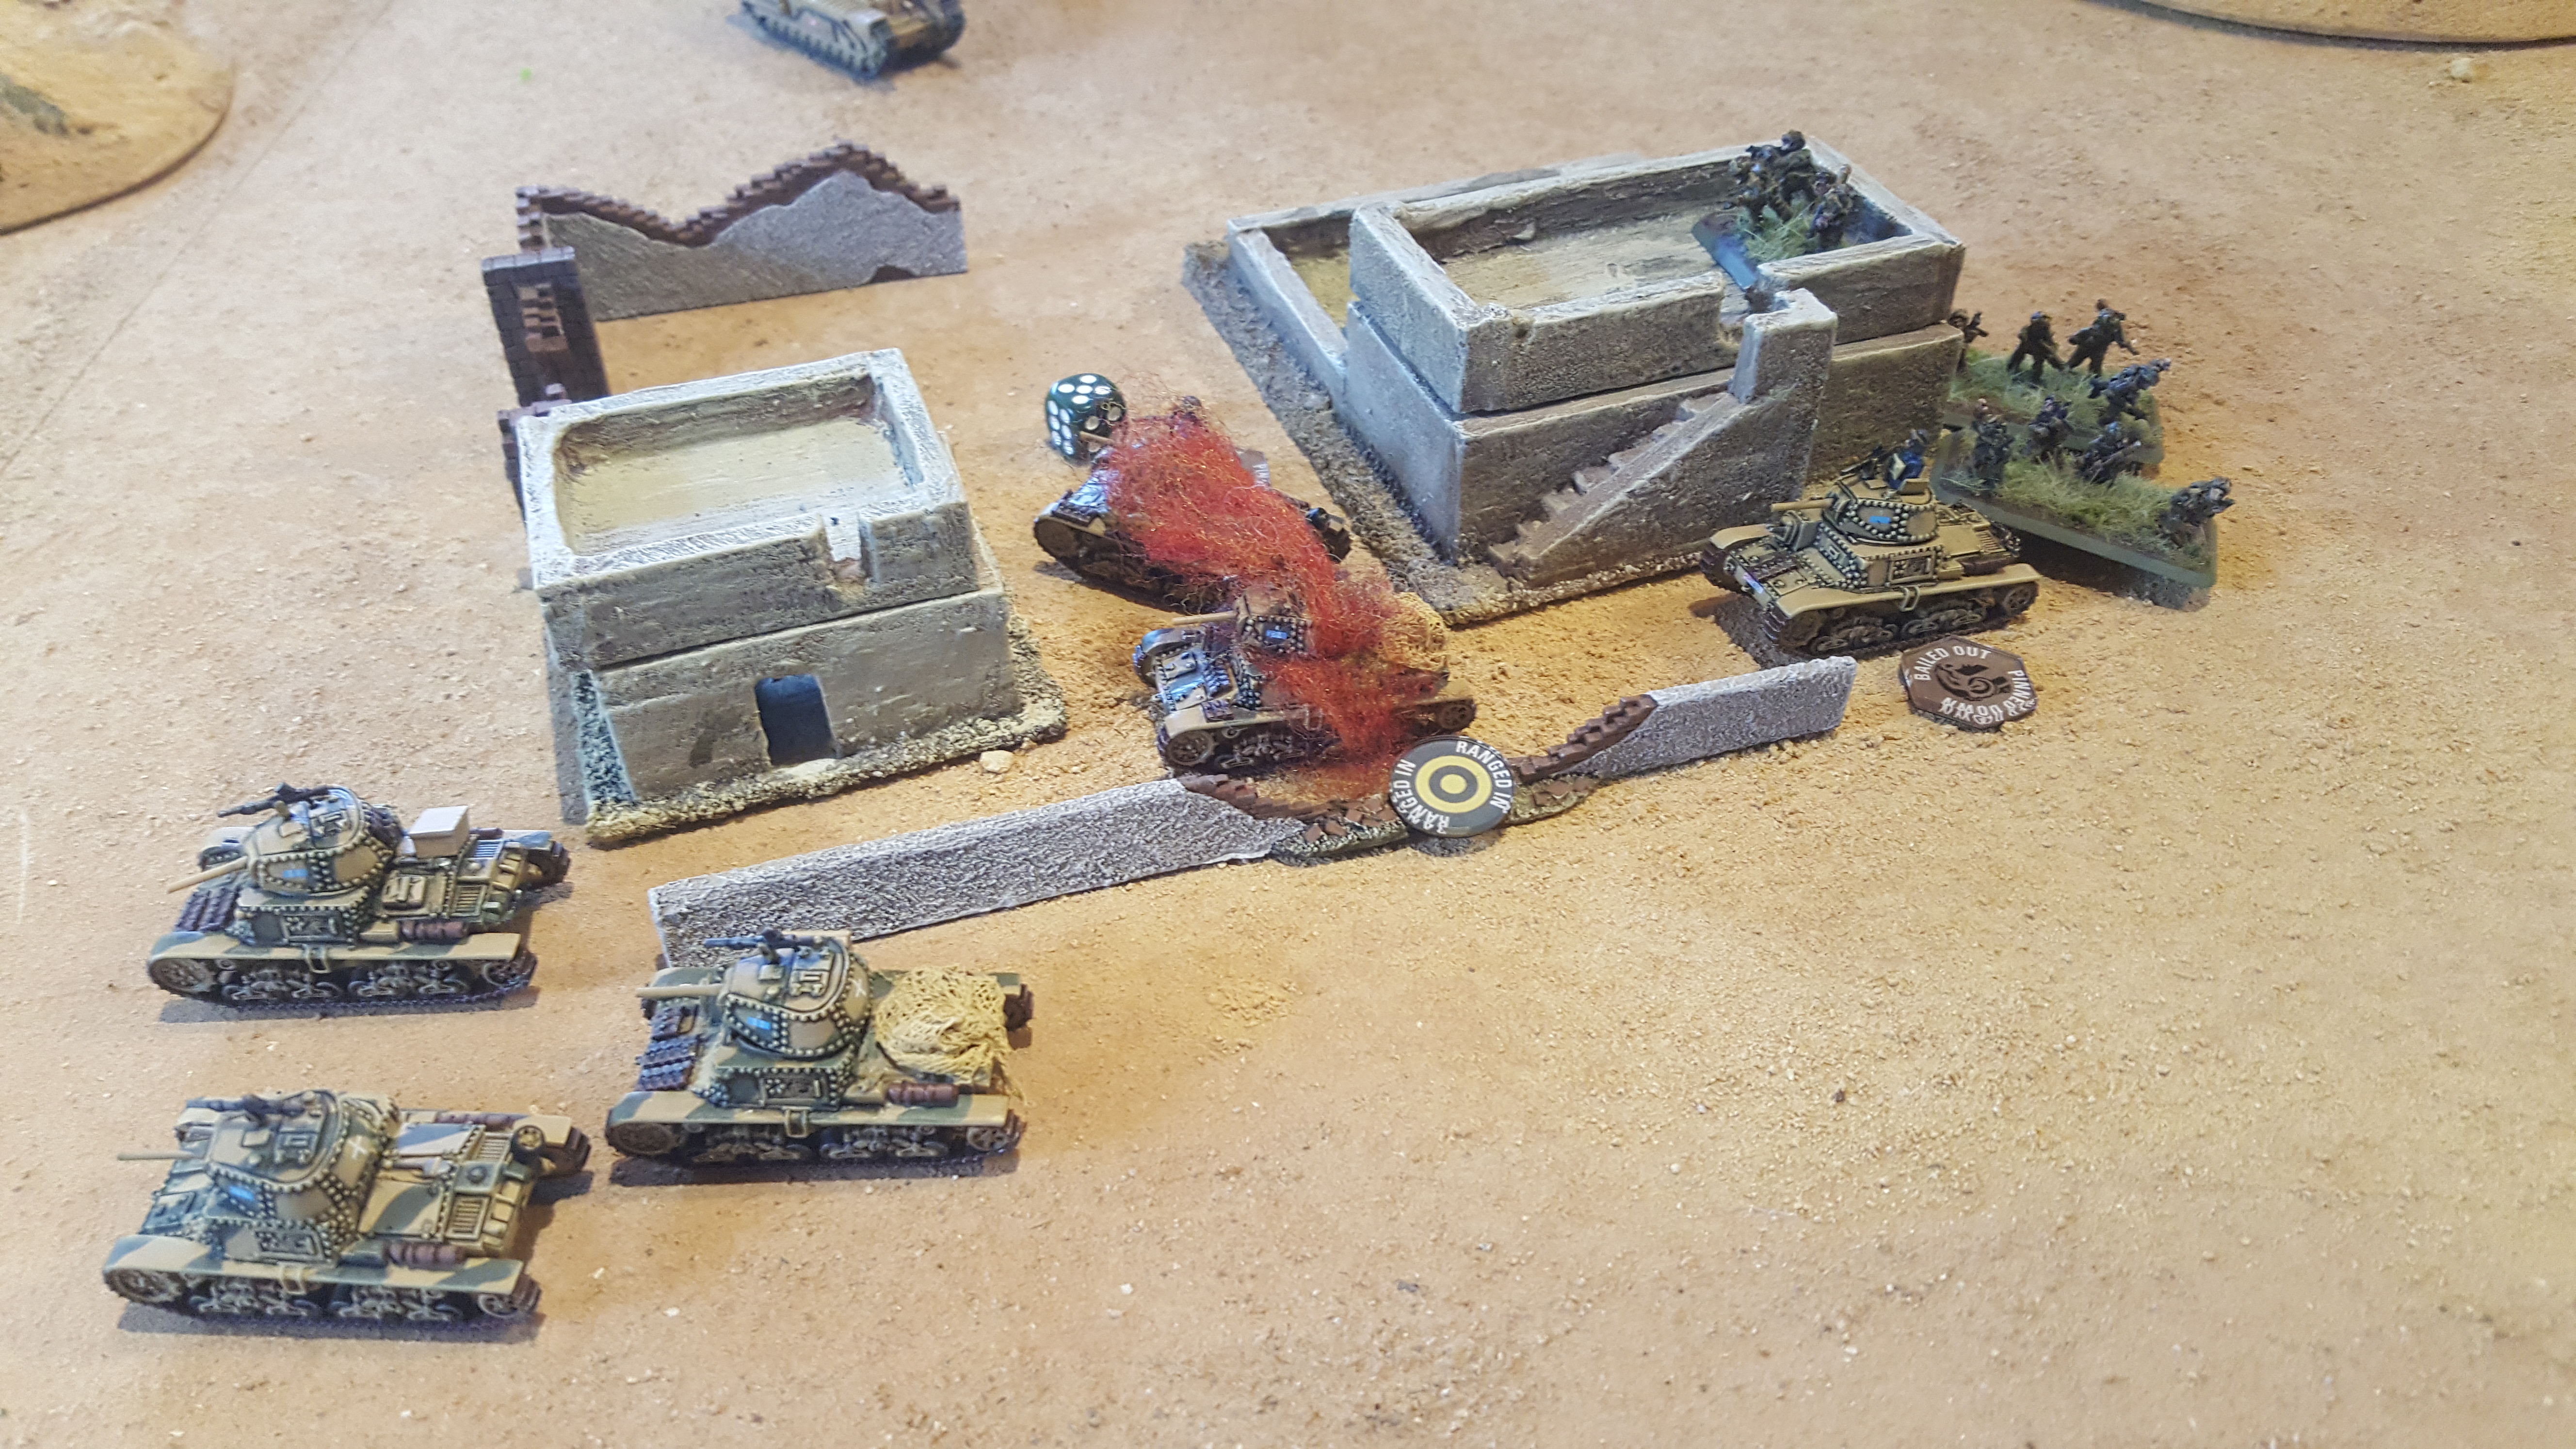
Turn 4 I get a handful of L6/40s on the table. Successful reserves were randomly chosen, so light tanks it was. L6/40s made their moves against the paras, their machine guns far more useful against infantry than their 20mm ever would be against Shermans. Their random deployment behind the 6pdrs wasn’t the worst outcome. My own paras start flaming out their targets to great success, forcing the Paras out of the building with an assault after firing. Unfortunately, losing an M14/41 to Stuart fire in the rear, and then having more taken out by a dastardly Para assault forced me to back off to lick my wounds. But where to back off? Forward to 6pdrs and Churchills or backwards to Shermans and Stuarts? To compound my problems, the tanks I sent to hound the US mortars are about to be hit by Shermans, so they have a crack at taking on the heaviest of US armour, concentrating fire on the one tank facing its side armour to them.
-Alex
|
|
|
|
I lost a second Sherman in the Italian turn this time to enemy tank fire. I moved the remaining three teams up and toward the tanks that had been hounding my Mortars since turn one. Opening up on them with the Sherman 75mm gun and wildly outperforming the paper-thin Italian armour, I ripped through three of the tanks. My Stuarts fire at the remaining tanks that were just assaulted by the British Paratroopers, and my own paratroopers, largely sticking in the cover of buildings until now, start advancing up the main hill with relatively little opposition.
-Calum
|
|
|
|
|
While the fierce battle persisted on the left flank, unfortunately the right flank was now completely hopeless. Arty had destroyed much of 1st platoon and the Company HQ, as well as a timely Folgore assault toasting my Paras. Focusing solely on the right flank, I turned my churchills to face the Italian armor threatening my rear, destroying one enemy light tank in the process. Meanwhile I turned the 6 pounders to fire upon the remaining light tanks near the compound, destroying them. The Italian tanks fail their morale rolls and it looks like they’re all outta juice, routing from the table and securing the Allies their victory.
-Tama
|
|
My Paratroopers, being basically the only successful component in my army are helpless as my ailing tank platoons give up the ghost and high tail it out of there. With my formation broken the game is lost.
-Alex
|
|
Now to be fair I must mention the theoretical next turn we played. After the Italians failed some motivation checks and were either blown or scared off the field we allowed played one more turn just to see what could have been. And boy were we glad to have crushed him when we did. He successfully rolled on two reinforcements and then rolled both of them onto the battlefield directly behind my already weakened tank forces. The Italian reinforcements would have theoretically made short work of blitzing through my back armour before rolling onto victory against my allies thinned out infantry and two remaining tanks. Luckily however none of that happened. It was all theoretical. Because we won.
-Calum
|
|
|
|
This particular army list was an absolute blast to use in combat. The variation of support you can take with you while using the standard British paratrooper company is more than capable of dealing with Italian and German armour of the Mid War period, especially when paired with well-timed Command Cards like Gammon Bombs and handy upgrades like the Portees card. Not only am I a keen paratrooper player in Late War with D-Day: British, I’m also looking forward to getting more mid war battles fought with Red Devils.
-Tama
I can’t remember the last time I won a game. However, I love playing Italians and I thoroughly enjoyed running a platoon of Folgore from Death From Above, with their glut of flamethrowers and their colourful uniforms I was stoked to see them earn their first kills.
-Alex
While I didn't get to throw my US Paras around much this match, I have grown to really appreciate the flexibility they offer me as a support platoon. So much so, you can check out my brief article on adding paras to an existing force for new players on the front page right now.
-Calum
|
 |
 |
 |
 |
|
|
|