|
| |
|
|
|
|
|
|
Sorry, no articles were found.
|
|
|
|
 |
|
|
Building my Ka-Mi Amphibious Tank Company
 |
Building my Ka-Mi Amphibious Tank Company
With Andrew Haught
When I first looked at building 15 tanks, the project seemed daunting. But I hunkered down and started working. I soon found out that these things are a breeze to put together. Two tank tracks, a tank barrel to glue to the turret, and the metal air intake trunk (which was fitted over the engine intake to keep water out of the engine): in total, only four things to glue on, which makes it really easy to put these guys together.
|
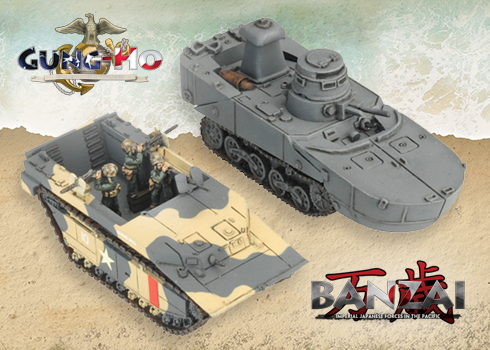
| The tanks themselves are just awesome-looking: half boat, half tank, it's just too cool. These tanks are going to be simple to paint since they are basically just grey. So to take it to the next level, I am going to be adding some chipping and weathering effects – I will go into that later on. |
|
Priming
I hate having to go back and fix things I missed when priming, so I was careful to prime each tank from every angle to get the best coverage. I chose to prime all my models in black because it’s easier for me to build the colour up from a dark base.
|
|
Painting
I am a bit backwards when I do weathering – it's how my mind works; I start with the weathering effects and go backwards. To this end, I paint the entire tank Oxide Red.
|
 |
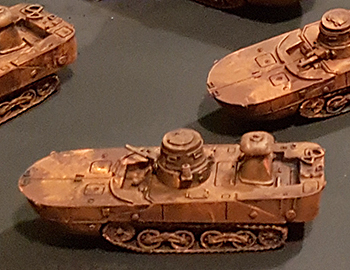
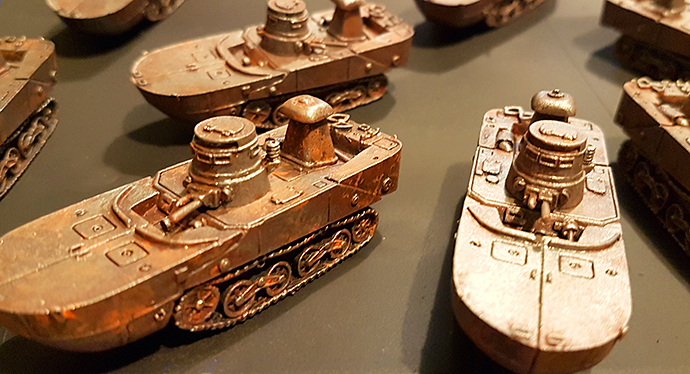
After the tank has a base coat of Oxide Red, I then splatter orange randomly all over each tank. This gives a rust feel for the base coat of the tank.
A lot of this orange layer tends to get hidden by the subsequent colours, so I tend to go very heavily with this stage.
The last stage of my weathering process is to do a Dark Gunmetal dry-brush. This is a thin layer covering the whole tank. The red and orange layers add some nice depth to the metal colour. The metallic layer may seem too bright at this stage but inking tends to fix that issue.
|
 |
|
I give the metallic paint plenty of time to dry fully. Then, when paint the main grey colour, I will leave the underpainting showing on edges and areas that I want to look weathered and chipped (more on that in the next part of this article).
~ Andrew
|
|
|
|