
|
| |
|
|
|
|
 |
|
|
Early War Staff Armies: Phil's British Armoured Regiment - 10th Hussars
 |
Early War Staff Armies:
Phil's British Armoured Regiment
We continue our feature on the Battlefront staff members Early-war armies by taking a look at Phil's Armoured Regiment. |
The 10th Hussars
Long ago I painted up a French Escadron de Combat (Cavalry Tank Squadron) and started on a British Armoured Squadron for the BEF. The release of the new models (which are infinitely superior to the old ones, just goes to show how much Evan has improved in a decade!) gave me the opportunity to actually finish a British armoured force for France 1940.
I chose the 10th Hussars because I could get their regimental history at a reasonable price (or perhaps a not too unreasonable price). The interesting thing about the 10th hussars is that they were the junior regiment of the division and don’t seem to have had as many cruiser tanks as the other regiments. This has the effect of allowing me to field the whole regiment for just 1500 points!
See all the Staff Early War armies here...
|
 |
| The British Armoured Regiments Organisation Diagram |
Phil's British Armoured Regiment Army List (Based on the 10th Hussars)
|
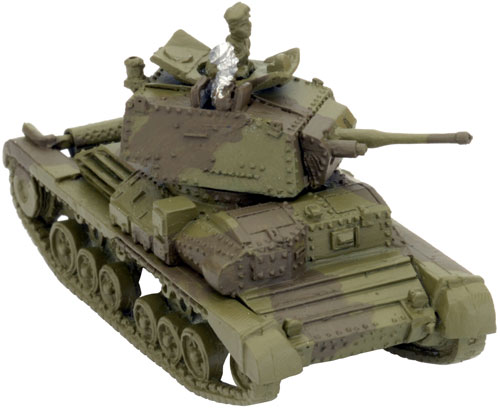 |
Regimental HQ
1x A10 Cruiser Mk II
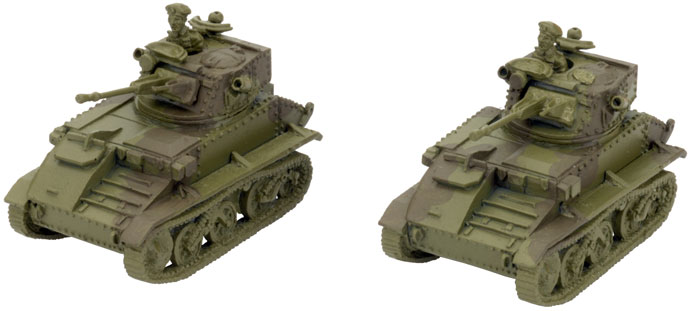
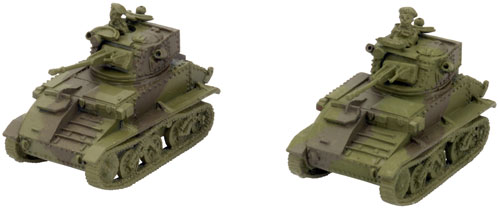
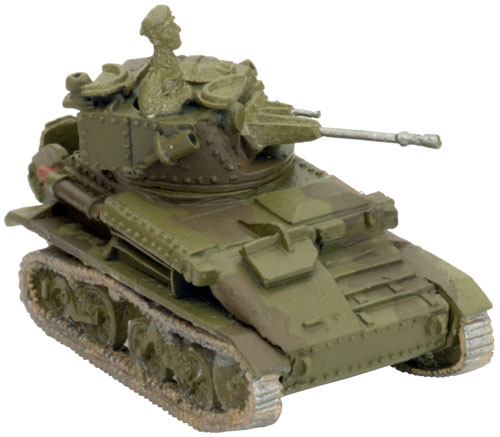
2x Light Mk VI C
Left: Phil's A10 Cruiser Mk II.
Below: Phil's Light Tank Mk VI C.
|
 |
A Squadron
HQ Platoon
2x A9 CS Cruiser Mk I
Cruiser Platoon
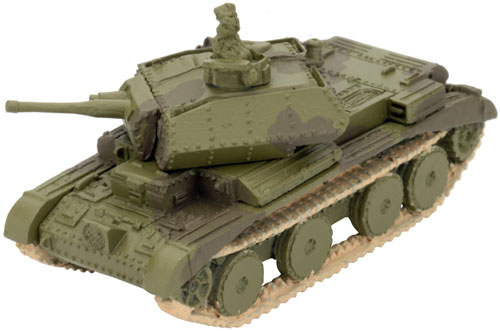
3x A13 Mk II Cruiser Mk IV
Light Platoon
3x Light Mk VI C
Light Platoon
3x Light Mk VI C
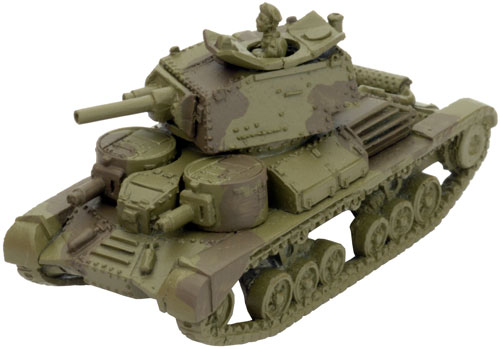
Right: Phil's A9 CS Cruiser Mk I.
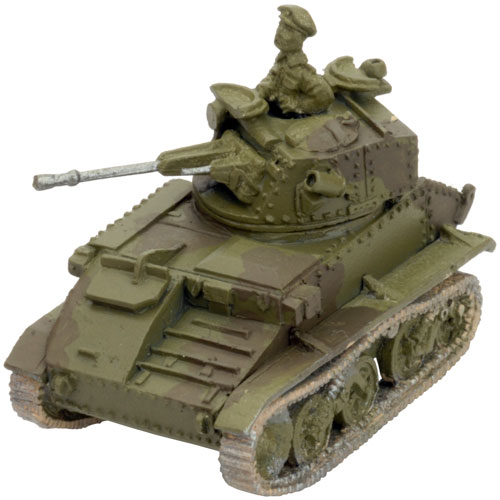
Below: Phil's A13 Mk II Cruiser Mk IV.
|
 |
 |
B Squadron
HQ Platoon
2x A9 CS Cruiser Mk I
Cruiser Platoon
2x A13 Mk II Cruiser Mk IV
1x A13 Cruiser Mk III
Light Platoon
3x Light Mk VI C
Light Platoon
3x Light Mk VI C
Left: Phil's Light Tank Mk VI C.
Below: Phil's A13 Cruiser Mk III.
|
C Squadron
HQ Platoon
2x A9 CS Cruiser Mk I
Cruiser Platoon
1x A13 Mk II Cruiser Mk IV
2x A13 Cruiser Mk III
Light Platoon
3x Light Mk VI C
Light Platoon
3x Light Mk VI C
Scout Car Patrol
3x Daimler Dingo
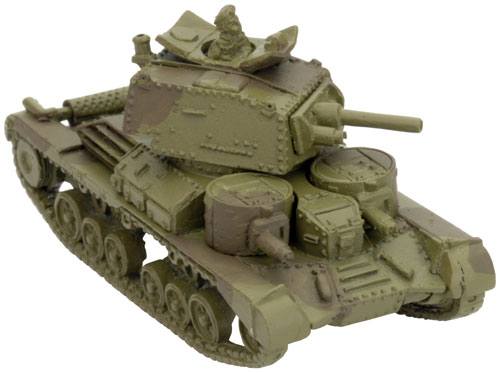
Right: Phil's A9 CS Cruiser Mk I.
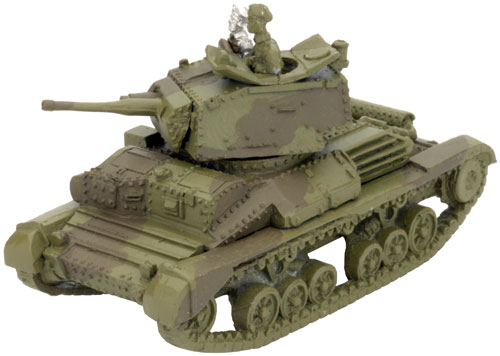
Below: Phil's Light Tank Mk VI C.
|
 |
 |
At present I only have the tanks for the RHQ and a reinforced A Squadron, but once they are painted, I’ll tackle the remaining tanks and scout cars.
My painting style is different from most of the design studio, in part because I’m a rather messy painter.
Step one was to undercoat everything with the British Tank spray can. This is close enough to my chosen colour for G5 Light Bronze Green to make a good starter.
|
Step two was to paint the G4 Middle Bronze Green Camouflage over the top with Sherman Drab (FWP321). This gives me the basic pattern to work with.
|
 |
 |
Step three was to paint the tracks in Dry Dust (FWP364), the road wheels in Black (FWP300), the exhausts in SOxide Red (FWP382), the fire extinguishers in Brass, and then go back and paint the main colour (G5) in a mix of Army Green (FWP342) and Oxide Red (FWP382). This stage allows me to fix up the messy bits from the tracks and road wheels.
Step four will be a black wash to fill in the details.
Step five will be a lighter shade of G4 and G5 on the vertical surfaces. I use about 33% white or buff for this.
|
Step six will be an even lighter shade of G4 and
G5 on the top surfaces. I use about 66% white or buff for this. To me,
this combination produces a more realistic colour for a full-sized
vehicle in sunlight.
Step
seven is to finish off the details including brushing the tracks
with a dark steel colour, leaving the dried dirt colour in the recesses.
Step eight is adding decals.
Step nine is a good coat of matt varnish.
Step ten is a good night’s sleep!
~ Phil. |
 |
Want To Know More About Blitzkrieg?
Over the past few months we have added a massive range of articles
about Blitzkrieg to the website, to make it easier for people to find a
specific article we have put together this handy place.
Find out more about Blitzkrieg and Early-war here...
|
|
|
|