|
|
|
|
Products mentioned in this Article
--None--
|
|
|
|
|
|
|
|
|
 |
|
|
|
Goodbye Old Friend: Part Three
A Farewell To Second Edition Battle Report
with Tony Vodanovich and Mike Haycock.
With the official release of the third edition of the Flames Of War
rules set imminent, we thought we’d pay tribute to second edition by
giving it one last hurrah with a final battle report. So we gathered up
some models, set up a table and roped in a couple of New Zealand’s top
ranked Flames Of War players to duke it out in the desert Early-war
style and prove the Early-war isn't a Tankfest the rumours claim it to be.
Read part one here...
Read part two here...
The battle concludes.
|
|
Turn Six
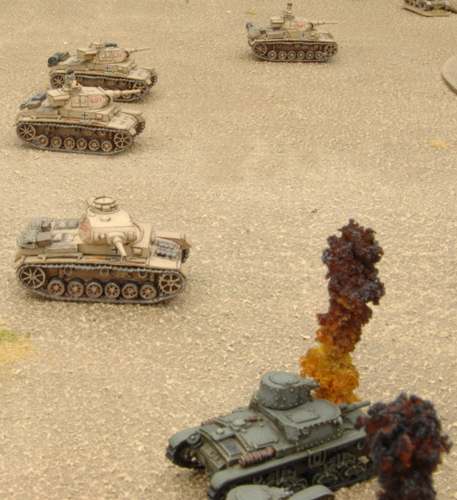
The German Panzers successfully hunted down and destroyed the remains of the Australian Carrier platoon and the Light Tank Mark VI Bs but the captured Italian tanks proved to be a difficult target to deal with.
Platoon Casualties
The Australians
Three platoons destroyed from eight total platoons.
The Germans
Three platoons destroyed from six total platoons.
|
|
 |
Turn Seven
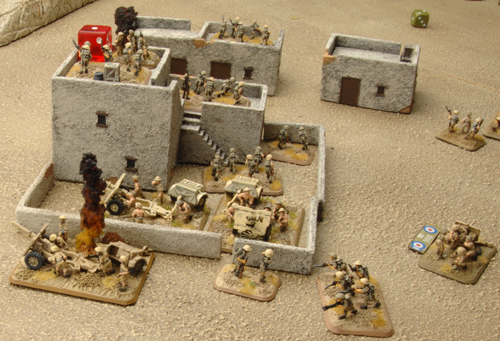
The last Australian reserves finally turn up, and the mortars take up position behind the hill on the far left. The pop gun of the M11/39 manages to kill off the closest Panzer III tank, buying himself some more time. The remaining Panzer IIIs position themselves to deal with the mortars and the M11/39 but only kill one gun team and bail the tank (who passes yet another platoon motivation check!). The Germans kill off the 25pdr gun from the 2pdr platoon with long rang fire from a stationary Panzer III. The Australian anti-tank defences are now down to two 18/25pdrs and a pair of 2pdrs.
|
Platoon Casualties
The Australians
Three platoons destroyed from eight total platoons.
The Germans
Three platoons destroyed from six total platoons. |
Turn Eight
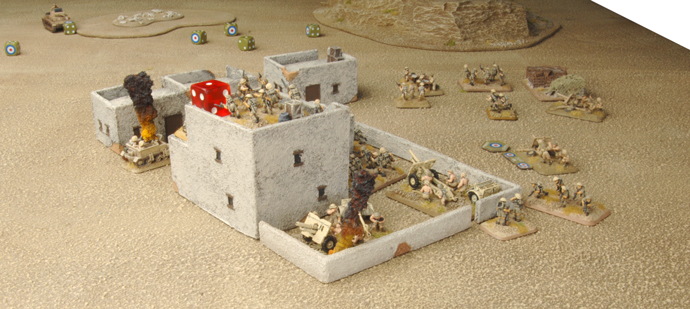
The Australian turn consisted of a couple of long range shots at a Panzer III and trying to range the mortars in on the PaK36 platoon, but the levels of success were low. Once again the M11/39 managed to survive fire from a Panzer III, and the mortar platoon suffered only minimal machine-gun fire. The Royal Horse Artillery did lose their third 18/25pdr gun but managed to pass their platoon motivation test which was just as well as their platoon commander was the only team contesting the left objective.
|
Platoon Casualties
The Australians
Three platoons destroyed from eight total platoons.
The Germans
Three platoons destroyed from six total platoons. |
 |
Turn Nine
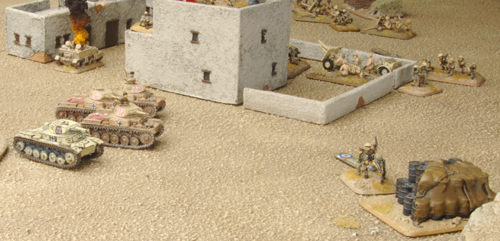
The Mortar platoon managed to draw a bead on the PaK36 platoon this turn, and even though the gun was dug in it still was blown to bits. However, the command team did manage to stay on the table for long enough to subsequently fail his Last Man Standing test. This took the Germans to below half strength but Mike was able to pass his Company Morale check and the Germans fought on. Quite successfully in fact, with the Panzer IIIs and Company Commander managing to destroy both the Mortars and (finally!) the last M11/39 from the Divisional Cavalry platoon.
|
Platoon Casualties
The Australians
Five platoons destroyed from eight total platoons.
The Germans
Four platoons destroyed from six total platoons. |
 |
Turn Ten
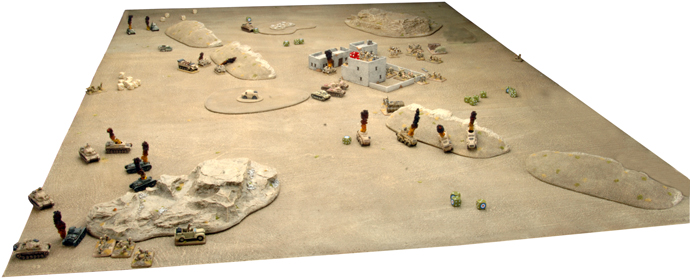
Having seen enough bloodshed for one day the Australian commander withdrew his brave Diggers from the field, satisfied that they had held up the German advance for long enough in this section of the line. In other words the Australians failed their Company Morale check. The Germans had won 4-3 in a brutal game with both sides being stretched to the absolute limit.
|
The Aftermath
|
 |
Tony on his Australian Rifle Company
My goal had been to prove that, if played well, an infantry company with gun support can compete with a more mobile opponent. With that in mind, I was very happy with the outcome of the game, especially given that I was using a Trained force on a table that wasn’t exactly Infantry friendly. Without a doubt I had some luck in the game, my armoured platoons were able to stay on the table longer than I thought they would due to their morale grade (Fearless), but any good general will tell you that you need some luck to get you through the tough times.
The nature of battle reports is such that they take longer to play than a normal game due to having to stop and take photos, write some notes, go and get lunch, etc so the game did take a few hours to play. If we were playing this game as part of a tournament with a 2½ hour time limit then there is every chance that we wouldn’t have gotten much passed turn seven or eight which would have meant that the infantry company would have ended the game still holding the objectives and walked away with the points.
As a New Zealander playing an Australian Infantry company I think that is the best possible result – a morale victory for the Infantry but the Australians still lost.
~ Tony.
|
Mike on his German Leichte Panzerkompanie
I was backing my five Panzer IIIs to destroy the Australian light armour and carriers then pick off the gun teams. This did work in the end but was much slower process than I had anticipated. Poor shooting on my behalf plus some heroic Australian morale kept Tony’s units fighting on against the all odds. However, I just managed to pull out a hard earned victory as both armies were both down to taking Company Morale tests; Tony just happened to fail his first despite his force being rated as Fearless and mine only Confident.
Overall the tanks had an advantage but if the gun teams are well placed; all it takes is one failed Stormtrooper move backed up by some good shooting on your opponent’s behalf to swing things back in favour of the defender. If the tanks are unable to destroy the gun teams quickly, you can face losing due to the game timing out. This is especially important in a tournament situation, so be prepared with a backup plan if the dice aren’t rolling in your favour.
Goodbye Second Edition!
~ Mike.
|
Last Updated On Thursday, March 15, 2012 by Blake at Battlefront
|
|
|