|
|
|
|
Products mentioned in this Article
--None--
|
|
|
|
|
|
|
|
|
 |
|
|
 |
Painting Commando Kelly
By Andrew "Lumpy" Salisbury
On 14th September, 1943 Charles E. Kelly from Pittsburgh took part in the defense of a three-story house in Altavilla, Italy. With access to a Browning Automatic Rifle (BAR), a tommy gun, a bazooka, an ’03 Springfield rifle from World War I, a carbine and an M-1, he was the lodestone of the defense of the house holding back the attackers enough to allow him and his men to fall back to their lines.
|
| He utilised a 37mm anti-tank gun to clear out a
sniper from a church steeple, as well as manually priming and hurling
60mm mortar shells to blunt an infantry attack through a ravine leading
to the house. Earlier in the same day he was credited with clearing out
a machine gun nest and killing as many as 40 of the enemy. |
Capturing Kelly
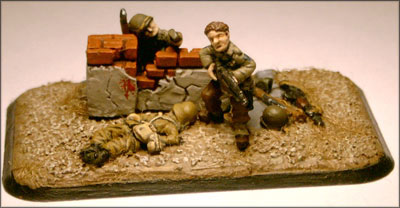
The figure we’re working with is Commando Kelly who’s gallantly posed before a defensive position, enemy dead at his feet, giving them hell from his BAR. That’s about as close to Rambo as you’re going to get without flashbacks of dreadful mullets and surprisingly catchy themes.
|
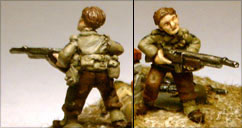 |
He’s an American in Italy in ’43, so colour choice was easy:
• Military Khaki (FWP327) for his jacket and gaiters¹
• Wool Brown (FWP328) for the trousers
• Tommy Green (FWP345) for his webbing
• Sherman Drab (FWP321) for the helmet
• Spices to taste
|
 |
It’s technique!
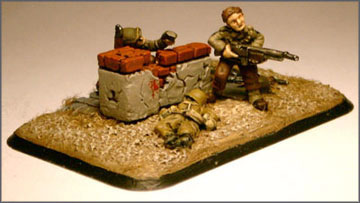
The front side shows us a good example of his face and hands. What I’ve done to give him a clear image of his face without it looking cartoony is I’ve started with a relatively high base colour for the skin, probably something akin to Comrade Khaki and moved up with thin layers of European Skin. By using thin layers I can build up the colour gradually giving natural shadow lines with no hard transitions. Finally, I highlight (primarily the forehead and nose) by adding white to my paint.
|
Those with sniper eyes may have picked out some extra details like unit markings. In these photos I’ve gone for 143rd Infantry²
|
 |
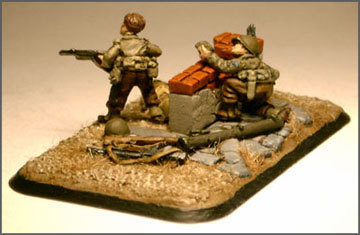 |
The trick to getting clothing to look natural (not counting light reflecting from photo lamps) is to keep it muted. To achieve this for the jacket I first applied Military Khaki relatively thinly over a black base, but within 2 or 3 quick coats he had a solid colour on him. I did this for the whole figure, and when dry I gave him a coat with a thin black wash. Once dry I went back and picked out the folds of the cloth and flat areas again with the same colour, relatively thinned down to prevent harsh transitions. Finally, I added some white to my palette, kept it thin, and applied highlights to the uppermost parts.
|
All Your Base Belongs To Us!
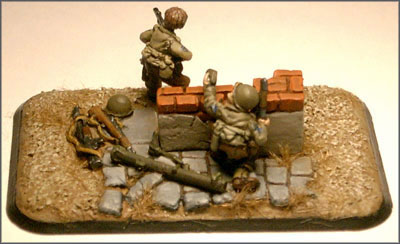
The base that comes with Commando Kelly includes an assortment of paving stones, and given its size it doesn’t match one of these bases seamlessly, so I added some myself using polyfilla, water, a small tool, and a bunch of patience. I added a little bit of sand to break the even surface and after painting and careful drybrushing (mostly from Sicily Yellow to Dry Dust) I added some burnt grass. After lining the edge with black (I’m one of those "tidy edges" people) we’re basically done for the base!
|
 |
| The weapons are done with metals as required,
including your choice of shoulder strap and comes with a fine lacquered
wood-finish to boot. Remember, shop smart, shop: S-Mart! |
Extra Credit
Before you go, you can find some more reading and discussion on painting Americans in the forum.
¹The gaiter is the thing that goes over their boots.
²I believe the 143rd Infantry Regiment had a badge similar to this.
|
Last Updated On Friday, June 26, 2015
|
|
|