|
|
|
|
Products mentioned in this Article
--None--
|
|
|
|
|
|
|
|
|
 |
|
|
 |
Painting Caunter
With James Brown
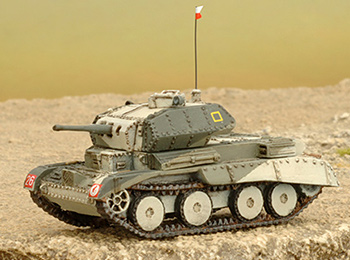
Like many other modellers and gamers, I have long been fascinated with the distinctive angular disruptive camouflage scheme seen on British tanks and other vehicles in the desert in 1940 and 1941.
The pattern is believed to have been devised by Colonel Caunter of the 4th Armoured Brigade. 'Caunter' was never an official term for the pattern, but the pattern is well known by that name among scale modellers now.
|
|
A lot of Flames Of War gamers have attempted this challenging scheme on their British desert armies, and it never fails to impress. When I finally got around to doing my own 'Caunter'-clad army (after years of wanting to but putting it off for other projects) I worked out a few tips and tricks that may prove useful to others who want to try it for themselves.
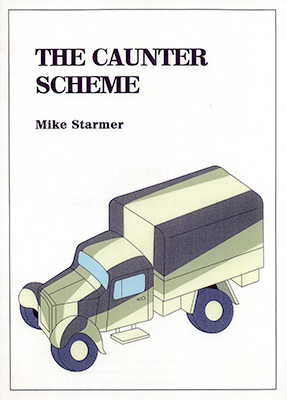
The definitive book on the subject of this iconic pattern is by Mike Starmer. He painstakingly researched the historical background and the exact colours used. I recommend his book if you are interested in finding out more detail about Caunter.
Strictly speaking, it is an early war pattern. Orders were given for it to be applied to vehicles in 1940, until October 1941, when the official scheme changed to a plain all-over pale sand colour. It’s not really appropriate for a mid-war army. However, if you really like the scheme, there’s no real reason why you couldn’t use it on your Mid War army anyway—perhaps as a ‘what-if’ (ie. ‘what if the the Caunter camouflage had continued throughout the desert war’). I have seen numerous model kits built according to this principle, with tanks that never actually wore 'Caunter', and they look great anway.
|
 |
|
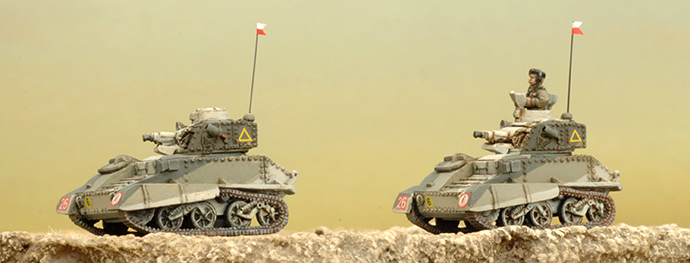
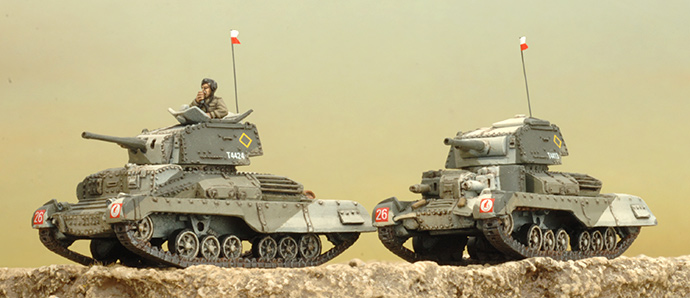
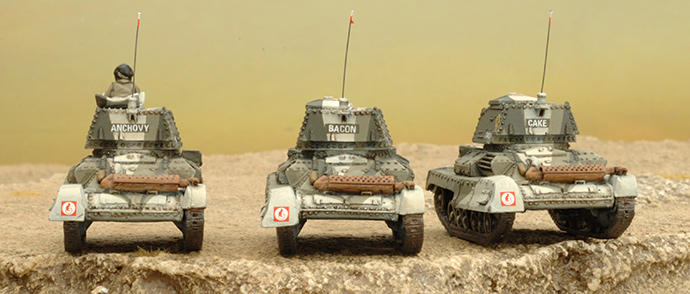
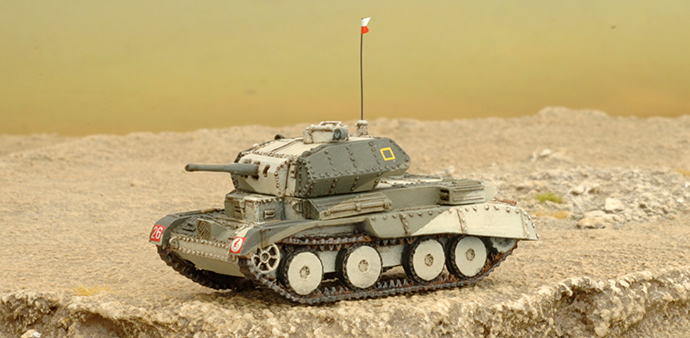
I chose to paint my Early War Armoured Squadron as 6th Royal Tank Regiment during Operation Compass in late 1940 to early 1941, right when the scheme was most common.
|
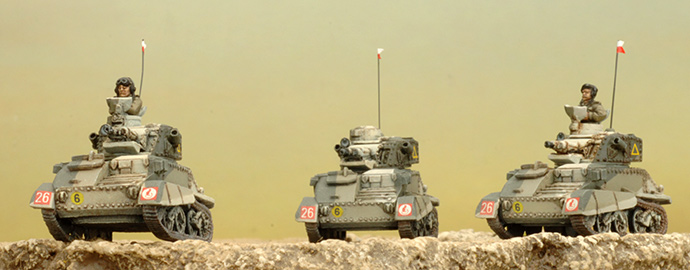 |
| Above and below: Light Mk VI tanks. |
 |
 |
| Above and below: A10 and A9 Cruiser tanks. |
 |
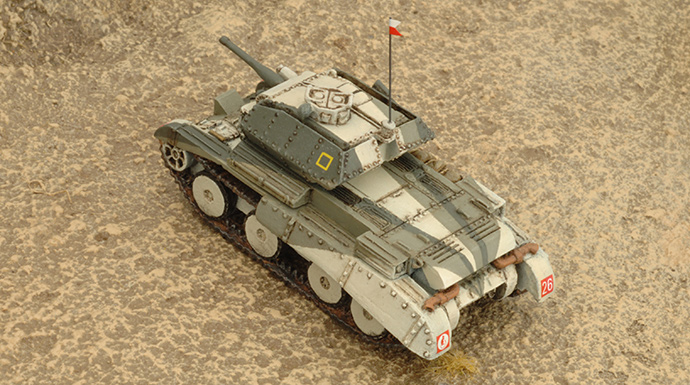 |
| Above and below: A13 Cruiser tank. |
 |
|
| 'Caunter' Colours |
| Here are my recommendations for close colour matches using Colours Of War paints. The base colour was either 'Portland Stone' or 'Light Stone', depending on which supplies were available locally. 'Silver Grey' and 'Slate' were applied in a geometric pattern to help break up the silhouette of the vehicle and hamper identification by the enemy. From October 1940, the official camouflage scheme was changed to all-over 'Light Stone'. |
|
Base colour (Service Colour No. 64 'Portland Stone')
Worn Canvas (306)
|
|
Alternative base colour (Service Colour No. 61 'Light Stone')
Crusader Sand (363) |
|
Camouflage (Service Colour No. 28 'Silver Grey')
Tommy Green (345) |
|
Camouflage (Service Colour No. 34 'Slate'
Grenadier Green (349) |
|
|
| Painting the Pattern |
|
This camouflage pattern isn’t for beginners. You probably won’t be attempting it if you aren’t fairly confident in your painting abilities. Bearing that in mind, I won’t try to be prescriptive about the best way for you to actually get the colours in the right place on your models. Here are some options to consider:
- With a steady hand and a sharp eye, just block-paint the colours by hand.
- Use a small straight edge to help you rule a straight line as you paint the edges of each section, then fill them in carefully.
- Use watercolour pencil to mark the section edges (again, using a straight edge as a guide). A pencil is usually easier than a brush to wield neatly, and any marks you don’t like are easy to clean off with a wet brush, because they are water-soluble.
- Masking: Carefully use modelling masking tape to mask off appropriate areas, then airbrush on the camouflage colours. This is how scale modellers would usually achieve the pattern—but then, they are working with larger models, and generally only doing one, so they don’t really care if it takes a long time (and what might be fairly easy on a large model is as fiddly as heck on a 1:100 scale vehicle). The benefit is that the tape will give you beautifully crisp, straight lines, and airbrushing will give you a nice smooth, even application of paint. The downside is that masking is a slow and painstaking process, if you want to do it well. You need to be very careful and neat, as the paint from your airbrush will find every sloppy area where the tape was a little loose. It can also sometimes 'bleed' under the edges of the tape, if it isn't pressed down firmly enough.
Use whichever of these methods (or a combination) suits your usual painting process.
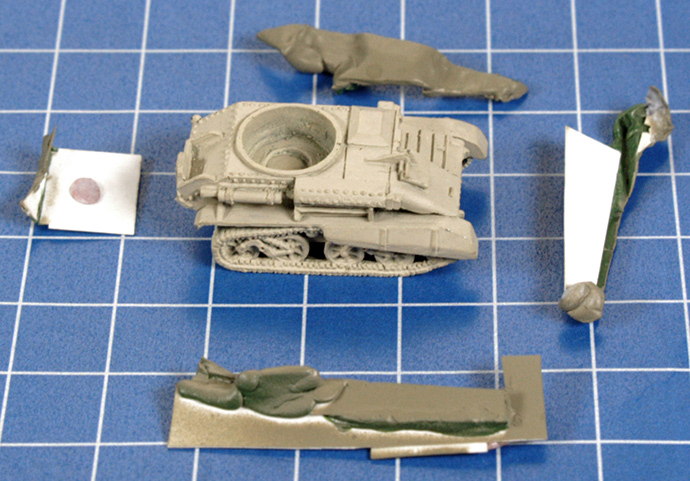
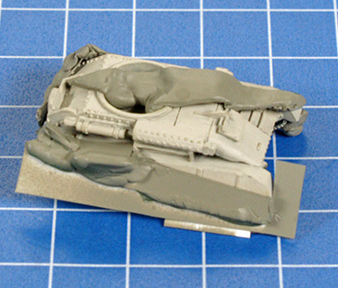
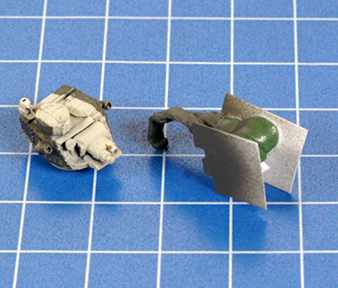
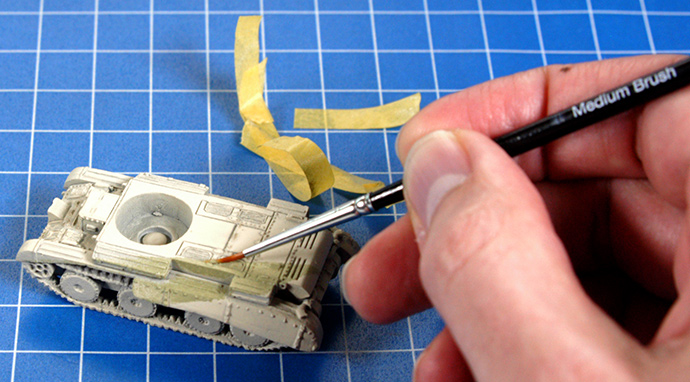
My method was a combination of masking and brush painting. I started with the Light Mark VI Tanks. And because they were the most numerous tanks in my army (and because I love finding shortcuts) I decided to make a re-usable spray template using plasticard and 'green stuff' modelling putty.
|
|
|
 |
 |
|
The template and airbrush did most of the work, and
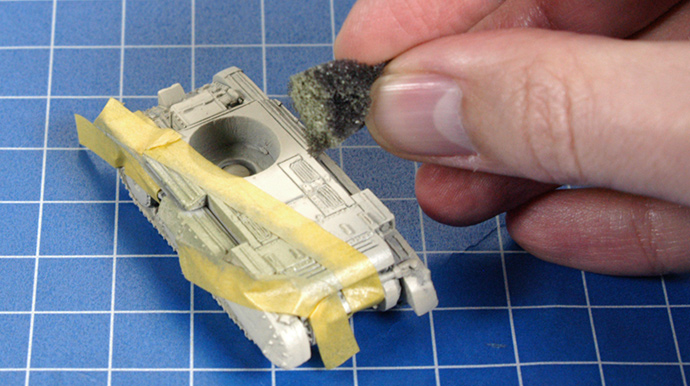
For the larger cruiser tanks, which have more broad, flat areas, I took a different approach. I used modelling masking tape to loosely mask off the largest areas. I then dabbed on the camouflage paint with a small piece of sponge. This gave more control than airbrushing—there was no worry of overspray creeping around the sides of loosely applied tape. And because the paint was quite ‘dry’, it didn’t bleed under the tape edges. It gave a somewhat specky coverage of paint, with a slightly ragged (but very straight) line. But it was very quick and easy to fill in the areas more neatly with a brush after removing the tape, and carefully tidy up the lines and complete the fiddlier areas of pattern freehand.
|
 |
 |
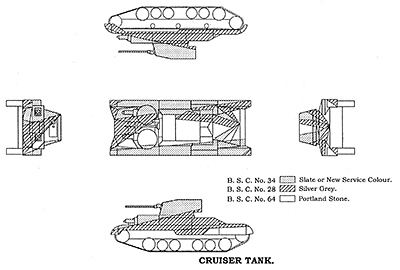
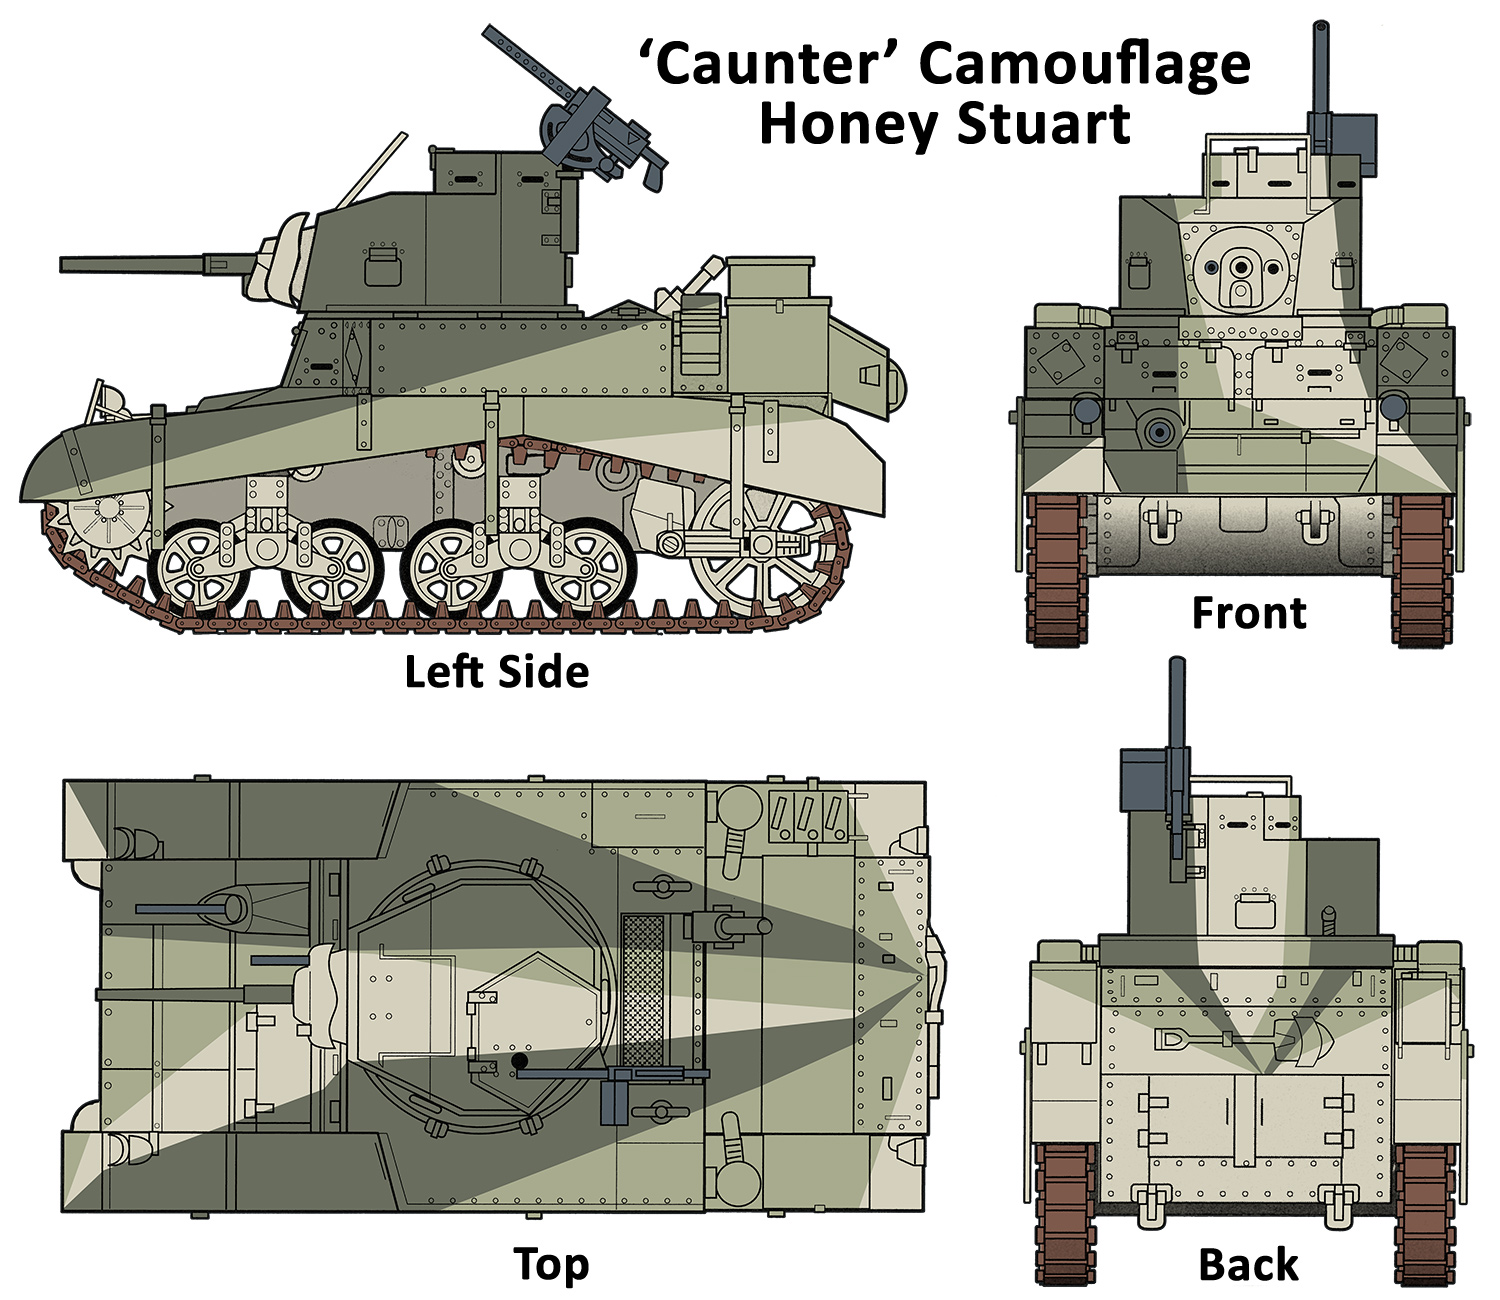
| Diagrams were distributed for each vehicle type, showing the correct way to apply the pattern from each side of the vehicle. The general patterns were adapted as necessary to fit each specific vehicle. These diagrams are reproduced in Mike Starmer’s book. They look useful at first glance, but unfortunately when you examine them more closely, you realise that the diagrams didn’t completely make sense. They failed to account for the actual three-dimensional shape of the vehicles, for one thing. And the top view often subtly contradicts the side views—it is impossible to paint the vehicles to match all of the diagrams. When presented with this puzzle, it seems that painters took the simple approach of following the side views (fairly closely, anyway) and then making the lines join up on top of the vehicle as sensibly as possible. |
 |
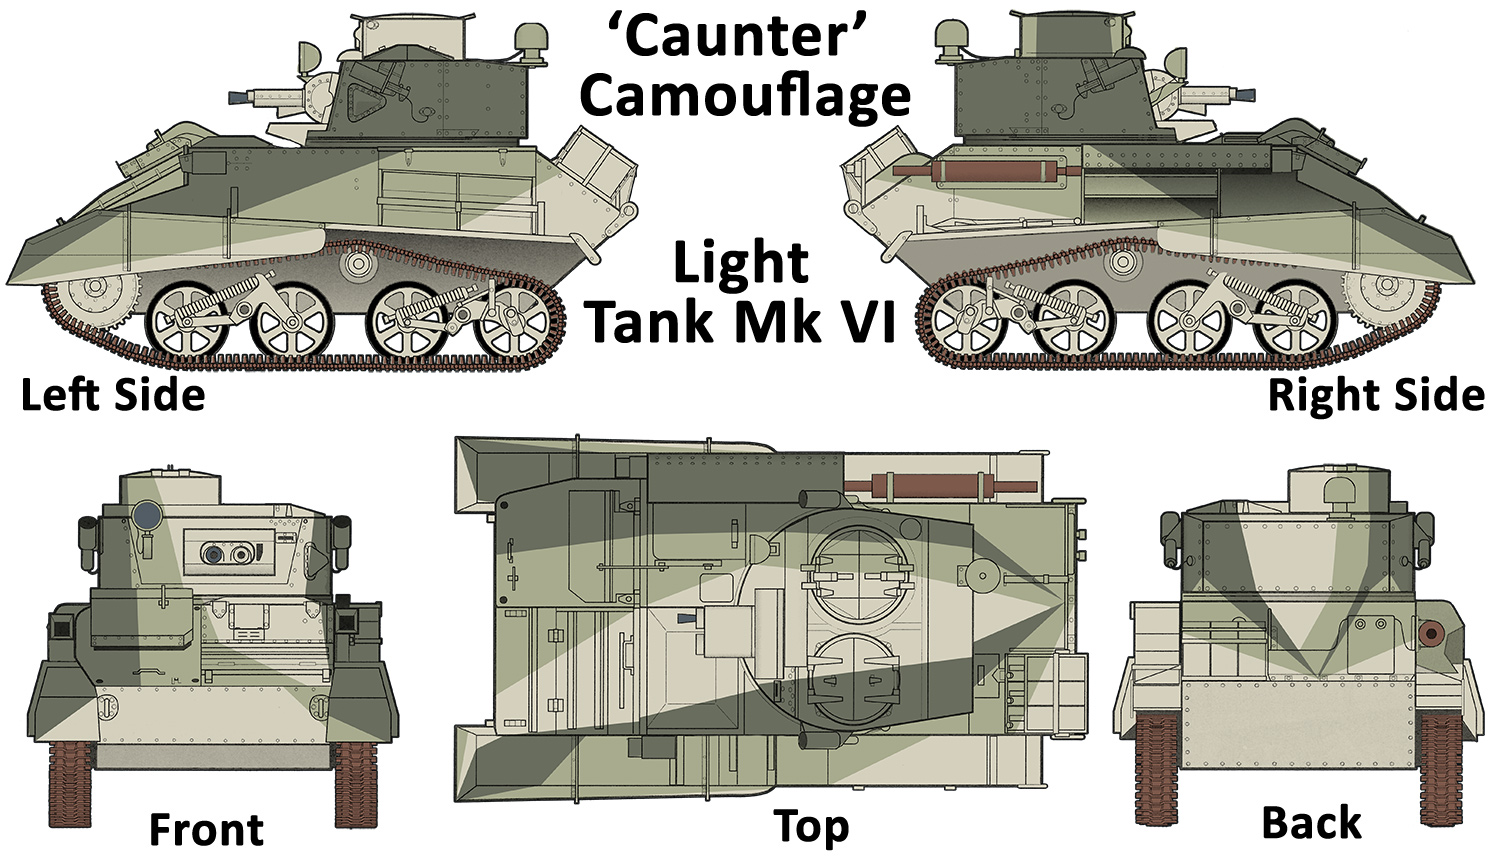
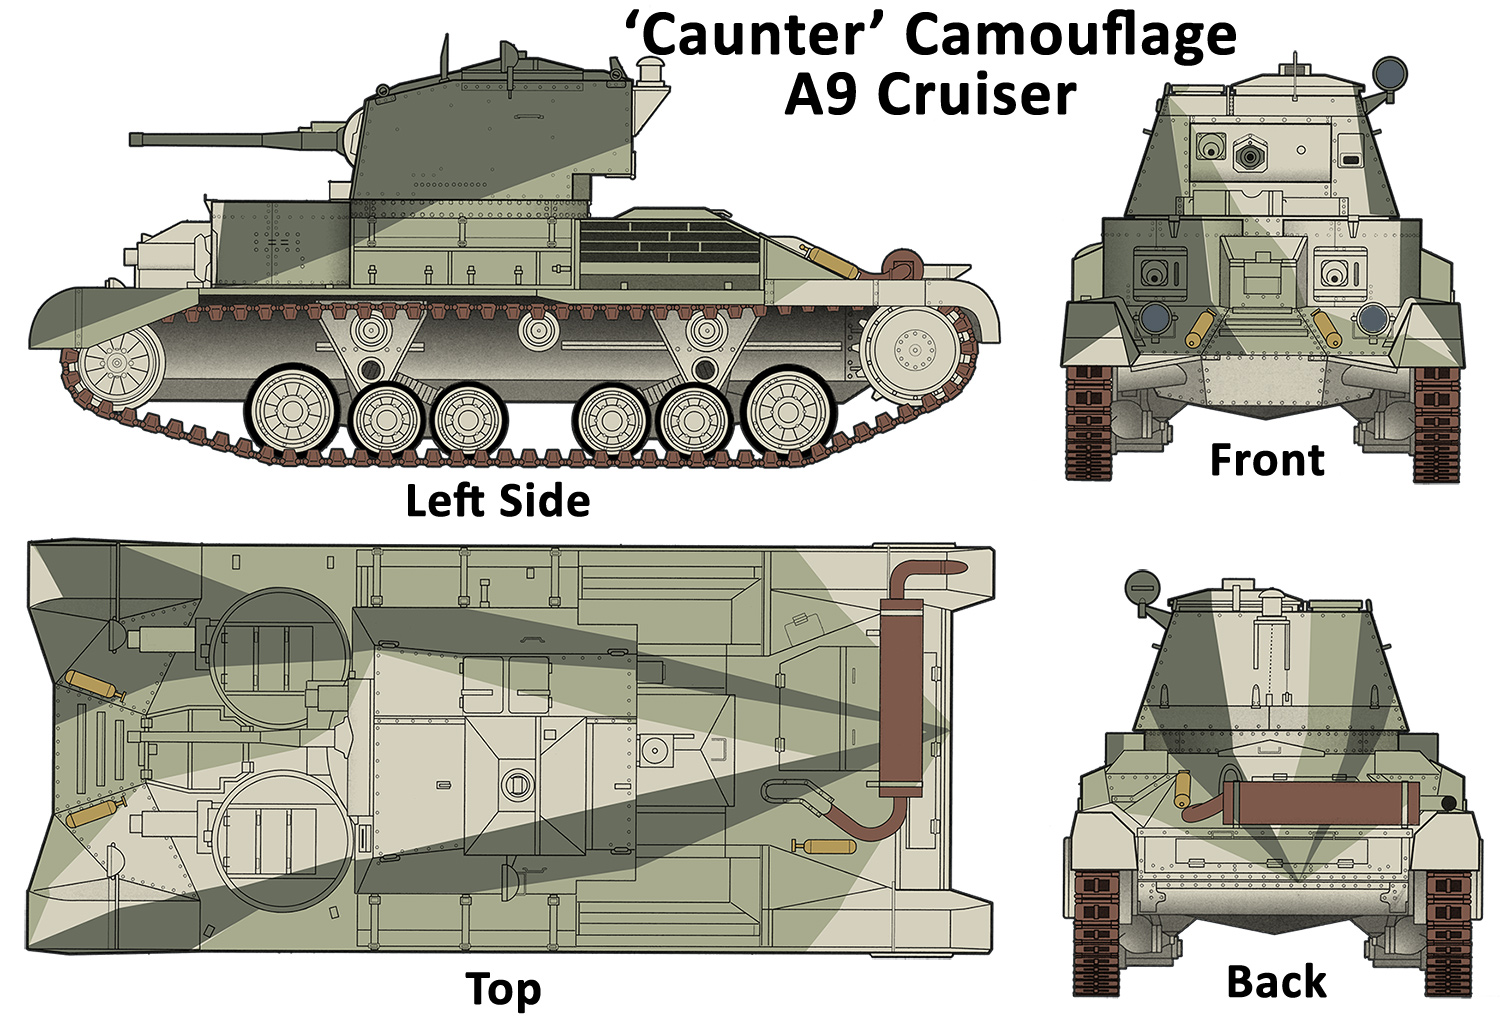
| Following this principle, I have made these amended diagrams. |
'Caunter' Camouflage diagrams
(Click on each image for a larger version) |
 |
 |
 |
|
|
I hope you've found this guide useful if you decide to try this unique and distinctive camouflage scheme for yourself.
~ James
|
Last Updated On Thursday, June 22, 2017
|
|
|