|
|
|
|
Products mentioned in this Article
--None--
|
|
|
|
|
|
|
|
|
 |
|
|
 |
Changing A Tiger's Stripes: Part Two
An Alternative Paint Scheme For The Tiger in Mid-war
with Blake Coster
In part one of Change A Tiger's Stripes, I investigated the use of a dark olive green colour scheme used by the Germans when they were forced to retreat into Tunisia. |
This time, I'll put theory into practice and demonstrate how to paint the Tiger (8.8cm) and an escort tank, in this case a Panzer III (uparmoured). So let's get started.
|
Step One
Assemble The Miniatures
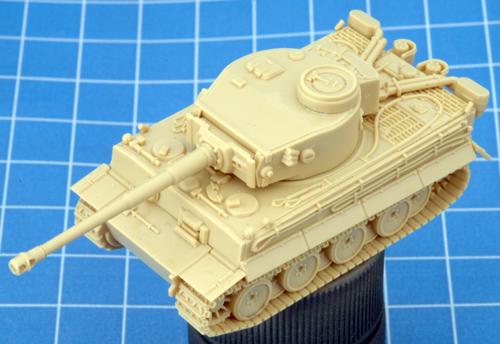
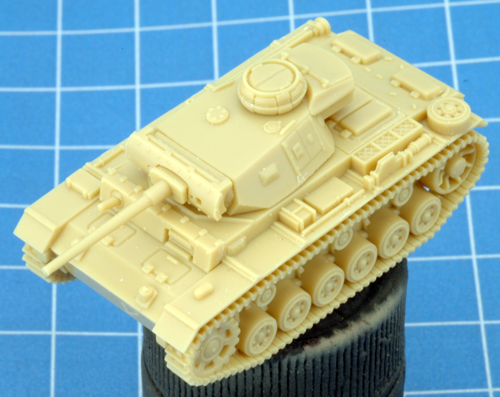
The first thing we have to do, of course, is assemble the miniatures. Check out the Tiger (8.8cm) and the Panzer III spotlights to learn more about each miniature and how to assemble them.
Tip: When I paint tanks for Flames Of War, I always temporarily attach both the turret and hull of the vehicle to some old paint pots using Blu-tack. This holds the plastic model securely, and can easily be tidied up once the paint job is completed.
The advantage of this system is that it allows me to angle the miniature when painting to get into the nooks and crannies without having to physically touch the wet paint on the model itself.
|
| Below: The fully assembled Tiger (8.8cm). |
Below: The fully assembled Panzer III. |
 |
 |
Step Two
Priming The Miniatures
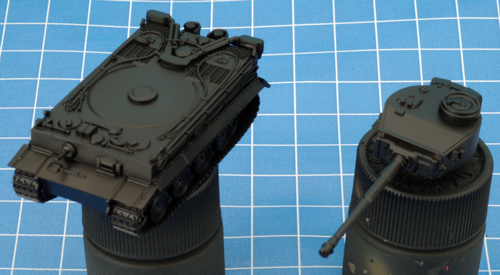
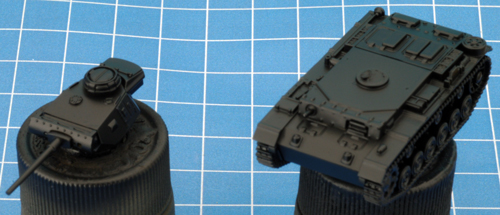
Once firmly attached to the paint pots, I prime the Tiger (8.8cm) and the Panzer III in Black (300). I prefer to spray on my primer paint with an airbrush, but you can easily apply the primer by hand or use an aerosol spray can if you prefer.
Tip: Appling the primer by hand provides the opportunity to explore the miniature and familiarise yourself with the model. You can then picture in your mind how you will approach each aspect of the project when the time comes to actually paint it. |
| Below: The Tiger (8.8cm) primed in Black (300). |
Below: The Panzer III primed in Black (300). |
 |
 |
Step Three
Applying The Base Colour
If you recall from part one, the colour from the Colours Of War range that was the closest match to the Italian aircraft colour Verde Oliva Scuro 2 (or Dark Olive Green) was Heer Green (340). See the two colour examples below. |
Verde Oliva Scuro 2 (Dark Olive Green)
Federal Standard 34052 |
Heer Green
Colours Of War (CWP340) |
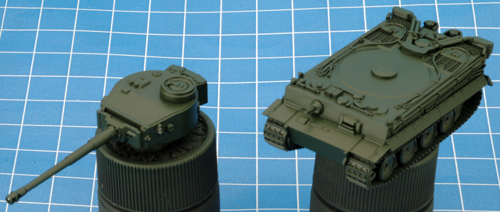
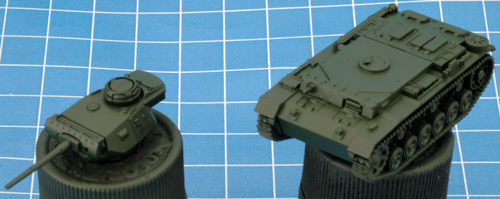
| I apply the base colour of Heer Green (340) as a spray using an airbrush, but you can also brush it on if you prefer—you'll need a several thin coats to get an even coverage without brushstrokes. |
| Below: The Tiger (8.8cm) with its base colour of Heer Green (340). |
Below: The Panzer III with its base colour of Heer Green (340). |
 |
 |
Step Four
Highlight
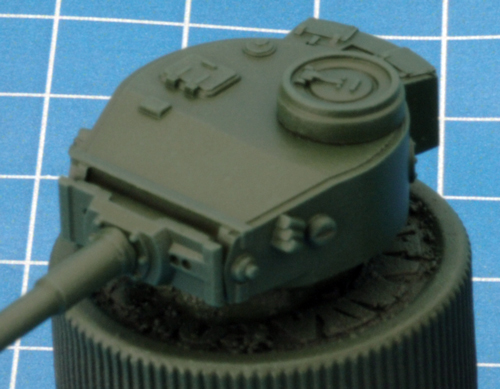
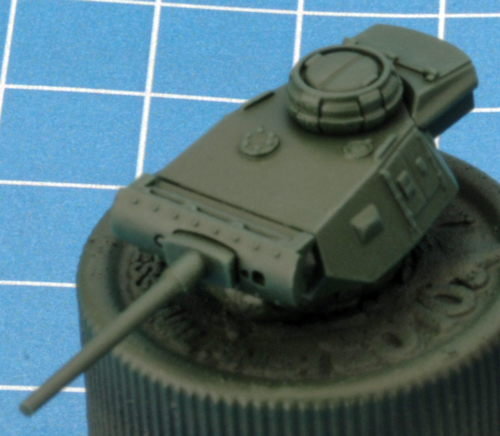
With the base colour of Heer Green (340) now applied, I apply a light drybrush using a mix of 75% Heer Green (340) and 25% Grenadier Green (341) as a highlight to both the hull and turret of both vehicles, to emphasise raised details and edges. |
| Below: The highlighted Tiger (8.8cm) turret. |
Below: The highlighted Panzer III turret. |
 |
 |
Step Five
Targeted Wash
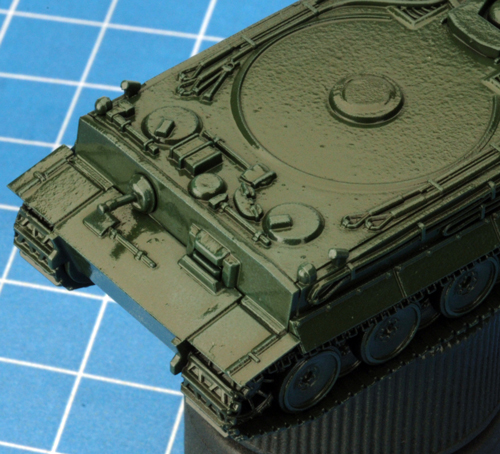
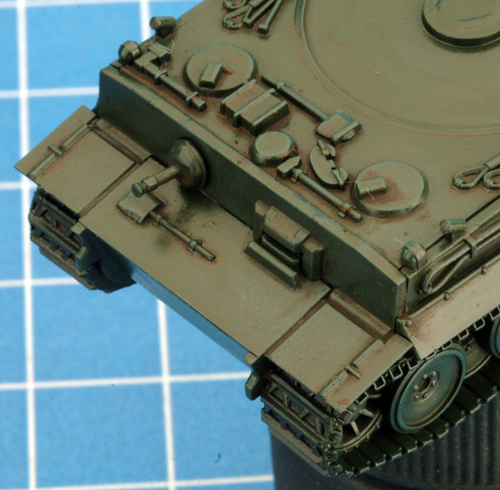
The purpose of a targeted wash is to add the illusion of depth to the miniature. When applied correctly, the wash should settle around the raised detail on the model in this case tools, hatches and tow cables and into any recesses such as engine grills. For the targeted wash, I will be using Rommel Shade (494).
To aid in this process, I applied a coat of gloss varnish to both vehicles to create a smooth surface to better assist the capillary action. When applying the wash I carefully dab a small amount around all of the model's detail. If I apply too much, I like to keep a paper towel handy to quickly dry the tip of my brush before sucking up any excess. |
| Below: The Tiger (8.8cm) hull with the gloss varnish applied. |
Below: The Tiger (8.8cm) hull after the targeted wash. |
 |
 |
Step Six
Painting the Tracks
I'll be honest with you. The one thing I hate about painting tanks for Flames Of War are the tracks. I guess it is just the fiddliness of them; having to get your brush into small places to archive proper coverage while still painting within the lines i.e. not getting to paint anywhere it shouldn't be going. With that said, here's my technique for painting tracks on German tanks.
I begin by painting the tracks Grease Brown (320). |
| Next, I highlight the tracks with a heavy drybrush of Motherland Earth (383). |
| Finally, I lightly drybrush Dark Gunmetal (480) to the tracks for a subtle metallic look. |
If painting tracks is bad, painting the road wheels has got to be the worst. The Tiger (8.8cm) and the Panzer III both have rubber-rimmed road wheels (the Panzer III also has rubber-rimmed return rollers) and I paint these using Black (300). Having a good brush and a steady hand will help you out a lot here.
Tip: The Panzer III has three rubber-rimmed return rollers located above the road wheels on each side of the vehicle. |
Step Seven
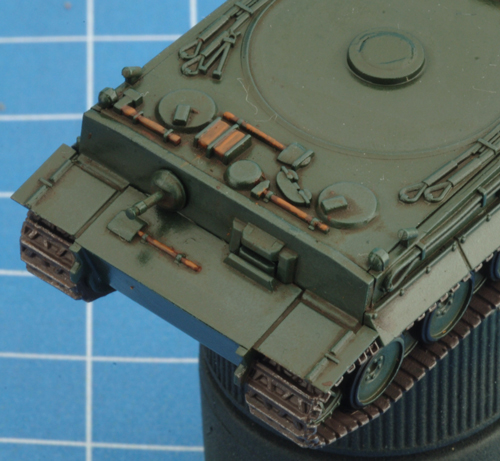
Painting Tool Handles / Bare Wood |
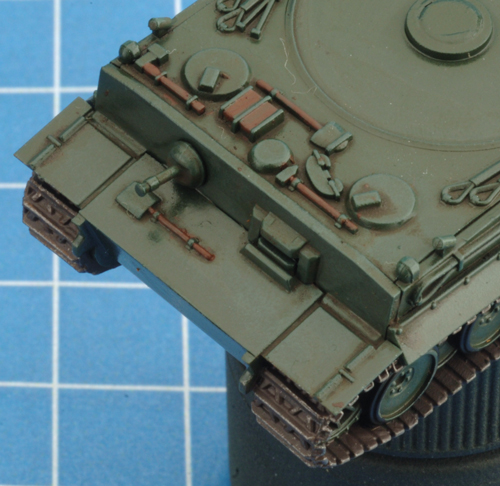
| To paint tool handles and any bare wood such as the wooden jack block, I start with a base colour of Boot Brown (323). |
Next, I complete the tool handles by highlighting them with Motherland Earth (383). I repeat the process on the Panzer III. |
 |
 |
Step Eight
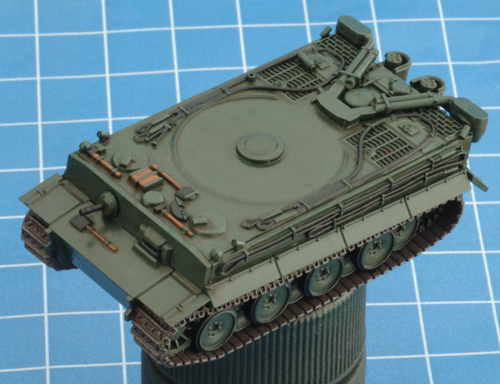
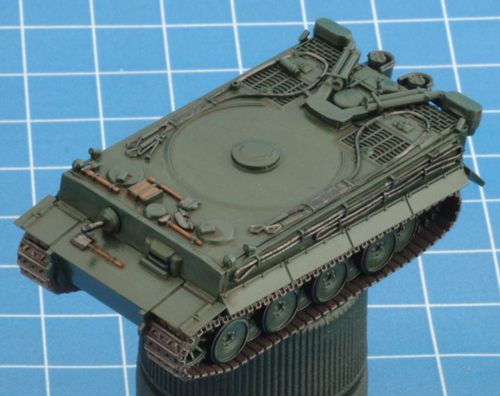
Painting Bare Metal
To paint any of the metallic surfaces such as tow hooks, tow cables, tool heads, jacks etc on the Tiger (8.8cm) and Panzer III, I use the following method: |
| I begin by painting all of the bare metal surfaces Black (300). |
Next, I complete my bare metal look by applying a highlight of Dark Gunmetal (480). |
 |
 |
Step Nine
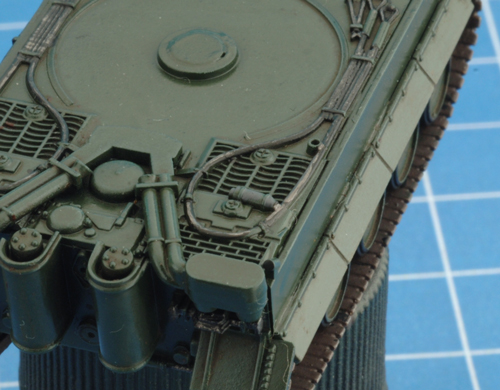
Painting the Fire Extinguisher
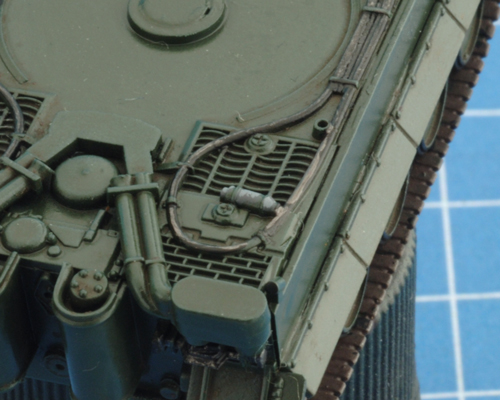
To add a little contrast to the Tiger (8.8cm), I begin by painting the fire extinguisher located on the engine deck Panzer Grey (303). |
I finish up by applying a highlight of Bunker Grey (304).
Tip: The fire extinguisher on the Panzer III is located towards the rear of the right-hand side track between the jack and spare road wheel.
|
 |
 |
Step Ten
Adding Decals and Weathering
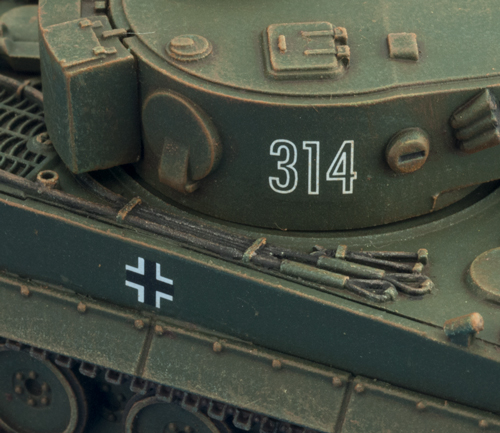
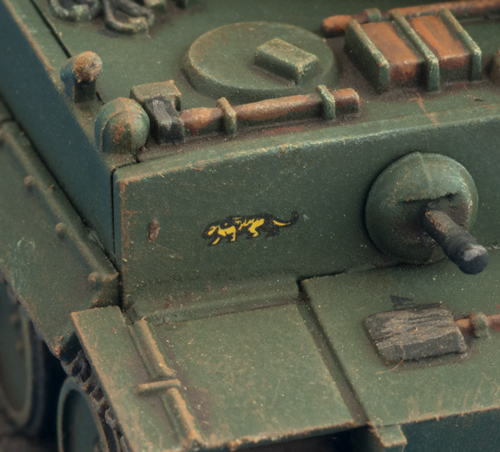
To complete the paint job, I lightly drybrush the turret and hull of both vehicles with Motherland Earth (383) to provide a basic level weathering. After applying decals (tank number, unit insignia, Balkenkreuz), it's time to apply a coat of matt varnish to protect the paint job. Once again, I choose to apply the matt varnish with an airbrush.
|
| Below: The tank number and Balkenkreuz on the Tiger (8.8cm). |
Below: The insignia of the Schwere Panzer-Abteilung 501 on the Tiger (8.8cm). |
 |
 |
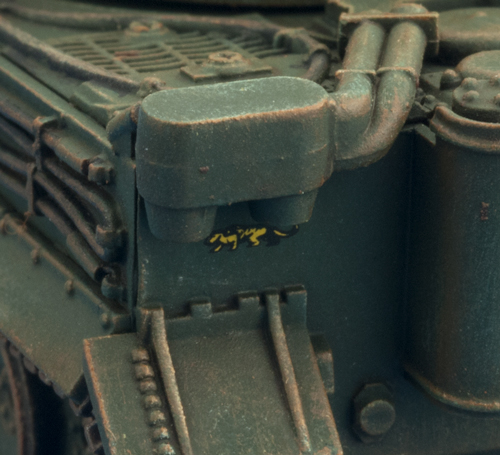 |
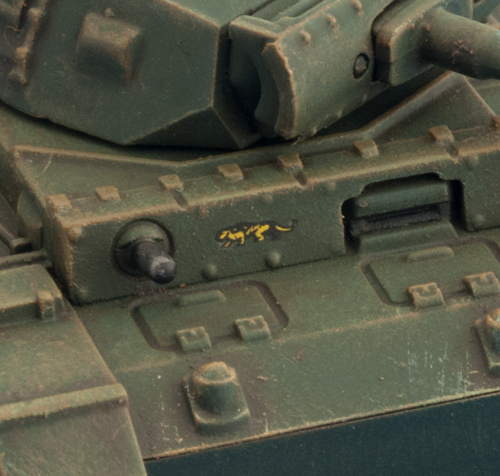
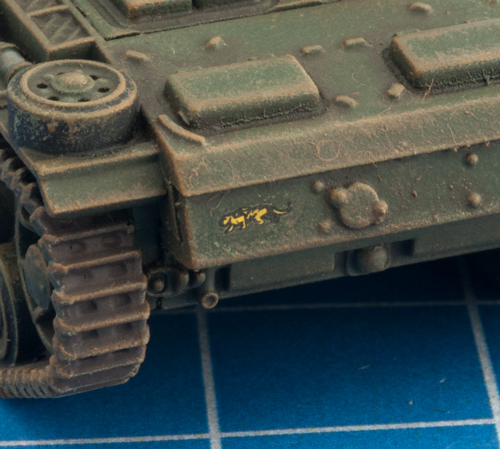
| Below: The Stalking Tiger insignia of the Schwere Panzer-Abteilung 501 on the Panzer III. |
 |
 |
With the matt varnish applied, its job done. I hope you found this step-by-step guide helpful if you're thinking about painting your Tiger (8.8cm) in Dark Olive Green for Mid-war.
Happy painting.
~ Blake. |
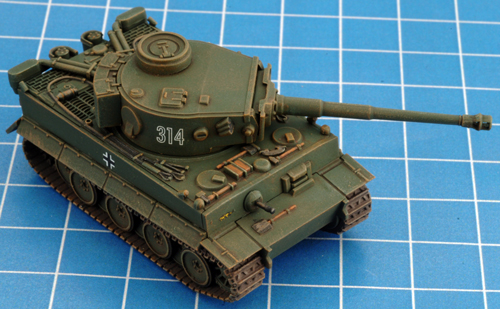
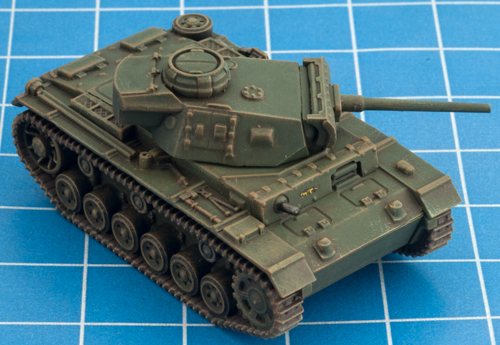
| Below: The finished Tiger (8.8cm) in Dark Olive Green. |
Below: The finished Panzer III in Dark Olive Green. |
 |
 |
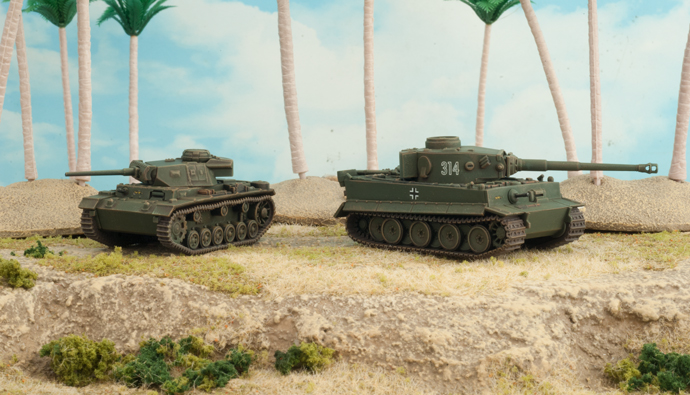
| The Completed Tiger (8.8cm) and Escort Panzer III Ready For Action |
 |
Last Updated On Wednesday, May 17, 2017 by James at Battlefront
|
|
|