|
|
|
|
Products mentioned in this Article
--None--
|
|
|
|
|
|
|
|
|
 |
|
|
 |
The Cauldron: A Total War Battle
The Battle of Gazala May – June 1942
by Jökull Gíslason
This year saw the third edition of my annual birthday big battle. In 2010, we had played the second Battle of El Alamein: The Crumbling and in 2011 the Minsk Offensive 1944. Both these events were open to public viewing and held in cooperation with outside parties; the first in cooperation with a Reykjavík City Museum and the second with the Russian Cultural Society. Both also received media coverage since battle recreations prove popular with television and newspapers. However, this placed added pressure on the players and the game.
|
Total War
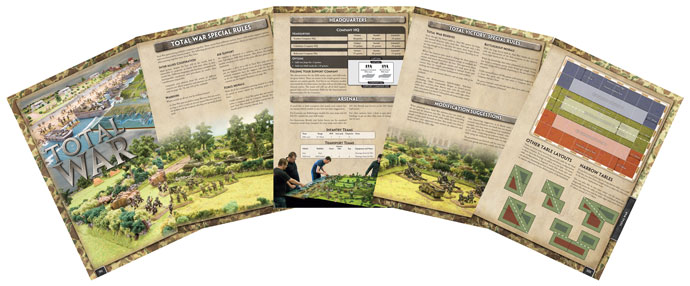
The complete set of the Total War rules can be found in Normandy Battles: Wargaming D-Day & Beyond.
Learn more about Normandy Battles: Wargaming D-Day & Beyond here... |
 |
So this year we decided to borrow a room at our FLAGS and the Reykjavík Gaming Society and kept it a closed affair. There was also another difference, as this battle is part of the ongoing Firestorm Gazala Campaign that I am currently play testing. Be sure to check it out under in the Flames Of War Campaigns section of the on Forum or by clicking here. Once completed, this will be that third Firestorm campaign I’ve design to go along with Firestorm Greece and Firestorm Lorraine both of which are available here on website.
|
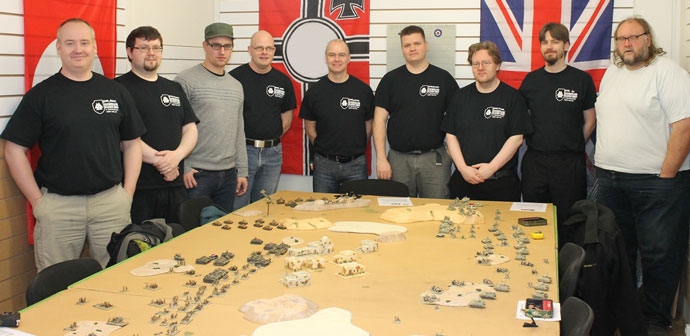
Below: The majority of Einherjar playtest group.
|
 |
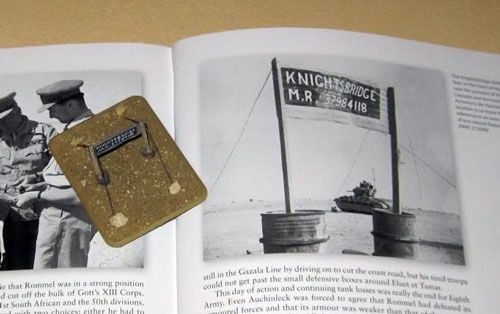
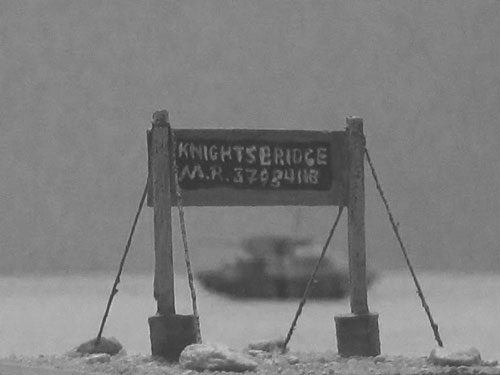
I wanted to include a Total Victory Battle in the campaign and the campaign played out to the point where such an opportunity arose. I had envisioned it to be the Battle of Knightsbridge and even created an objective just for this occasion. But alas, this was not to be. The British gained the initiative at an opportune moment and attacked Rommel's forces in The Cauldron, so the big battle would be around Bir el Harmat.
|
| Below: The custom objective created for the Battle of Knightsbridge. |
 |
 |
The situation is precarious for Panzer Armee Afrika but they weren’t in dire straits since last battle they defended area C-4 so they have a retreat route open and have one supply counter remaining so for this battle they still count as in supply. But a loss at this point in the campaign will set them back several turns and it is unlikely that they would’ve been able to recover. For this battle the Axis received Rommel, a Panzer Platoon and Priority Air Support as Firestorm Troops, while the British could call on Grants and Limited Air support in the form of Hurricanes. This was in addition to four companies per side totally 6000 points. I was determined to use only appropriate forces for the period and the forces for both sides are outline below.
|
| Below: The British gain initiative and attack Rommel's forces in The Cauldron. |
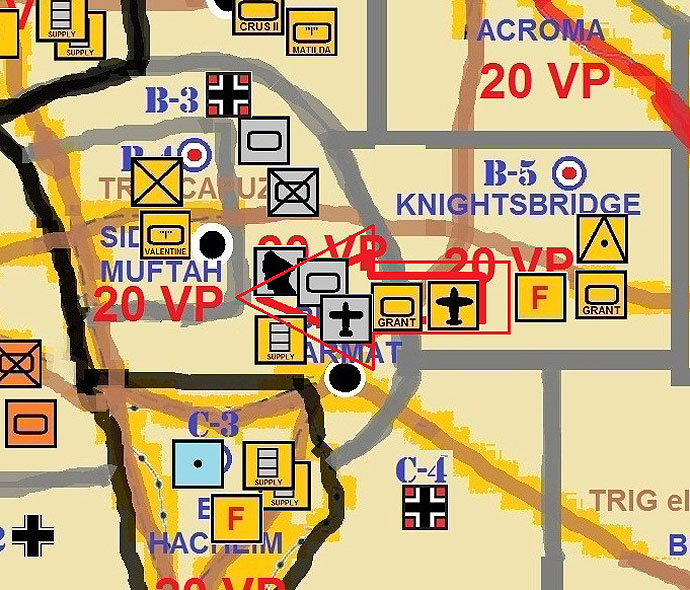 |
The situation is precarious for Panzer Armee Afrika but they weren’t in dire straits since last battle they defended area C-4 so they have a retreat route open and have one supply counter remaining so for this battle they still count as in supply. But a loss at this point in the campaign will set them back several turns and it is unlikely that they would’ve been able to recover. For this battle the Axis received Rommel, a Panzer Platoon and Priority Air Support as Firestorm Troops, while the British could call on Grants and Limited Air support in the form of Hurricanes. This was in addition to four companies per side totally 6000 points. I was determined to use only appropriate forces for the period and the forces for both sides are outline below.
|
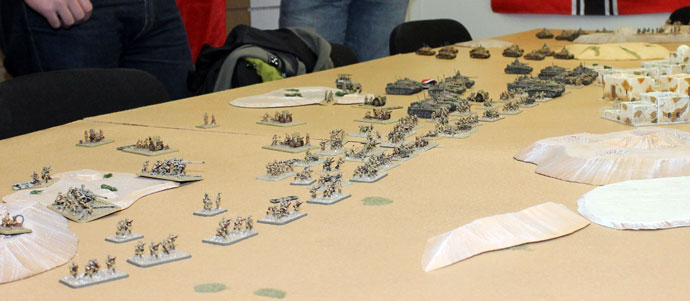
Axis Forces
|
3. Kompanie, 8. Panzer Regiment, 15. Panzerdivision
|
Company HQ & Four Panzer Platoons – mix of Panzer III, Panzer III special and Panzer IV – total of 15 tanks including Firestorm Troops. (Panzer III special is the long 5cm KwK39 version)
|
2. Kompanie, 115. Panzergrenadier Regiment, 15. Panzerdivision *
|
Company HQ & 2x Schützen Platoons, Bison Self-propelled Artillery Platoon, Pioneer Platoon, FlaK36 Platoon, 10.5cm leFH18 Artillery Battery and 1 Light Panzerspäh Patrol.
|
| In Reserve |
Compagnia Carri, Reggimento Corazzato 132, 132°Ariete
|
Company HQ & 3x Carri Platoon, Semovente 75/18 and AS42 Bersaglieri Company (understrength)
|
Battaglione Fucilieri, 101ª Divisione Motorizzata Trieste
|
Battalion HQ & 2x Full Fucilieri Companies, L6/40 Tankette platoon, Guastatori platoon, Light AA, Cannon Battery, Howitzer Battery, 88/56 FlaK Battery.
|
|
Below: The Axis force ready to throw back the Allied onslaught.
|
 |
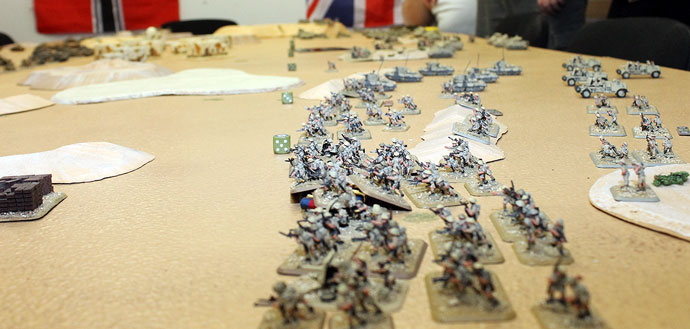
Allied Forces
|
3 RTR, 7th Armoured Division
|
Honey Stuart HQ & 2x Stuart Troops, 3x Grant Troops (inc. Firestrom Troops), South Notts Hussars RHA Battery full with 8 guns, Bofors AA.
|
10th Royal Hussars, 1st Armoured Division
|
Crusader II HQ & 3x Crusader Troops, 2x Grant Troops, 6 pdr Platoon, Bren Carrier Platoon.
|
In Reserve
|
Company, 50th TT Northumbrian Division
|
HQ & 3x Rifle Platoon, Mortar Paltoon, 2 pdr Portee Platoon, 2 pdr Platoon, Machine-gun Platoon, 2x Valentine Troops.
|
Company, 10th Indian Division
|
HQ & 3x Rifle Platoon, Mortar Platoon, 2x IPC Recce Platoon, Machine-gun Platoon, 2x Matilda Troops.
|
|
Below: The Allied Force ready for action.
|
 |
We also added stratagems for the two opposing commanders, although we did joke that Ritchie was only allowed to receive a situation report after the battle but not during it.
|
Stratagems For The Generals at Gazala 1942
|
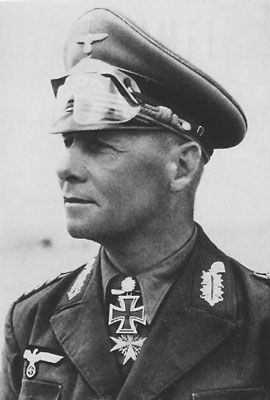
Colonel-General Erwin Rommel
The Battle of Gazala was General Erwin Rommel's finest hour.
Fingertip Feeling
Rommel was known for his Fingerspitzgefuhl his fingertip feel for battle. He aimed at keeping his enemies of balance and advance quickly behind enemy lines.
Any Axis Force led by Rommel gains two Victory Points for holding any objectives that are in the enemy deployment area.
Rommel At The Point
'Rommel
an der Spitze' was a common cry in the Afrikakorps where Rommel led
from the front. His quick appreciation for the situation allowed him to
respond quickly to his opponent's dispositions.
|
 |
At the start of
the game after both players have deployed, but before Reconnaissance
moves, a force led by Rommel may move all of the platoons from one
German Combat Company up to their normal Movement Distance within their
deployment area.
These platoons cannot be in Foxholes at the
start of the game, but otherwise this movement does not have any effect
during the game. |
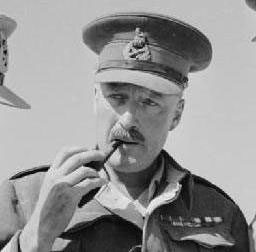 |
Lieutenant-General Neil Methuen Ritchie
As the Commander of the Eighth Army. Ritchie was confident that he could draw the Panzer Armee Afrika into a battle of attrition and weaken it before the counterattack.
Defensive Boxes
Ritchie was more of an infantry man than a tank man and defensively minded. He based his plan on defensive boxes that would hold the line and give his tanks safe havens to withdraw to if things went bad. Each box was well supported by tanks and/or guns.
At the start of the game before deployment a force led by Ritchie may attach one Gun or Tank Support Platoon to each of their Infantry Combat Companies. This Support Platoon counts as a Weapons Platoon in that company for the duration of the battle.
|
Wearing The Enemy Down
Ritchie's plan was to draw the Panzer Armee
against his boxes and wear them down before launching his own assault.
At the start the Eighth Army enjoyed quantitative superiority so this
seemed like a sound plan.
In any game where Ritchie leads the British force, both sides gain three Victory Points for each Combat Company Destroyed. |
| Having been on the losing side at both El Alamein and Minsk, I loaded the dice and brought in last year's European Flames Of War Champion to command of my side, the Axis. Brjánn took command of the British and Commonwealth troops. Both sides had an even number of players, on the Axis side Karl took personal command over the 15th Panzer, Andri the 132 Ariete, Þórarinn the Fucilieri and I would take command of the reserve Schützen Kompanie. On the Allied side Rúnar commanded the 3 RTR, Stefán the 50th Division and Óli the Indian Division while Brjánn was in command of the reserve 10th Royal Hussars.
|
| Axis Battle Plan with Karl |
I started by placing the objective on our side in the middle of the table so that we wouldn't have to spread our line too thinly in order to defend the objectives we started with. Our opponent placed the second one our left flank, making the right flank less important.
The Allies placed one objective on left flank and I placed their other on the right, forcing them to split up their forces in order to control them both. At this point I started to finalise the Axis plan. I placed our middle objective in the middle and wasn't surprised to see the Allies place their last on our right flank. Having one objective on our left flank and two in the middle, there was no reason to place any defensive units on the right.
Placing all of our armour on the left flank and the Italian infantry in the middle, the plan was to move the armour into the city and then attack the enemy's weak spots from there. The German infantry in reserve were to reinforce our positions as needed when they arrived.
|
| Allied Battle Plan with Brjánn |
Our plan was in many ways similar to that of Ritchie himself. Use our infantry to bear the brunt of the enemy assault and counterattack with our armour, supported by what would be left of our infantry.
With that in mind, we wanted two objectives close to each other, allowing us to set up a strong defence in a spot the Axis would likely want to attack. As the right flank (from our point of view) had two steep hills that tanks would be reluctant to attack so we placed our Indians on that flank. They had one objective that had to be held and another facing them they were supposed to take. In between was a long stretch of open desert. On the far left flank the British infantry would advance to hold two objectives and the Stuarts and Grants would take the centre, ready to support where needed, and then mass for a counter attack once the German armour had been neutralised.
The second light tank company with Crusaders and Grants would be held in reserve. The Grants could plug holes created by German tanks, but we really wanted to send the Crusaders against Italian tanks, so we hoped the Axis players would fail to mass their armour in one group, allowing us to counter each group with suitable tanks.
After deployment and the special move the German Panzers could make thanks to Rommel we thought the Axis were a bit too spread out to form a coherent attack. They had the Italian armour facing our Indians, and the German Panzers on the other flank, which was pretty much an ideal situation for us. Now all that remained was for the British to hold out while the Grants attacked the Panzers and for the Indians to hold until the Crusaders arrived from reserves to punch through the Italian tanks and win that flank.
|
Turn One
Axis: 2 Victory Points; Allies: 2 Victory Points
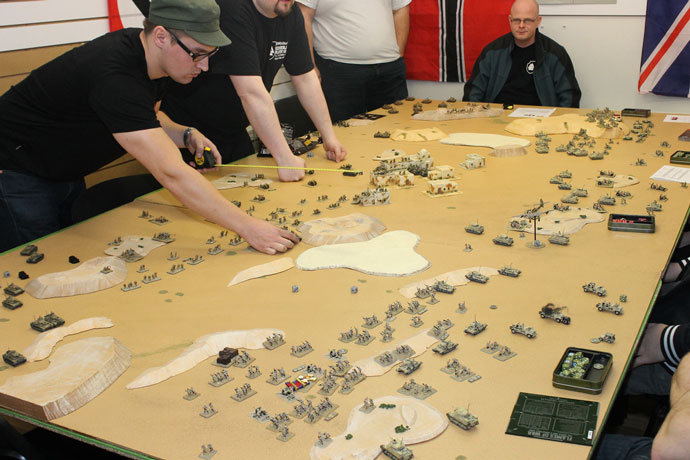
Both sides move cautiously and since this was Mid-war very few targets in these initials stages were actually in range. Both sides managed to secure a centre objective. It didn't look too promising on the Axis left flank where the only infantry facing an entire company of Indian warriors was an under strength trained Bersaglieri Company, but they did not advance. It did have the effect that the Carri Company stayed on the left flank as well. With 6000 points a side you’d expect some casualties, but only a single 2 pdr portee was destroyed.
|
|
Turn Two
Axis: 5 Victory Points; Allies: 5 Victory Points
Both sides continued to proceed with caution but this time there were some kills. The Panzers moved to the centre and managed to take out a Stuart and the Italian 88s took out a Valentine. The newly arrived German 88s also did damage and took out a Matilda. In return the British started digging in and their Grants used their long range fire to take out two Panzer IVs and a Panzer III.
Turn Three
Axis: 8 Victory Points; Allies: 8 Victory Points
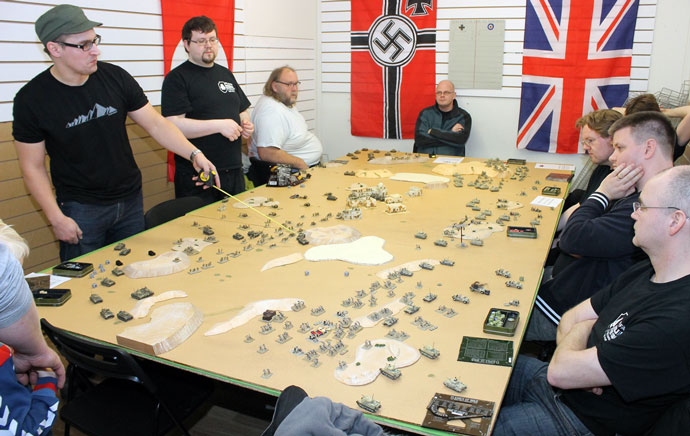
It was turn three and still no direct attack had materialised. Both sides were being passive, the Axis fearing the Grants and the British terrified of the 88s. A few tanks were lost to both sides but nothing major, although the Germans were losing their hardest hitting tanks faster than the British.
|
 |
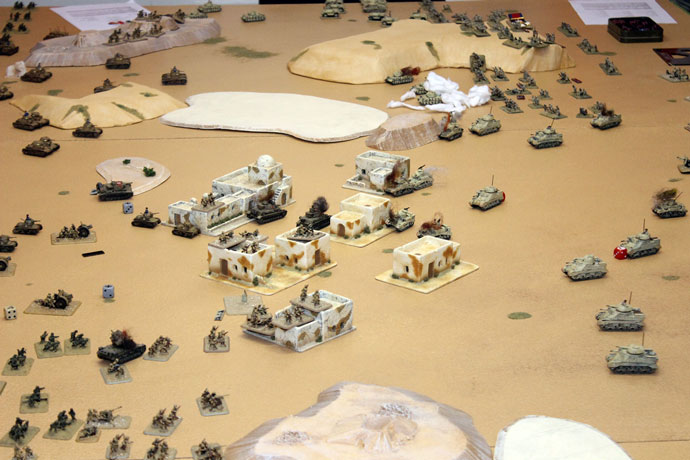
Turn Four
Axis: 11 Victory Points; Allies: 10 Victory Points
Having by now moved a Panzer Platoon to the right flank the Axis side managed to push forward and contest the centre right flank objective and the Panzers in the centre along with Anti-tank guns took out several Stuarts. At this time the Italians were called to move towards the centre to support future actions. The Allies in return had a hard time reclaiming their objective and needed to better concentrate their efforts but had continued to advance their Matildas on their right flank where the Italians lacked firepower to pose a serious threat.
|
 |
Turn Five
Axis: 14 Victory Points; Allies: 12 Victory Points
Still the Panzers contested the objective while the British moved tanks up both flanks. This brought them into range of the Bersaglieri objective. The Indian Pattern Carriers moved forward to support the Matildas but the Indian assault company remained in their foxholes fearful of the Italian M14/41 tanks.
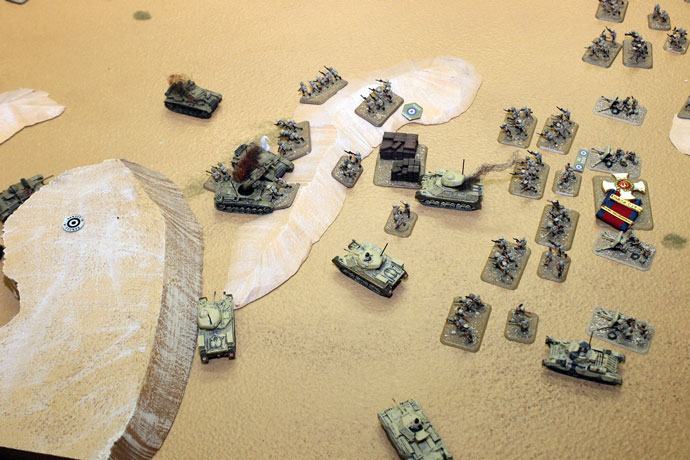
Turn Six
Axis: 16 Victory Points; Allies: 14 Victory Points
The Italians that had advanced towards the centre now moved back while the Panzers tried to concentrate on the right flank but they were too thinly spread out to be mutually supportive. The Northumbrian infantry supported by Grants managed to push off the Panzers from their objective. Also by now the reserves had all arrived. The two Schützen companies had been brought piecemeal onto the table to reinforce weak points so they could never concentrate but the 10th Hussars had lent their Grants to their left flank while the Crusaders formed up for an attack to support the Matildas and Indians. Still both sides continued to bleed from small cuts.
|
 |
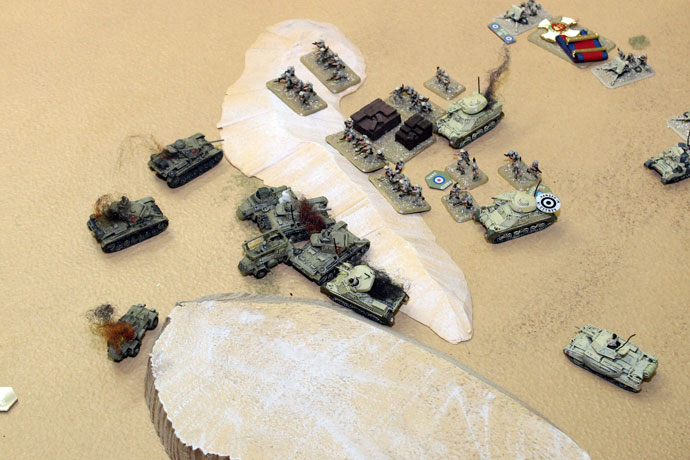
Turn Seven
Axis: 18 Victory Points; Allies: 17 Victory Points
The Germans rained machine-gun fire into the infantry that dared to try and push them off the objective and wiped out a platoon, contesting the objective once more. The Italian armour also sallied forth and did damage to the Indian Pattern Carriers and supportive fire took out a Matilda but the German Pioneers failed tank terror test meant they couldn’t keep up the momentum. The British finally started to act boldly and concentrated their efforts on their right flank taking out three M14/41s and a few other units.
|
 |
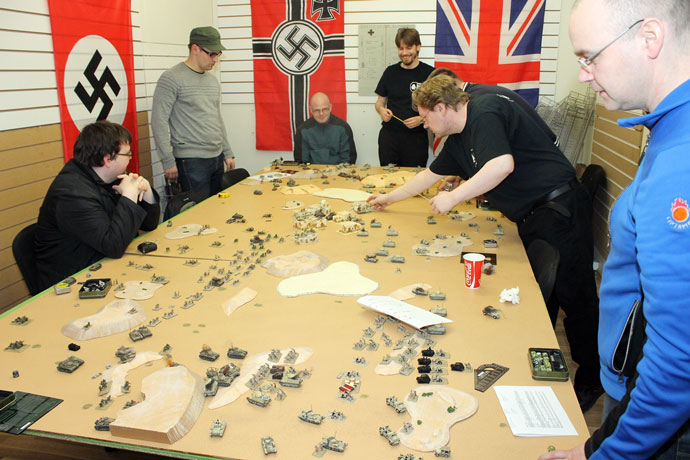
Turn Eight (The Last Turn)
Axis: 20 Victory Points; Allies 19 Victory Points
This would be the decisive turn but much too late. The Italians tried their best to stop the Grants but to no avail, their small guns failed to penetrate the Crusaders armour while elsewhere the Panzers managed to deal the 3 RTR considerable damage and their accompanying Valentines but by now the Panzers were pretty worn down. It was the return fire that was to become devastating, round after round poured into the hapless Italian armour and brewed them up one by one except for the Company Commander and a single bailed tank that refused to flee thereby denying the British a precious three Victory Points for taking out a Combat Company. Given two turns more the British would have cleared through that flank but by now it was too late.
|
 |
Axis After Action Report
The plan didn't work as I had hoped. There were several reasons for that, but I'll only mention the a few of them.
Lack of Any Weak Points
The Allies numbers were so vast that no real weak points seemed to appear. We were forced to engage strong positions on all flanks.
Excellent Use of Combined Arms Among The Allies
I wanted our Italian tanks to assault the Indian infantry on our left flank, forcing their way through their ranks, but there were two platoons of Matilda standing there as well, making an Italian tank assault too dangerous. We needed to deal with the Matildas before launching an assault.
Lack of Ranged Artillery
Even though we had two Italian artillery batteries placed in the middle, we couldn't reach both flanks. This made it hard to engage the enemy's flanking troops. Since we only had one infantry company on the table, we didn't have the option of placing artillery on both our flanks.
Spread Too Thin
The left flank felt like the best position to attack, but the Italians couldn't handle it on their own. I therefore sent my platoon of Panzer IVs into the city to engage their flank while the remaining platoons headed to the right flank in order to put so pressure on the objective on that side. This cost me heavily, although the platoon survived. I ordered the Italian tank to make a faint move towards the centre, hoping that the Allies would either pull back their Matilda's or advance with their infantry, but they just left them in place.
There were some strange dice rolls as well, making most of the Italian forces Trained, and the Allied air support managed to intercept our Stukas four turns in a row, but I never blame dice (I buy new ones). After I realised that the Italians wouldn't be able to attack on either the centre or right tank, I felt that we had to grab some points if we wanted to win this battle. Not being able to use the Italian armour wasn't such a major drawback as one might think since the Allies didn't advance with their best assault troops as long as the Italians remained in place.
The lack of Recce forces meant that we hadn't been able to do much about the right flank, creating a stalemate with three points to each side. I therefore sent in a Panzer Platoon in order to contest one of the objectives that the Allies were holding. This eventually cost me a platoon, but I managed to contest the objective for two turns, giving us a small lead. The Allies didn't appreciate my effort, and with their seeming limitless amount of reserves, they finally started their advance on or left flank.
The Allies managed to push through and contest the objective on or left, but we also got another platoon in place on the right, meaning that they only managed to gain a single point on our lead. It wasn't much of a victory and I don't think that Rommel would've been pleased with the result, but we managed to pull through and achieve our goal.
|
The Final Outcome
|
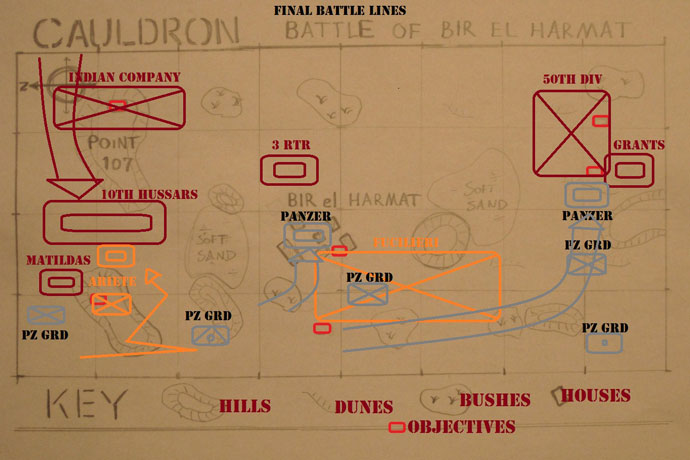 |
Allied After Action Report
It is rarely a surprise when a battle plan fails to survive contact with the enemy. We made some mistakes, most importantly the British infantry only advanced for one turn before trying to dig in, since we thought the Panzers would quickly mount a strong attack on their position. It turned out they just wanted to play objective chicken, but they did succeed in contesting one of our objectives for several turns. We threw in Grants from reserves to deal with it, but that was difficult as they had two 88s on over watch and we were reluctant to throw our Grants into the fire from both an entire Panzer company and a pair of 88s at the same time. The 88s had us between a rock and a hard place since the Panzers failed to attack as we had anticipated.
On the other flank our attack was slow in forming. With a horde of Italian armour on the other side we could not risk advancing with the Indian infantry, and the Matildas had to advance cautiously due to the presence of another pair of 88s. The reserves trickled on too slow, but once the Crusaders arrived en masse we could finally attack the Italian armour with confidence. We all but destroyed that company in the last turn, and could honestly say that we would have rolled that flank in a turn or two more. But then that is the problem with warfare, you do not always have the luxury of taking things slow and taking your time attacking.
It should be mentioned that we had quite a lot of lucky rolls for two things in this game. First of all our limited air support almost single handedly shut down their priority air support. We started intercepting when down to 3 dice, when the second pair of 88s was on the table, making air sorties a lost cause. We got the 6 required to intercept first on 3 dice, then on 2 dice in the following turn, and then on 1 die the turn after, and again a couple of turns after that. When they did get air support it would be one aircraft. They only got two aircraft once the entire game. The RAF was really efficient that day. The other lucky break we had was with the Crusaders, who made every armour save they had to make against the Italians, allowing them not only to win the day against the Italian armour, but to smash them with hardly any losses. Shouting "Tally-Ho" at the top of their lungs as they passed the burning Italian wrecks!
We did balance this good luck out with horrendous rolls for reinforcements. We only got reinforcements on turn three and four because you always get at least one platoon when rolling three or more dice. We only got one platoon on turn five (yes, that is one roll of 5+ on 15 dice...) and finally two on turn six. We still had platoons in reserve at that time (6-pdr guns and carriers) but this didn’t impact the outcome of the battle in any way.
With the benefit of hindsight we can easily see that we spread out to thinly. We should have massed our armour on one flank, followed by infantry, and let the infantry company on the other flank hold out until reinforcements arrived. We should have sent all available Grants forward despite the presents of the 88s and made destroying, pinning and smoking them the priority. But there is always the temptation to take things slow, and take no risks. But as we are learning that does not make for an interesting battle when playing on such a grand scale!
|
| Conclusions |
I cannot say that either side played very well. Both had a potential for a massed attack and yet the best assault troops, the Indians, never moved. Both sides failed to concentrate their efforts in any way. The Axis failed to form a cohesive force their hardest hitting units and the Germans were spread out far too thinly. The British failed to combine arms and it is small surprise that it was the Crusader that preformed best but too late to affect the outcome of the battle.
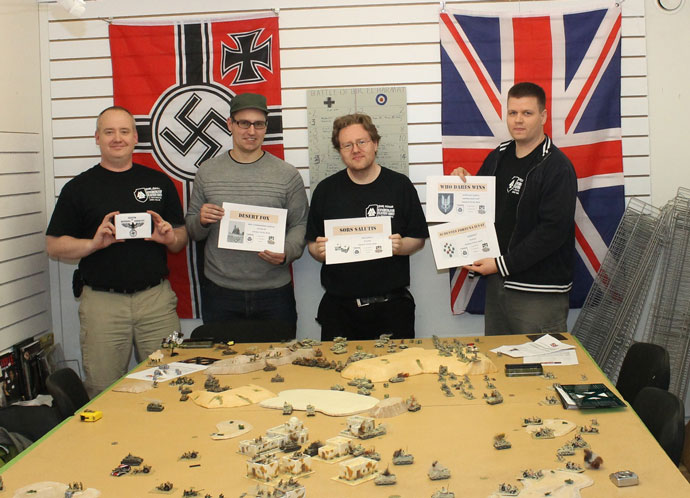
I had prepared some rewards for the players and had six categories prepared.
|
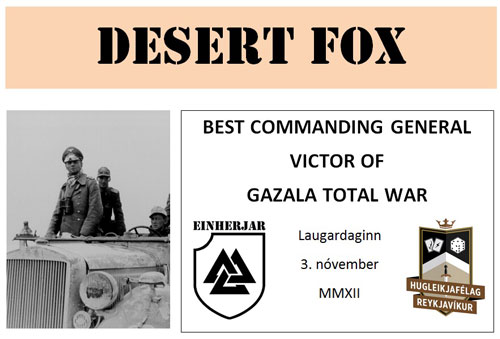
The Desert Fox: Best Commanding General
|
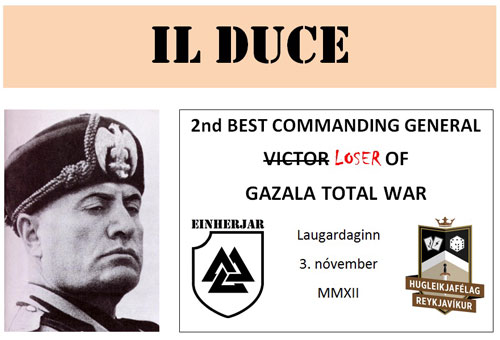
Il Duce: Second Best Commanding General
|
 |
 |
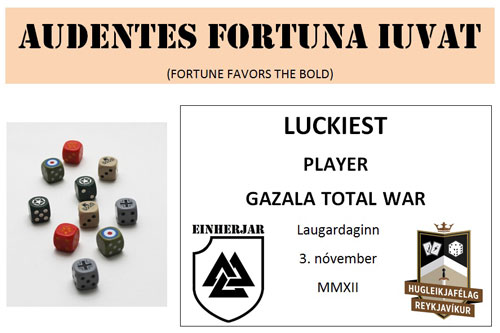
Audentes Fortuna Iuvat: Luckiest Player
Brjánn for intercepting the Stukas time and again with one die and made every armour save for the Crusaders.
|
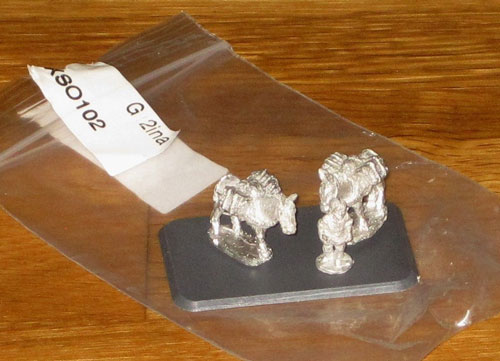
There was to be a prize for the least contributing adjutant but we agreed that no one deserved it, but I had a model for that player and a role in our next Total War battle, a mule handler.
|
 |
 |
Also awarded was the Sors Salutis (Fate is Against Me) award for the unluckiest player. This went to Rúnar who at one stage considered burning his dice.
As for the Firestorm Campaign the Germans had held out and we considered it a draw. They are now out of supply and lost one Panzer Unit while the British lost none. It is now imperative that the Axis win the initiative for the last battle of turn two so they can finish off the pesky defenders at Sidi Muftah of the 50th Division.
The day then ended with the award ceremony and I got a birthday present and what do you get a gamer that has everything. A Sturm Tiger platoon. Maybe we will see them in our next Total War battle.
~ Jökull.
To discuss this article on the forum click here. |
 |
Last Updated On Tuesday, January 29, 2013 by Blake at Battlefront
|
|
|