|
|
|
|
Products mentioned in this Article
--None--
|
|
|
|
|
|
|
|
|
 |
|
|
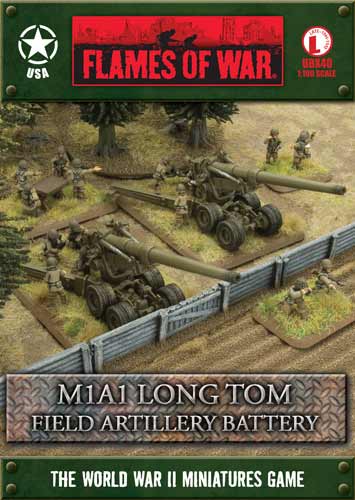 |
M1A1 Long Tom Field Artillery Battery (UBX40)
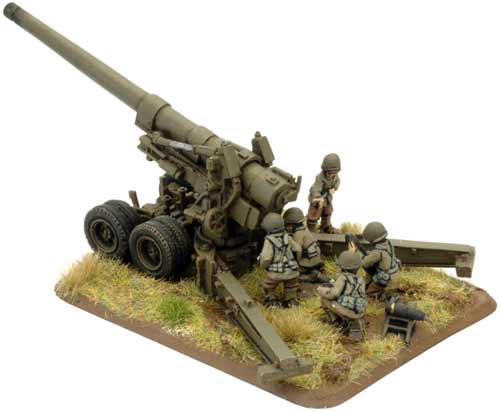
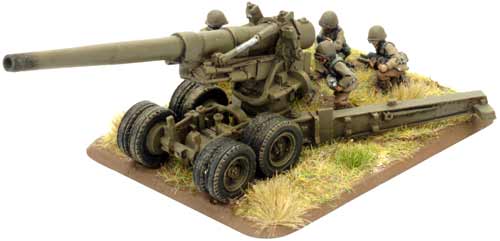
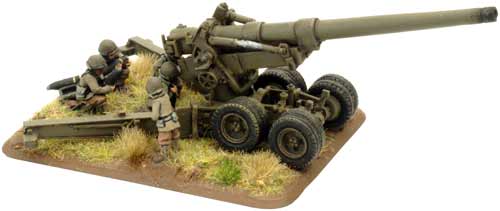
includes two M1A1 'Long Tom' 155mm howitzers with crew, one Command Carbine team, one Staff team, one Observer Carbine team, two Large bases, one Medium four-hole base, one Small three-hole base & one Small two-hole base.
More often than you’d think, the brave artillerymen find themselves under fire from German tanks and infantry as they engage in a brutal point-blank fight. So dedicated are the artillerymen that they will see off the Germans or die beside their guns.
This product is no longer currently available for sale...
|
The Battle of the Bulge
In December 1944 the German forces were supposed to be on the back foot, so their desperate push in the Ardennes took the Allies by surprise. Desperate defence by the American and British Commonwealth forces gradually turned to counterattack as they fought to erase the 'Bulge'.
Learn more about The Battle of the Bulge here...
|
 |
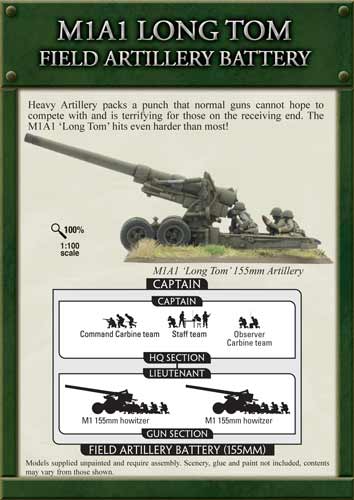 |
Isolated batteries of shattered divisions, and bypassed corps assets, such as the formidable M1A1 155mm ‘Long Tom’ guns fight on until they are out of ammunition. Even then the men spike their guns, pick up their rifles, and join the first US platoon they meet to do their part in the defence of the ‘bulge’.
Heavy Artillery packs a punch that normal guns cannot hope to compete with and is terrifying for those on the receiving end. The M1A1 ‘Long Tom’ hits even harder than most!
Gun designed by Tim Adcock
Figures designed by Seth Nash
Painted by Mark Hazell & Jeremy Painter |
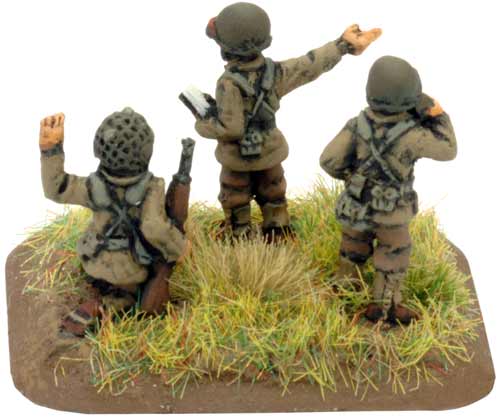
| The Command Carbine Team |
 |
 |
| The M1A1 Long Tom in Flames Of War |
Weapon
|
Mobility
|
Range
|
ROF
|
Anti-tank
|
Firepower
|
Notes
|
| M1A1 Long Tom |
Immobile |
24"/60cm |
1 |
13 |
1+ |
Bunker Buster, Smoke. |
Firing bombardments
|
|
104"/260cm
|
-
|
5
|
2+
|
Smoke Bombardment
|
|
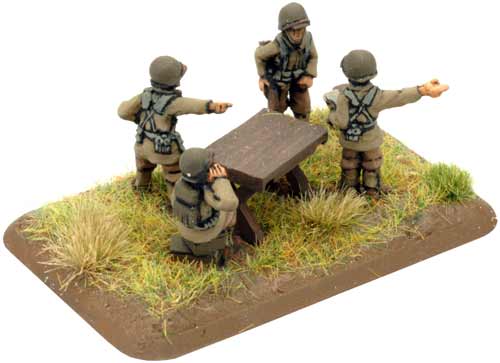
| The Staff Team |
 |
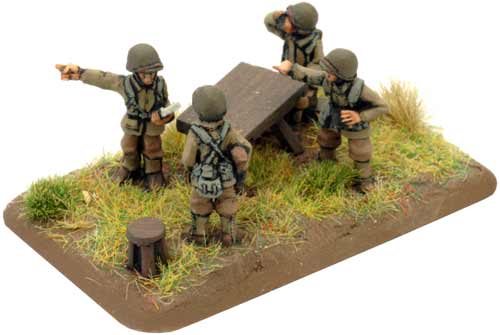 |
Staff Teams
To do their job, a staff team needs lots of maps, plotting boards, charts and tables, not to mention radios and telephones. All this equipment prevents them from being very mobile or effective in combat.
Although they are an Infantry team, Staff teams are part of their Artillery platoon and move slowly as if they were a Heavy Gun team. A Staff team can shoot as a Rifle team, but cannot function as a Staff team in the turn it does so.
A Staff team can function just as well when it is mounted in its own Transport team as it can when Dismounted (as long as it is not Bailed Out or Bogged Down), but cannot function at all when mounted in another Transport team. |
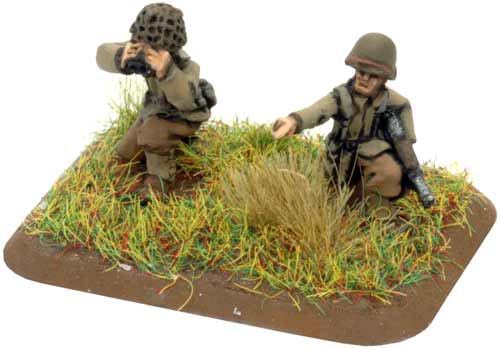
| The Observer Carbine Team |
 |
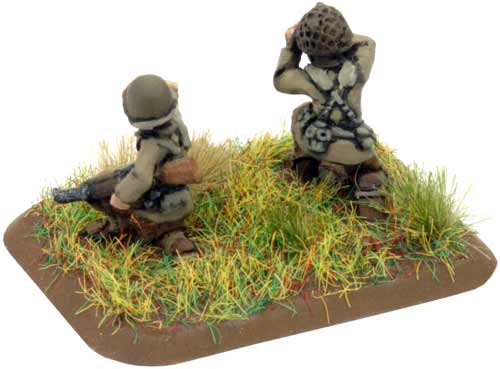 |
| Observer teams need a good view of the battlefield in order to do their job correctly. Be sure to deploy them in a position where they have an excellent view of the battlefield such as on a hilltop or on the top floor of a multi-level building. |
| The M1A1 'Long Tom' 155mm Howitzers |
 |
 |
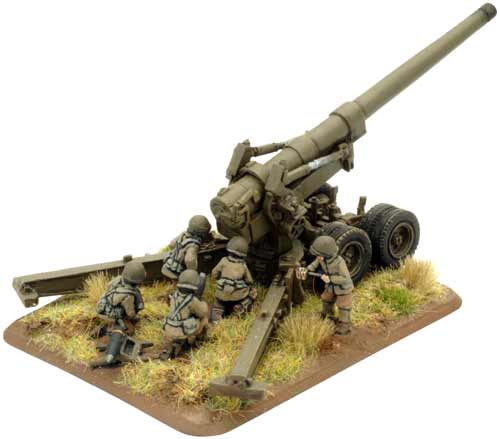
Smoke
Sometimes your weapons won’t destroy the enemy quickly enough to prevent them from wreaking havoc on your own troops first. One way to protect your troops in the meanwhile is to fire smoke at the enemy to temporarily impair their vision.
Only weapons listed as having the Smoke attribute in their Arsenal may fire smoke. Some weapons such as the M1A1 Long Tom can also fire Smoke Bombardments (see page 136 of the main rulebook). |
 |
 |
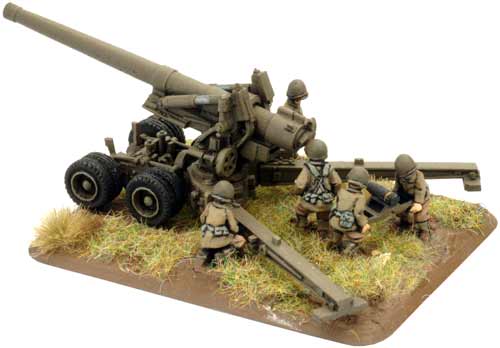
No Saves from Big Guns
Some weapons are just so powerful that there is no chance of surviving a hit from them. These heavy guns are often mounted in tanks and self-propelled guns designed to break through enemy defensive lines.
Infantry teams, Gun teams, Passengers, and Unarmoured vehicles automatically fail their Saves when hit by a Breakthrough Gun or a Bunker Buster. This does not apply to Artillery Bombardments. |
 |
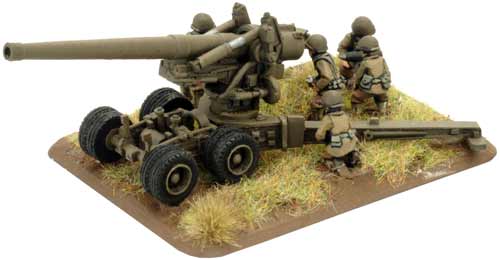 |
Bunker Busters Shooting Buildings
While buildings provide excellent protection from most weapons, some guns are big enough to make the building a deathtrap. One hit is likely to kill everyone inside.
When a weapon with the Bunker Buster attribute scores a hit on a team in a Building, it also scores a hit on every other Infantry or Gun team in the Building. If the Building has multiple rooms, or the target platoon is occupying several Buildings, the shooting player may choose which room and Building is hit by each shot. |
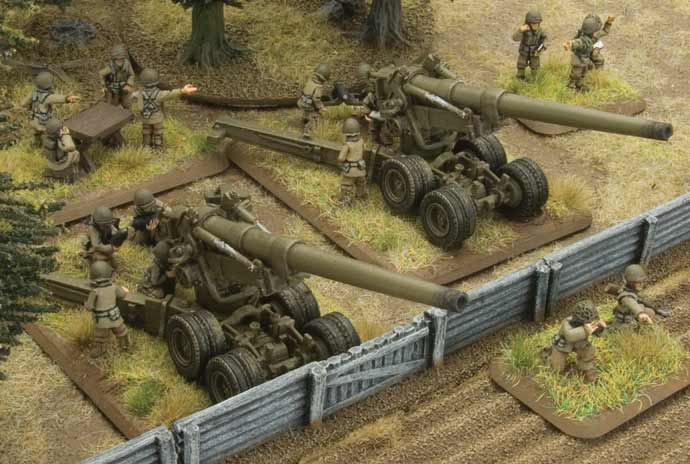
| M1A1 Long Tom Field Artillery Battery Prepare To Fire |
 |
The Contents of theM1A1 Long Tom Field Artillery Battery Box Set
|
| Contact the customer service team at [email protected] if you have any issues with any of the components. |
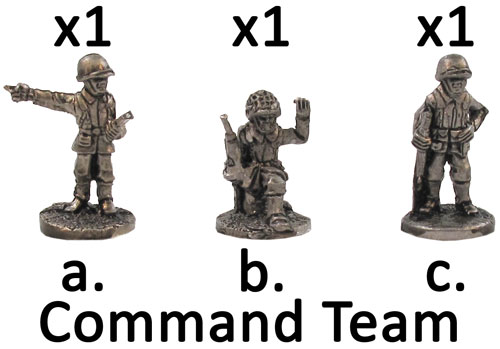 |
Command Team
Description of Components
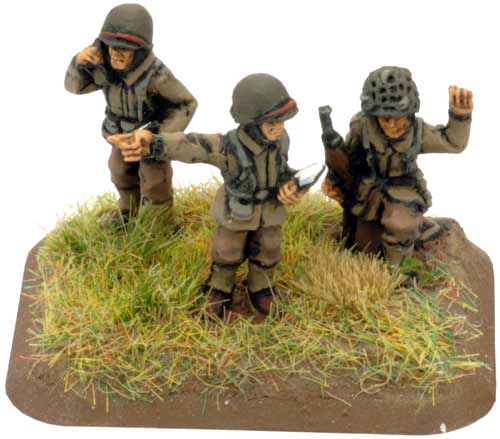
a. 1x Pointing officer figure with clipboard.
b. 1x Kneeling NCO figure with carbine.
c. 1x Standing Rifleman figure
Assembling the Command Team
Simply arrange figures A, B and C to taste on the small three-hole base provided. |
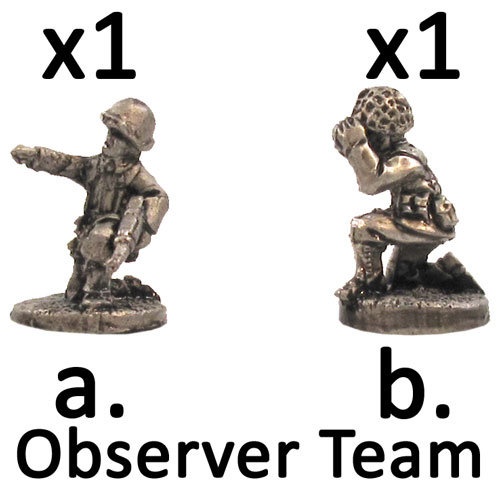
Observer Team
Description of Components
a. 1x Pointing figure kneeling with carbine.
b. 1x Kneeling observer figure with binoculars.
Assembling the Command Team
Simply arrange figures A and B to taste on the small two-hole base provided. |
 |
| Description of Components |
a. 2x Radio sprues.
b. 1x Table leg sprue.
c. 1x Tabletop.
d. 1x Stool. |
e. 1x Seated Radioman figure
f. 1x Standing officer figure pointing with binoculars.
g. 1x Standing officer figure talking on radio.
h. 1x Pointing officer figure with clipboard. |
Assembling the Staff Team
On the medium four-hole base provided, arrange figures E, F, G and I around the Staff team table. |
| Description of Components |
a. 2x Standing figures holding propellent charge.
b. 1x Kneeling figure cradling shell.
c. 1x Kneeling figure holding shell.
d. 2x Kneeling figure with propellent charge. |
e. 2x Standing figures with lanyard.
f. 2x Shelling cradle figures.
g. 2x Shell cradles. |
|
Assembling the Gun Crew
Each Long Tom gun is manned by a five-man crew. Arrange figures A, B, C, D, E and F to taste around each Long Tom.
|
| Description of Components |
a. 2x Right-hand side gun mount.
b. 2x Left-hand side gun mount.
c. 2x Wheel bogies.
d. 2x Right-hand side gun trail leg.
e. 2x Left-hand side gun trail leg. |
f. 8x Wheels.
g. 2x Gun cradles.
h. 2x Gun brackets.
i. 2x 155mm barrels. |
| Description of Components |
a. 1x Small two-hole base.
b. 1x Small three-hole base. |
c. 1x Medium four-hole base.
d. 2x Large bases. |
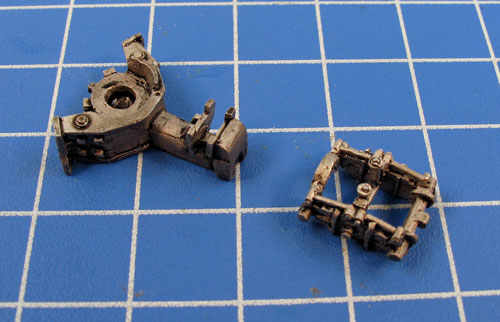
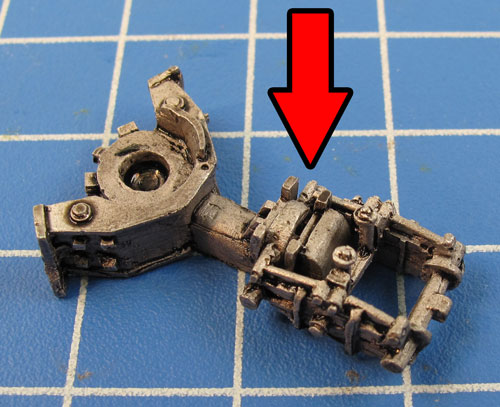
| Assembling the The 155mm Long Tom Gun |
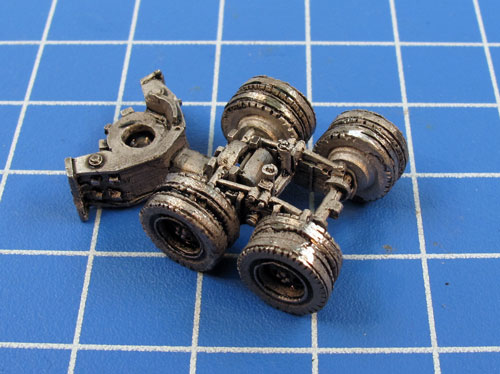
| Step 1. Begin by attaching the wheel bogie to the gun cradle. |
Step 2. Next, add the wheels to the wheel bogie. |
 |
 |
 |
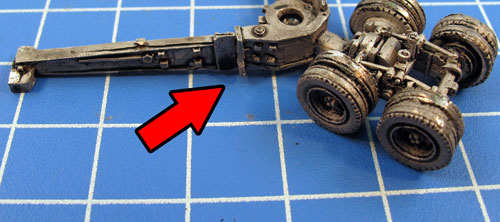
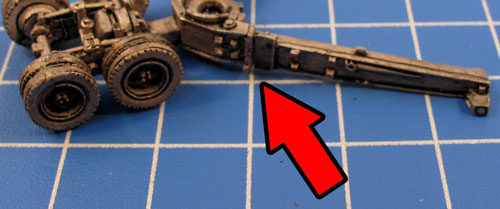
| Step 3. Attach the left and right-hand side gun trail legs. |
 |
 |
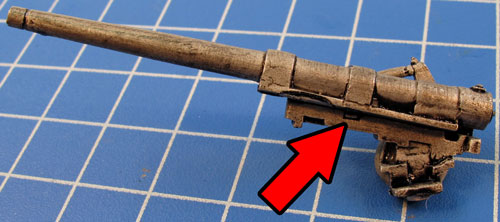
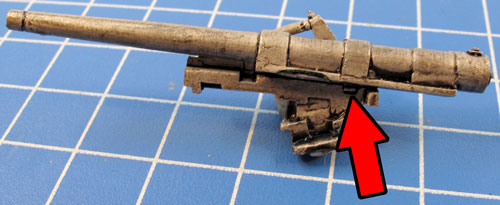
| Step 4. The 155mm barrel can be modelled in two ways; either the normal postion shown below... |
...or in full recoil as shown in this example. There is a tab on the gun and a notch on the right-hand side gun mount to aid in this process. |
 |
 |
| Step 5. Attach the left-hand side gunmount and position the gun into the gun cradle. |
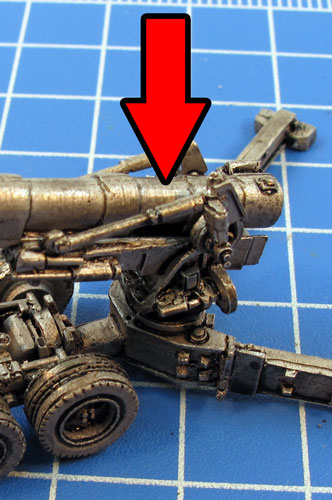
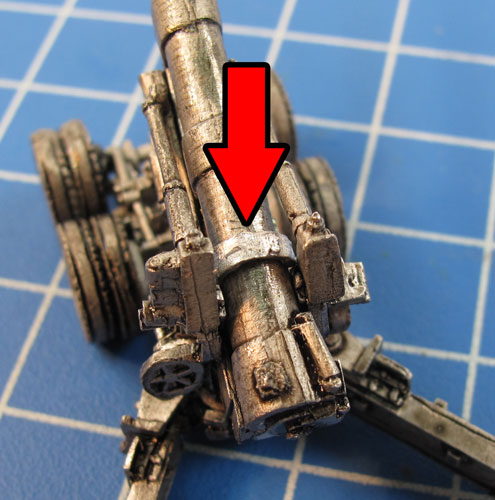
Step 6. Finally, attach the gun bracket to the top of the 155mm gun barrel as shown in the example below. |
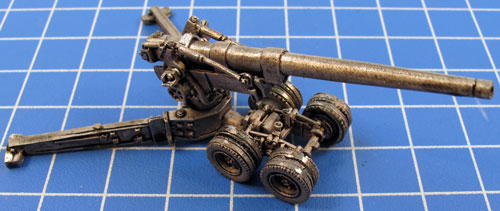
Step 7. With the gun bracket in place the the 155mm Long Tom gun is ready for painting. |
 |
 |
 |
Last Updated On Tuesday, February 26, 2019
|
|
|