|
|
|
|
Products mentioned in this Article
--None--
|
|
|
|
|
|
|
|
|
 |
|
|
 |
The Lost Oasis:
Enhancing Your Desert Battlefield in a Box Sets
with Mike Haught
|
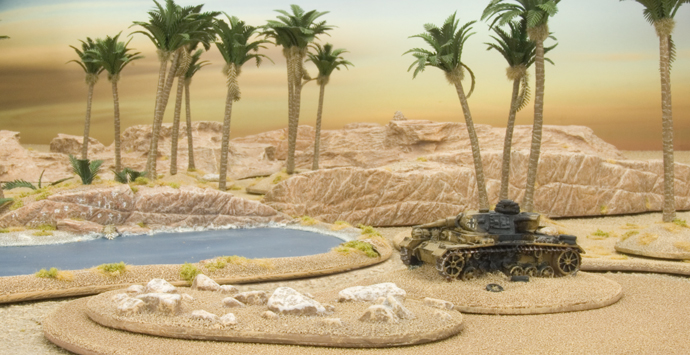 |
| The Battlefield In A Box range of desert terrain is perfect straight out of the box, but the battlegrounds of the Sahara that I wanted to create is quite distinct with its red colour tones and barren landscape. The region around the Kufra Oasis and southeast Libya has a very distinct colour palette. Using pictures from Google Earth (a valuable tool for any terrain project!), I put together a plan to convert my Battlefield In A Box terrain into the southern Sahara. |
Supplies
Before you get started, here’s a list of supplies you’ll need. You can get all of these supplies from Gale Force Nine’s or Battlefront’s ranges of hobby products. I’ve included the product numbers for each item so you can easily order the right stuff for your terrain modelling project. |
|
■ Wool Brown (CWP328)
■ Iraqi Sand (Vallejo 819)
■ Ivory (Vallejo 918)
■ Buff (Vallejo 976)
■ Jager Green (CWP344)
■ Tan Leather (CWP384)
■ Parched Straw Static Grass (GFS002).
|
■ Spring Undergrowth (GFS010).
■ Winter/Dead Static Grass (GFS003).
■ Hobby Glue (GFM110M).
■ Hobby Tweezers (GFT024).
■ Cutting Mat (GFT036).
■ Hobby Knife (GFT026).
■ Tankovy Green (CWP240). |
Working on Palm Trees
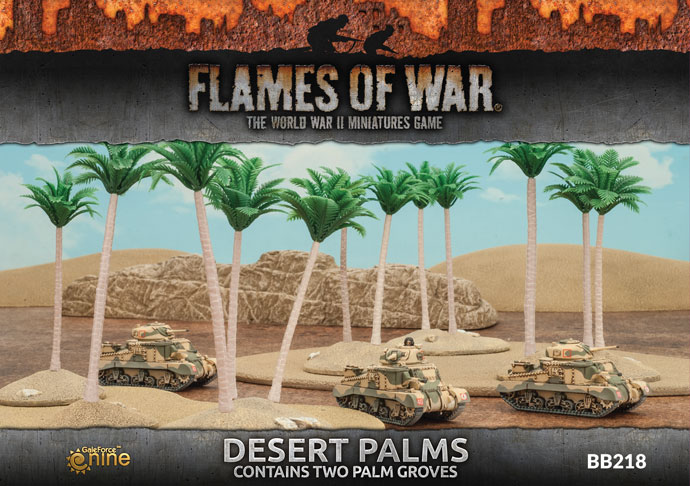
Palm trees are among the most colourful things you can add to your desert table. The Desert Palms box set (BB218) provides you with two large palm groves bases and six smaller bases with one to three palm trees each.
You can group them together on the large bases as groves (a collection of palms) or you can spread them out across your table to create some scattered cover.
Learn more about the Desert Palms here... |
 |
 |
As usual, the set is great straight out of the box and ready for action. However, I wanted to give it a bit more attention. Having grown up in the American midwest and Pacific northwest, all I know of trees is mostly fir and deciduous trees, so palms were a mystery to me. I had a little learning to do before diving into working on my palms!
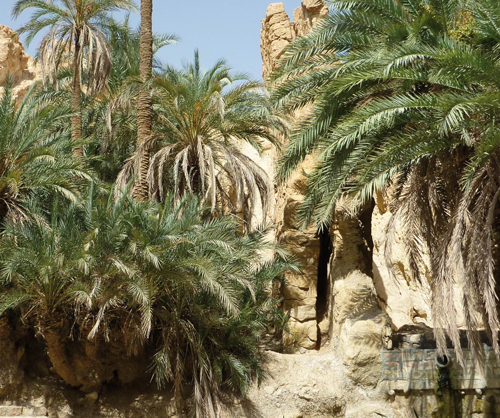
The first thing I noted was the several different types of palm trees—who would’a thought? After a quick Google search of Saharan oases and settlements, I found a few pictures of palms to use as reference. Despite being in the middle of the Sahara, palms are vibrantly green, which contrasts greatly with the browns and reds of the desert.
Left: Some examples of palm trees. |
| I wanted to make sure that a few key things were included in my palm trees, most notably the dead fronds hanging from the tree and lying about the desert floor. |
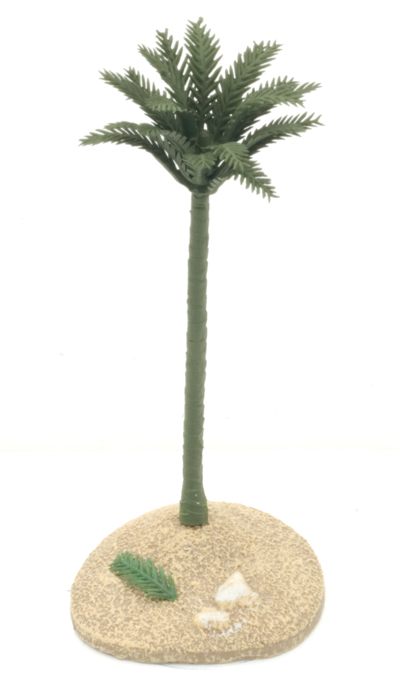
| Below: The Desert Palms before alteration. |
As I said earlier the Desert Palms set is ready to go straight out of the box. However, there were a few palm tree trunks that had a bit of flash along their lengths. These had to be cleaned up to appease my inner perfectionist!
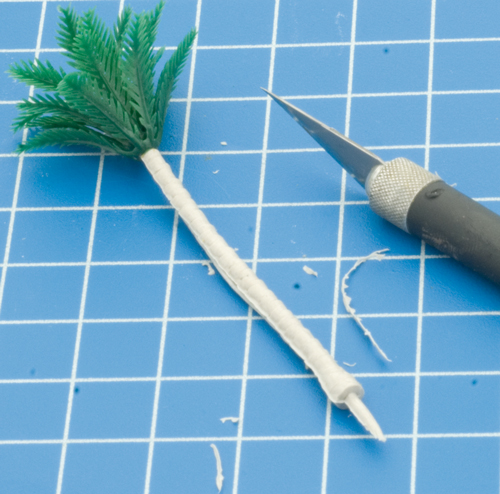
Cleaning a palm trunk is just like cleaning any other mould lines found on plastic kits. All you need is a really sharp knife.
Start from the top of the trunk and work your way down to the base and slowly carve the mould line away.
Right: Cleaning up a palm tree with a hobby knife. |
 |
 |
If you accidentally get carried away and carve out some of the detail, don’t worry! Simply carve a small line around then trunk to repair the detail.
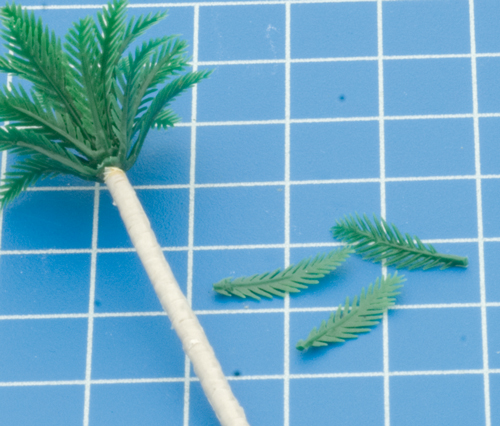
When you have finished cleaning the mould lines off the trunks, you may want to clip a few random fronds to use as dead branches later.
Left: The removed branches to use as leaf litter. |
 |
 |
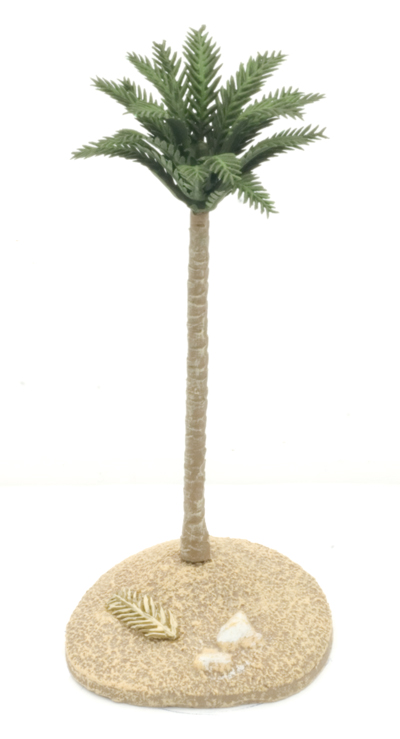 |
First off I spray-painted the whole palm tree with Tankovy Green (CWP240). This not only provides the basecoat for the fronds, it also helps paint adhere to the plastic tree trunk.
I also glued one of the fronds I pruned off in the previous step onto the base as an accent. |
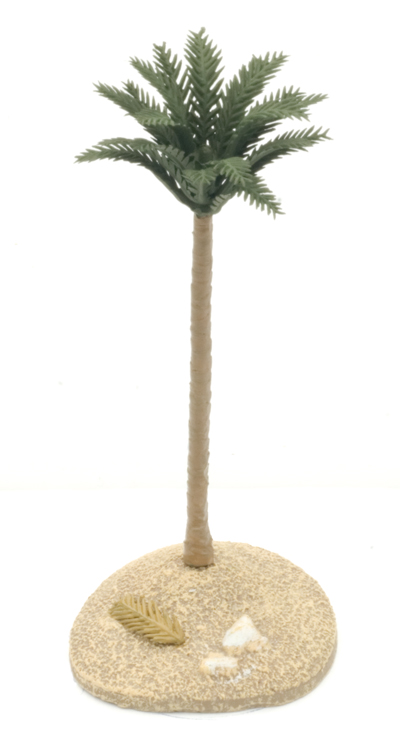
Next, I painted the trunk with an appropriate colour. I chose Wool Brown (CWP328), but palm trunks come in several colours, so choose one you like and go with it.
I also gave the dead frond on the ground a basecoat of Comrade Khaki (CWP326). |
After giving the paint a good amount of time to fully dry, I drybrushed the trunk and dead frond with Dry Dust (CWP364).
Then I drybrushed the fronds with Jager Green (CWP344). |
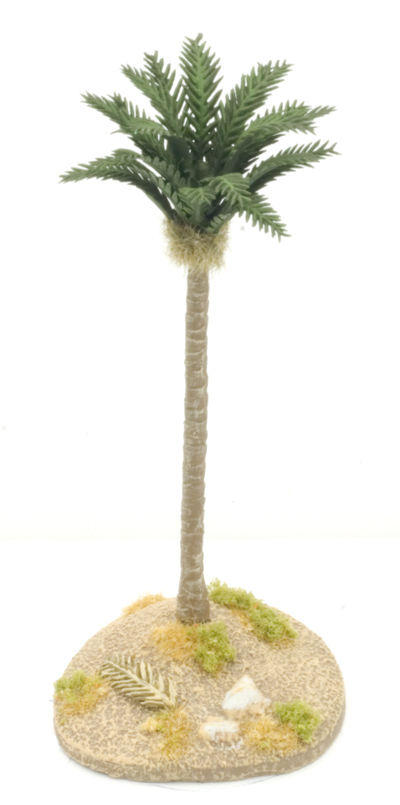
Finally, I added small clumps of vegetation to the base, starting with Parched Straw Static Grass (GFS002) followed by smaller patches of Spring Undergrowth (GFS010).
I then made a small ring around the base of the fronds with super glue and covered it with Winter/Dead Static Grass (GFS003).
The Desert Floor
I wanted my desert terrain to be located in a barren landscape. To that end, I tried to make sure the ground had a sparse amount of scrub and grasses. |
 |
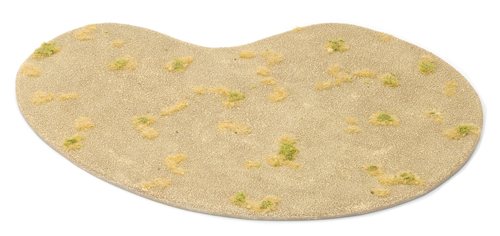 |
Like with the palm tree bases, I’ve used small patches of Parched Straw Static Grass (GFS002) followed by even smaller patches of Spring Undergrowth (GFS010) directly on top of the other patches.
I avoided adding any dead fronds and rocks because I wanted to make sure that my miniatures and palm bases would sit flat on the palm grove base. |
| Below: The Desert Palms after alteration. |
Working on a Oasis
Desert oases provided troops with their only real sources of water in the deep desert. When looking into these rare locations, I found it interesting that the surface water of many oases is actually salt water.
That’s not to say these oases were useless to the desert traveller. When these were found, a simple well dug several yards away from the surface water would yield fresh water.
Right: The Desert Oasis box set.
Learn more about the Desert Oasis here... |
 |
What is cool about salt water oases, compared to fresh water ones, is that as the water evaporates out of the pool, it leaves a white layer of salt around the edge. I definitely wanted to recreate this striking feature in my oasis.
Oases were had a relatively heavy amount of vegetation. While I was working on my Desert Palms I saved up a pile of pruned fronds (as well as a few cut from the palms included in this box set) to add some extra
bushes and young palm trees. |
| Below: Siwa Oasis. |
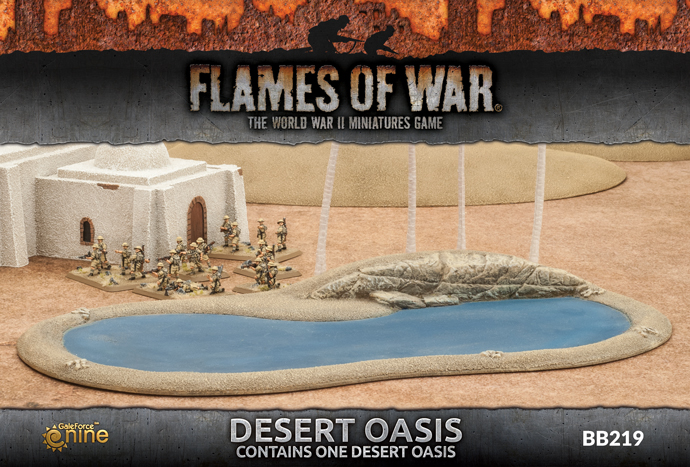
The Desert Oasis (BB219) box set comes with a large oasis base with a small raised rock face at one end. In addition, the set includes four palm trees.
So right off the bat I knew I wanted to add some details like the salt deposits and other fun things. There many sites deep in the boundaries of the Sahara Desert where petroglyphs and pictographs give us a rare insight into what life must have been like in prehistoric times. |
| Below: The Desert Oasis before alteration. |
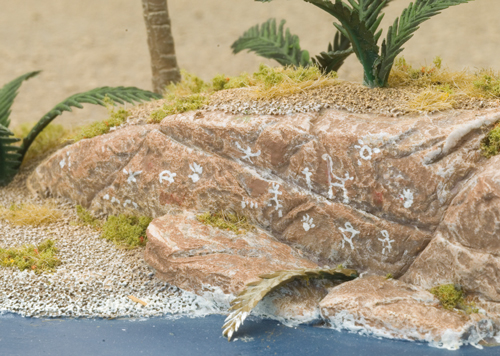 |
I darkened the rocks a bit using a very thinned wash of Tan Leather (FWP384). Then, using the colour Dry Dust (FWP364), I painted some ancient scenes on the rock face to add
a bit of prehistory to my oasis.
Left: The ancient draws on the rock face. |
I carefully drybrushed the edge of the waterline with Dry Dust (FWP364) to simulate salt deposits.
Below: The salt deposits on the edge of the waterline. |
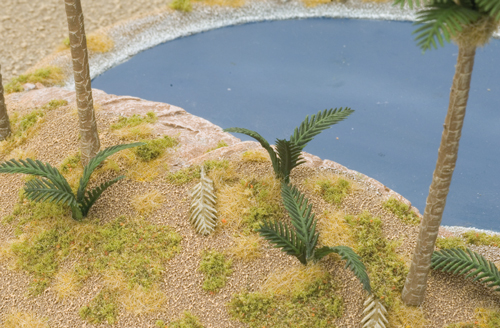
I drilled a few small hole into the small hill and glued in 3-4 fronds to create some small palm bushes.
Right: The small palm bushes. |
 |
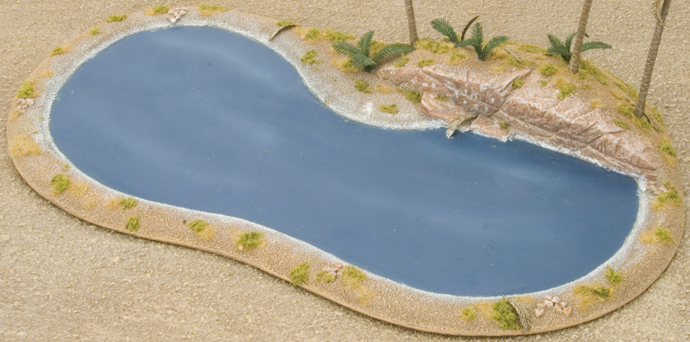
| Below: The Desert Oasis after alteration. |
 |
Working on Desert Dunes and Escarpments
If its one thing the Sahara has lots of its rocks, from huge mountains to tiny grains of sand. Desert battlefields were rarely open and flat, though they may appear to be so at first. A closer look will reveal rises, escarpments, wadis, and rocky outcroppings.
The Extra Large Dune (BB220) and Large Dune (BB221) are perfect for representing the naturally occurring hills of loose sand that are built up by the wind and can take a manner of different shapes and sizes. |
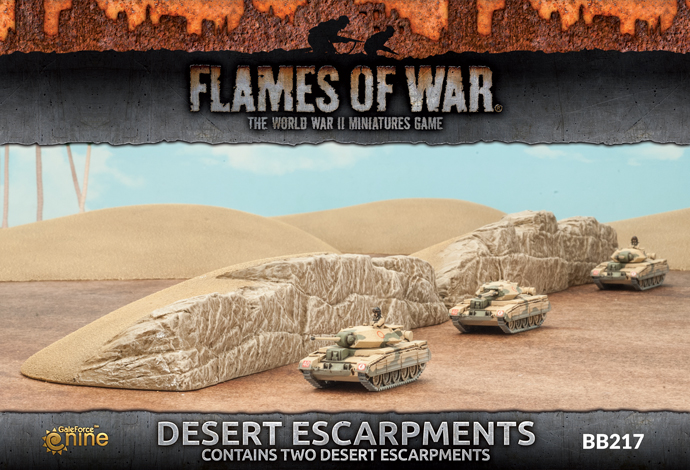
Wadis and escarpments can both be represented by the Escarpment box set (BB217). These features were formed from flash floods that have left their mark on the landscape and carved out these channels and cliff sides.
For my battlefield, in southeast Libya, the rocks and cliff faces bear a distinct red colour, owing to the high concentration of iron and feldspars. There was also very little vegetation, so I needed to make sure my hills and escarpments were both reddish in colour and extremely dry.
Learn more about the Desert Escarpments here... |
 |
 |
 |
First I covered the hills and rocky face of the escarpment with a very thin wash of Tan Leather (CWP384). The wash was about 1:4 ratio of paint to water. Once the wash had dried thoroughly, I applied a drybrush of Dry Dust (CWP364), making sure to pull out the harsh and sharp edges of the terrain pieces.
After the Iraqi Sand drybrush, I added one final, very light drybrush of Dry Dust (CWP364) to bring the edges out just a touch more. Anywhere there was sand I drybrushed it with Iraqi Sand (VP819) to help blend it into the colour of the rocks. |
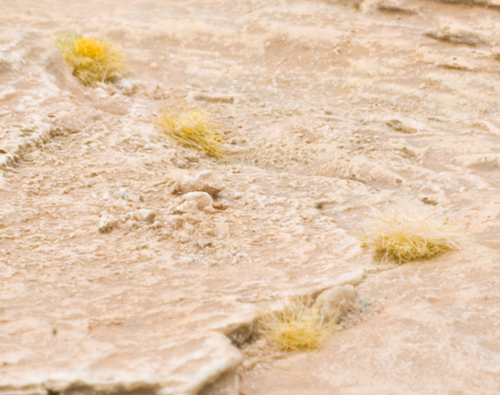 |
I added very small dots of white glue in the cracks where plants were most likely to grow. Using my tweezers, I then stuck some Parched Straw Static Grass and very small amounts of Spring Undergrowth, just to add a little bit of colour.
Left: Adding a little colour. |
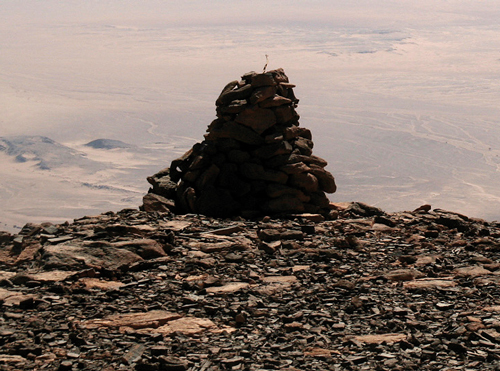
Cairns are large stacks of stones erected as navigational landmarkers
or for religious purposes. Major Bagnold built this cairn on Mount Uweinat in the 1930s.
Right: An example of a cairn. |
 |
Now that I have all of the pieces for my table ready for action, its time to put them all together and to create my lost oasis battlefield.
As you can see below I have incorporated all of my pieces of desert terrain and even added a few buildings and a fort. |
The processes above are just one way to pimp your terrain. Feel free to try out your own techniques. One of the most striking (and frustrating) things about the desert is the wide variety of colours, from black volcanic basalt to dark yellow. With such a large selection, you’ll have to choose one and go with it! Its no wonder there were such pitched debates about what colour of ‘sand’ to use for desert camouflage in North Africa!
Good luck and have fun enhancing your desert terrain!
~ Mike. |
Last Updated On Thursday, April 26, 2018
|
|
|