|
|
|
|
Products mentioned in this Article
|
|
|
|
|
|
|
|
|
 |
|
|
 |
Assembling the German Motorised Rifle Company
with Mark Hazell
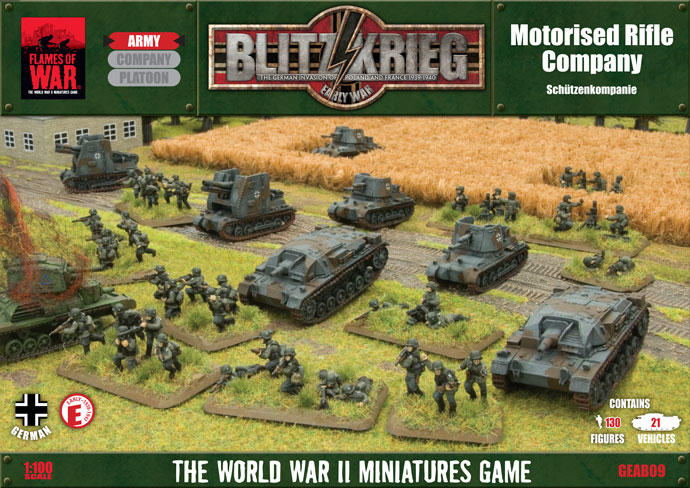
The Schützen Company or motorised rifle company contains infantry in light trucks with fully motorised supporting weapons and some of the world’s first armoured support weapons like the Panzerjäger I and the sIG33 auf Panzer I self propelled infantry gun.
Learn more about the German Motorised Rifle Company here...
|
The Contents
Firstly let’s take a look at the contents of the German Schützen company army box set; contact the customer service team at [email protected] if you have any issues with any of the components.
|
The 15cm sIG33 auf Panzer I
|
| Note: The Panzerjäger I and the 15cm sIG33 auf Panzer I share some components. In this case, the tracks and the Command figure. The numbers of the shared parts are outline in the Panzerjäger I components. |
Divisional Support
Assembling the Assault Gun Platoon
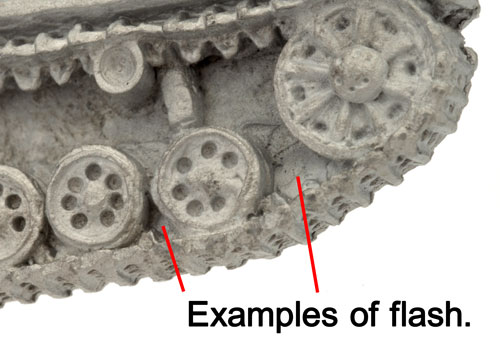
The assault gun platoon is made up of a command Sd Kfz 253 halftrack and two StuG As. These vehicles are nice and easy to put together. Begin with checking all the metal pieces and then clean off any mould lines and flash that may have been left from the moulding process.
|
Things to looks for are flash that has formed between the wheels and tracks and the mould line that runs down the centre of the track.
Once this is done score some criss-cross lines into the resin hull where the tracks will attach.
|
 |
 |
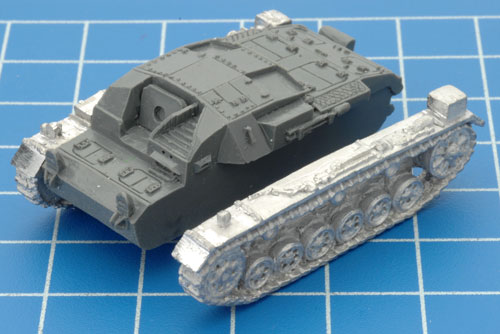
This will give a better bond between the glue and the track and hull. Now glue on the tracks, wheels and hatches and the vehicle is all done.
Left: An example of the scoring on the Sd Kfz 253 resin hull.
|
Right: Attaching the tracks.
Below: Both tracks attached to the resin hull; Glue the hatches into place. |
 |
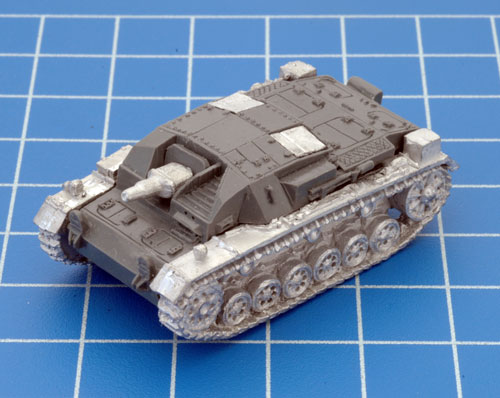 |
With the addition of the second hatch and the main gun, the StuG A is now fully assembled.
Next up is the Command Sd Kfz 253 halftrack. |
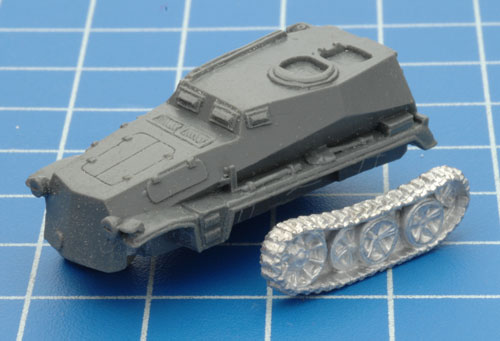
| This is another quick easy job, begin with the tracks. |
 |
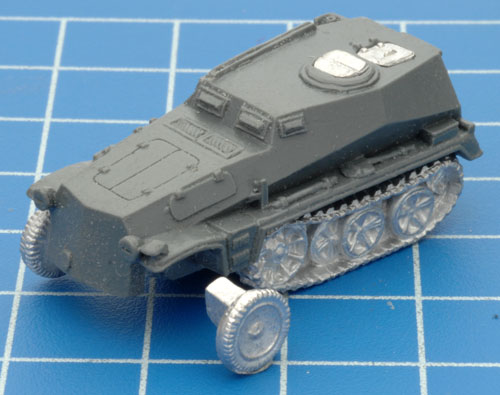 |
After adding the tracks, glue the front wheels to the resin hull. With the addition of the hatches, the Sd Kfz 253 is fully assembled. |
| Assembling the Tank-hunter Platoon |
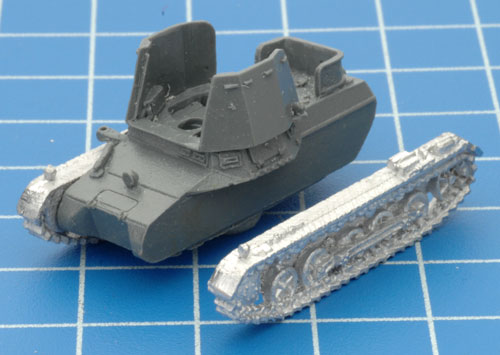
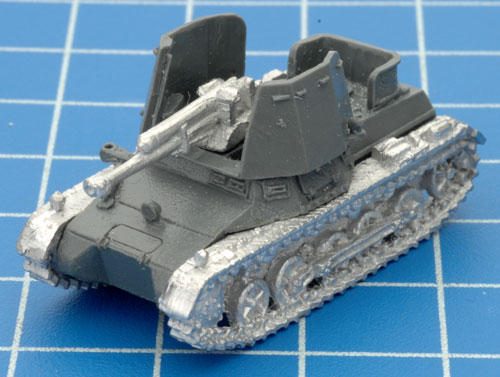
| The Panzerjäger also has a small parts count, as before we'll begin by attaching the tracks to the resin hull. |
 |
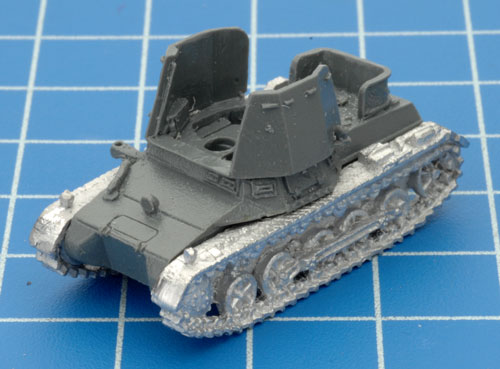 |
With both tracks attached, its time to move onto gun assembly. |
Begin by gluing the gun into place.
|
 |
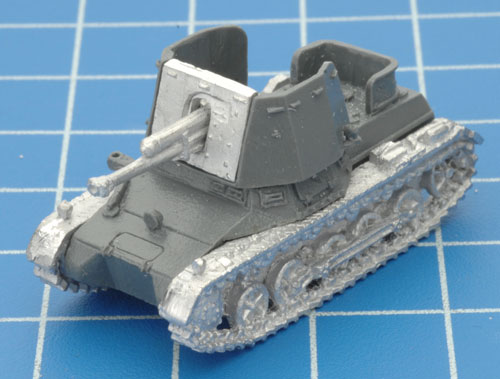 |
Next, add the gun shield. |
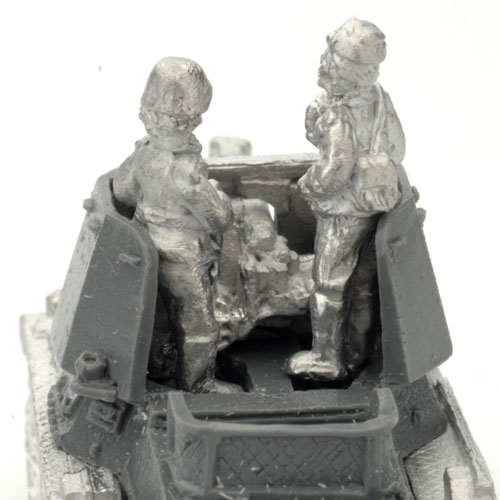
Time to add the crew, a command figure and a loader. The fighting compartment is quite small but with a little patience and a small amount of hobby glue the crew can squeeze in.
Note: The loader for the Panzerjäger I is holding the small shell.
|
 |
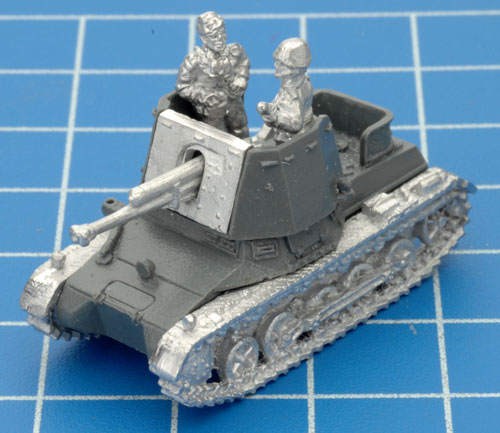 |
With the addition of the crew, the Panzerjäger I is now assembled.
|
Assembling the Self-propelled Infantry Gun Platoon
|
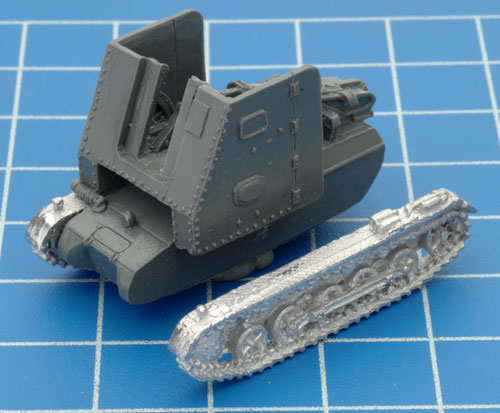
The 15cm sIG33 auf Panzer I shares the same tracks as the Panzerjäger. Therefore, attach in the same way.
|
 |
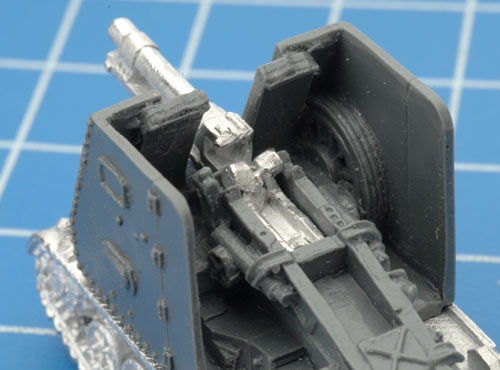 |
Next, attach the gun. The resin hull has notches for the connecting lugs on the gun and should fit easily into the right position. |
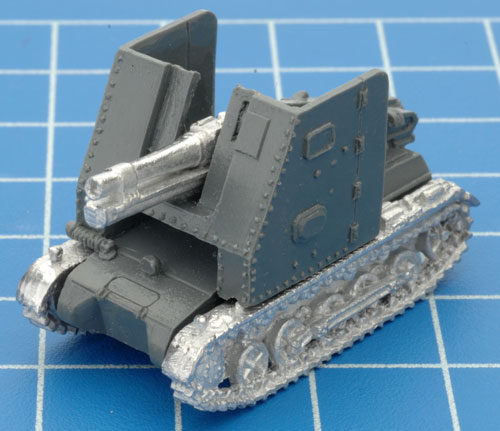
| With the gun in place, its time to add the ammunation stowage. |
 |
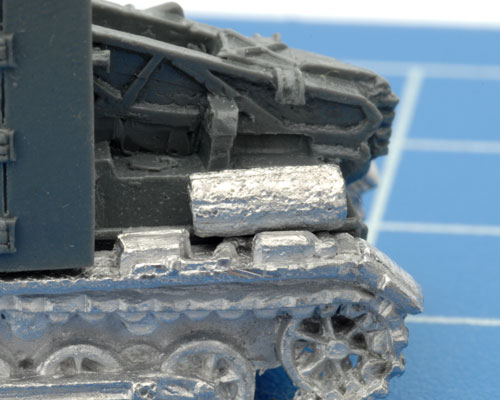 |
The ammuniation stowage sits on either of the vehicle on top of the tracks as seen in the example on the left.
|
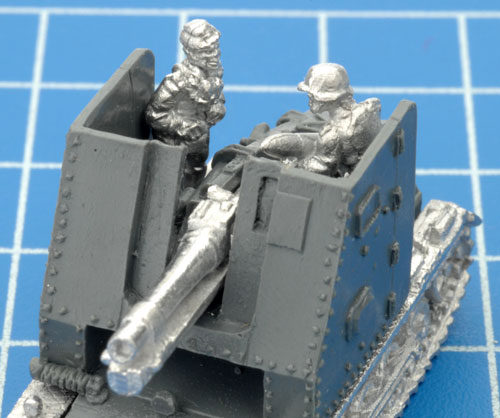
Time to add the crew.
Note: The loader for the 15cm sIG33 auf Panzer I is holding the large shell.
|
 |
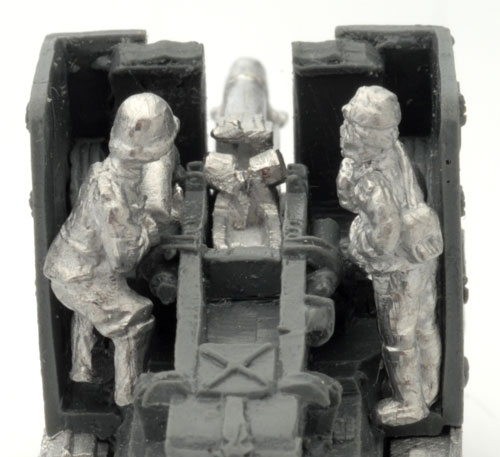 |
The fighting compartment of the 15cm sIG33 auf Panzer I is much larger than the Panzerjäger I, therefore placing a figure is a lot easier. Remember, only use a small amount of hobby glue. |
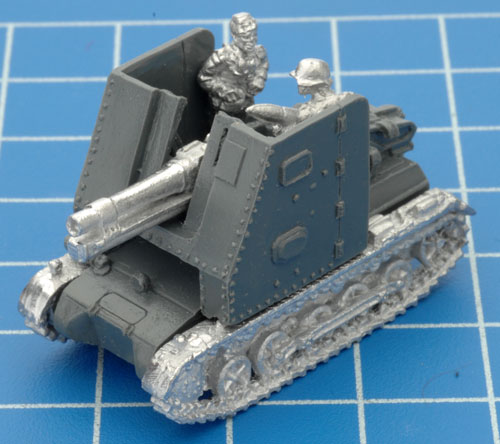
With the addition of the crew, the 15cm sIG33 auf Panzer I is now fully assembled.
|
 |
Because the Schützen Company is an infantry army there are a lot of goodies in this box. It can seem like a daunting task to get it all put together but if you break everything down into platoons it is not as difficult as it may first appear. Begin by opening up the box and sort out all the figures as per the contents pictures outline in the examples below. This will make it make it much easier when it comes to choosing the figures you will need to make up the different platoons that are provided in the box. Once you have checked that you have the correct number of figures you can start building the platoons.
|
Headquarters
Company HQ
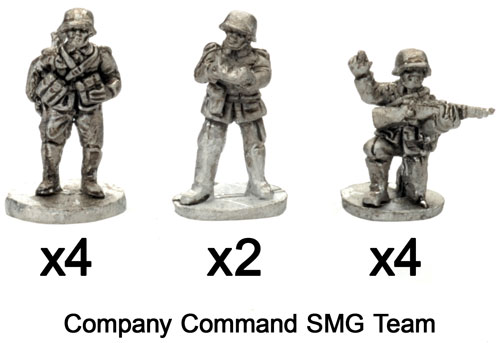
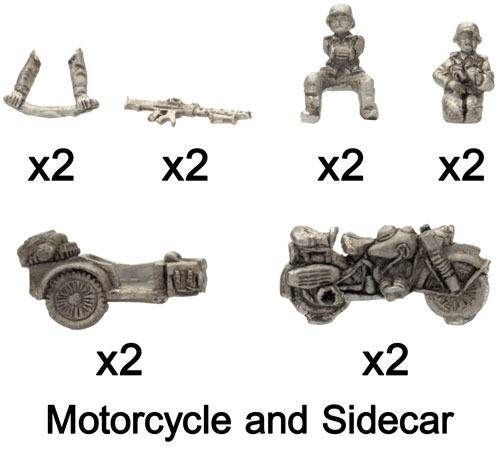
To begin with you will need to assemble your headquarters. This is made up of a Company Command SMG team and a 2iC SMG team of three figures each and two motorcycles and sidecars.
Right: Company Command SMG team.
|
 |
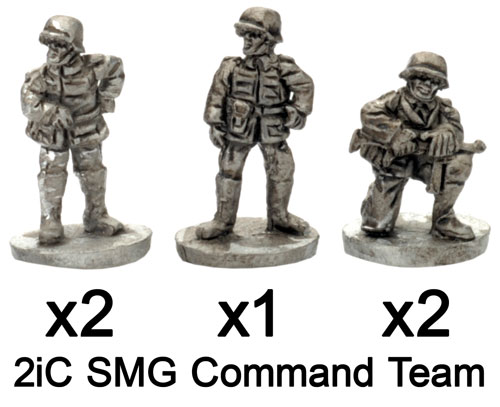 |
Left: The 2iC Command SMG team.
Note: The numbers under each figure indicates the total number of figures included in the box set. If no number appears under a figure, it has been accounted for in another example.
|
Right: The motorcycles and sidecars with crew.
Note: The box set also includes twenty four medium bases and thirteen small bases.
|
 |
 |
Combat Platoons
Schützen Platoon
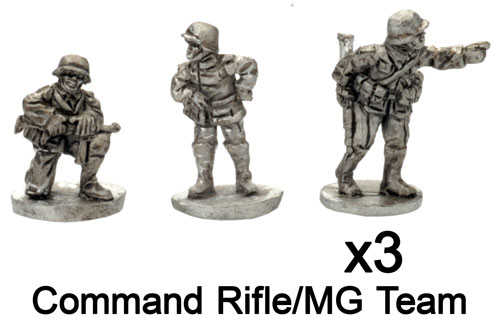
Now it is time to assemble the two Schützen combat platoons. Each Schützen Combat Platoon is made up of a three figure Command Rifle/MG team, a two figure light mortar team and six Rifle/MG teams of five figures each. You get several different machine gun options as every second base should have a MG figure and an ammo carrier. You may also field an optional Anti-tank rifle team made up of two figures.
Left: Schützen Platoon Command Rifle/MG team. |
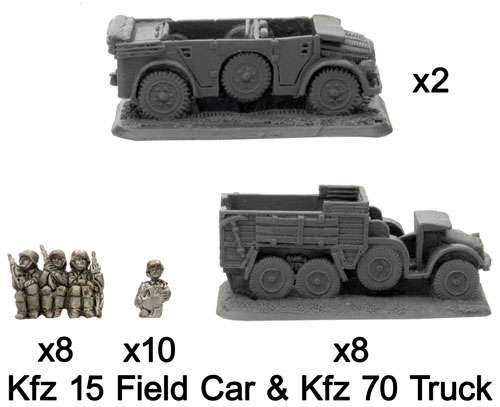
As Schützen platoons are fully motorised, each platoon also comes with one Kfz 15 field car and four Kfz 70 trucks.
Right: The Schützen Platoon's transport.
|
|
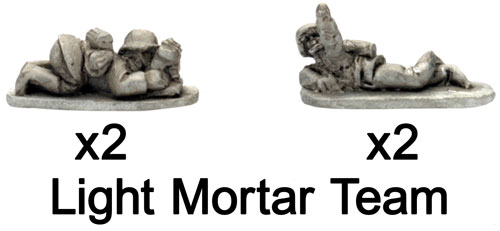 |
Left: The Light Mortar team.
|
Right: The Anti-tank Rifle Team.
|
 |
| Below: The Schützen Platoon Members |
Weapons Platoons
Schützen Mortar Platoon
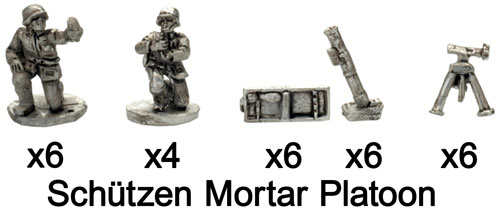
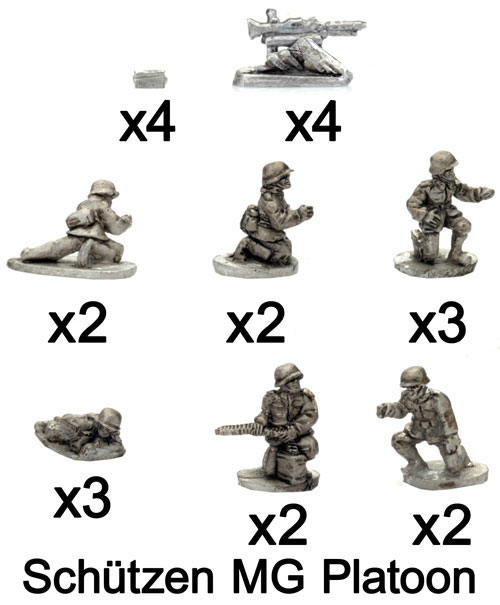
You are given two Weapons Platoons in the army box. The first is a full strength Mortar platoon consisting of a Command SMG team, an Observer Rifle Team and six 8cm GW34 Mortars with three crew members. One of the crew member on each base should be a standard rifleman.
|
 |
Left: The Observer Rifle team.
|
Right: Schützen Mortar Platoon
|
 |
 |
Schützen Machine Gun Platoon
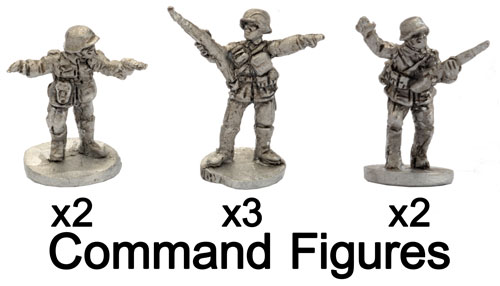
As your second Weapons Platoon choice, you get a full strength Machine-gun platoon consisting of a Command SMG Team consisting of three figures and four MG34 HMG teams each with three crew members. |
| You get a great selection of figures to add variety to the unit. Each HMG team should have a command figure with an HMG gunner and a HMG loader. |
 |
Want To Know More About Blitzkrieg?
Over the past few months we have added a massive range of articles about Blitzkrieg to the website, to make it easier for people to find a specific article we have put together this handy place.
Find out more about Blitzkrieg and Early-war here... |
Last Updated On Monday, November 15, 2010 by Chris at Battlefront
|
|
|