|
|
|
|
Products mentioned in this Article
--None--
|
|
|
|
|
|
|
|
|
 |
|
|
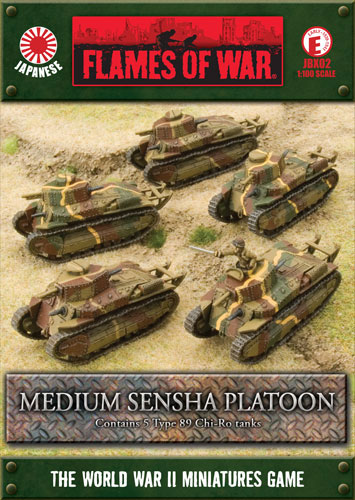
Medium Sensha Platoon (JBX02)
 |
Medium Sensha Platoon (JBX02)
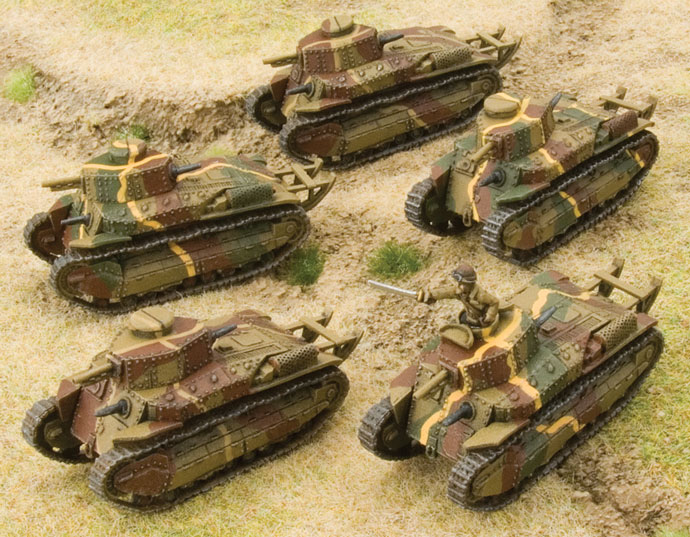
includes five Type 89 Chi-Ro Medium tanks & five Tank Commander figures.
In 1929, the Type 89 (1929) tank was developed by Mitsubishi Heavy Industries. Initially it started life as a light tank design, but was re-designated a medium tank once its weight had gone over 10 tons. Production of the Type 89 began in 1931 and it became the main tank of the Imperial Japanese Army.
The Type 89 entered combat in Manchuria in 1931, and saw action during the battle of Shanghai in 1932, all against various Chinese forces. It fought strictly in the infantry support role where its 15mm of armour protected it from small-arms fire and its short 57mm Type 90 gun proved effective at knocking out Chinese machine-gun nests. It continued to be used in China throughout the 1930s.
Check out the Medium Sensha Platoon in the online store here...
|
Banzai
The Japanese strike on Pearl Harbor has awoken the Americans.
Now they must fight with determination to hold their gains, to push the westerners back and consolidate Japanese control. Every inch of ground, each beach, village and airfield, are defended with a ferocity against which no enemy can stand.
Learn more about Banzai here...
|
 |
 |
During the Nomonhan Incident the Type 89 equipped the entire 3rd Tank Regiment (Shesha Rentai, actually a battalion-sized unit) and one company of the 4th Regiment. The two regiments attacked the Soviet line on 2 July 1939, punching thorough a Soviet infantry regiment under cover of a thunderstorm, only to be stopped once they had reached a Soviet artillery position.
The Type 89 tanks used at Nomonhan were a mix of the original petrol and a new diesel-engine model. The diesel version proved more reliable and was made standard in later medium tanks such as the Type 97 Chi-Ha which superseded the Type 89 Chi-Ro.
Designed by Evan Allen
Painted by James Brown |
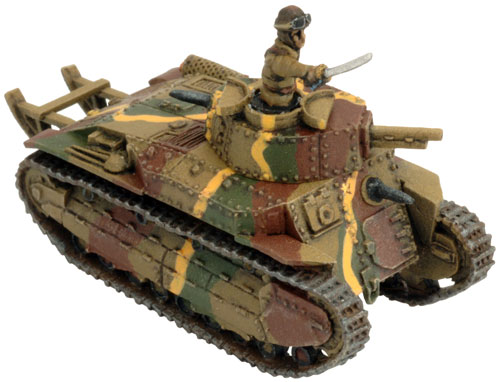
The Type 89 Chi-Ro
|
 |
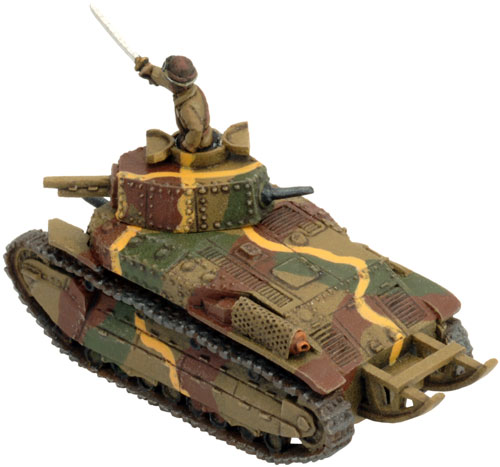 |
The Type 89 Chi-Ro in Flames Of War
|
| |
|
|
Armour
|
|
|
Name
|
Mobility
|
Front
|
Side
|
Top
|
Equipment and Notes
|
Weapon
|
Range
|
ROF
|
Anti-tank
|
Firepower
|
|
Type 89 Chi-Ro
|
Slow Tank
|
1
|
1
|
1
|
Japanese Turret MG, Hull MG. |
Type 90 57mm gun
|
16"/40cm
|
2
|
5
|
4+
|
|
|
 |
 |
Japanese Turret MG
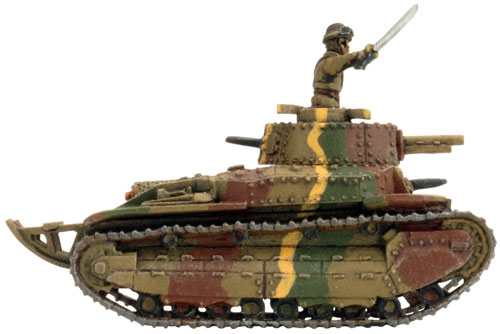
Japanese tanks were often fitted with a rear mounted machine-gun. They used this by swinging the whole turret around to fire it at the enemy to their front. This meant, of course, that they could not fire the main gun while they fired the turret MG and the gunner must shift positions in the tank to operate it.
A Japanese Turret MG has an all-round Field of Fire, but cannot fire at the same time as the vehicle’s Main Gun.
|
 |
 |
Japanese Model & Year System
The weapons the Imperial Japanese Army used during its wars in Asia and the Pacific were designated using a model system based on the year of the Japanese Emperor they entered service with. This can sometimes be confusing as the weapons available could come from the reign of three different emperors; Emperor Meiji (1867 to 1912), Emperor Taisho (1912 to 1926), and Emperor Hirohito (1926 to 1989). To confuse things further, during the reign of Emperor Hirohito the model system referred to the year in the Japanese calendar, which was 660 years ahead of the current western date, so 1939 was 2599 in Japan. The model is usually referred to as Type in English translations.
Examples
The 6.5mm heavy machine-gun was an older weapon that entered service in 1914 during the third year of Emperor Taisho’s reign, giving it the designation Type 3. However, the 6.5mm Type 96 light machine-gun used by the infantry was produced in 1936, or 2596 in the Japanese calendar system, which was abbreviated to 96.
|
 |
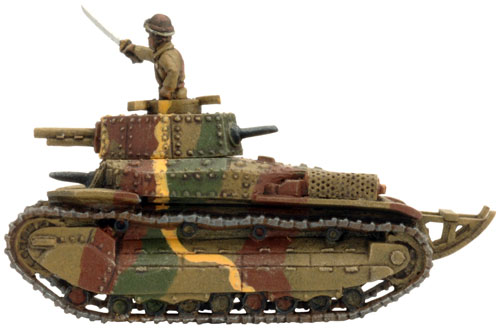 |
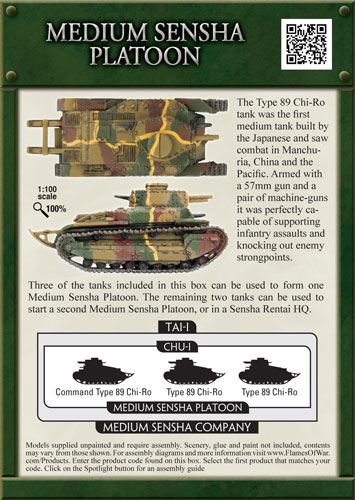
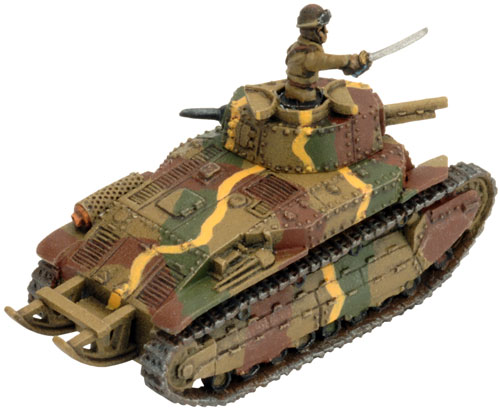
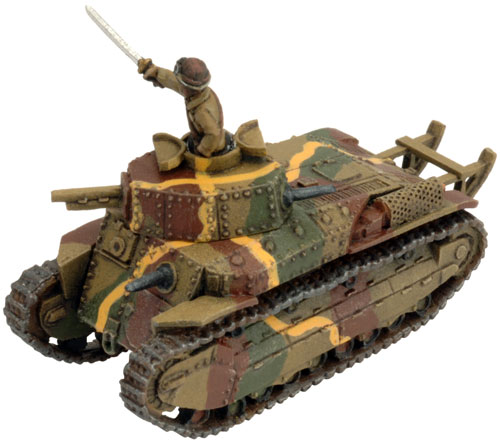
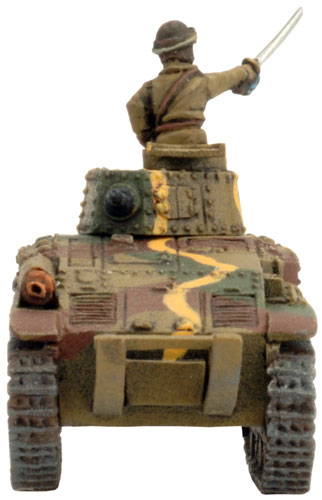
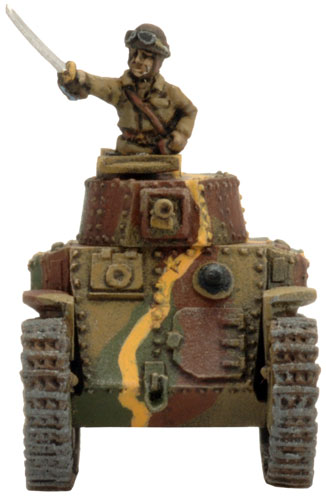
The Type 89 Chi-Ro tank was the first medium tank built by the Japanese and saw combat in Manchuria, China and the Pacific. Armed with a 57mm gun and a pair of machine-guns it was perfectly capable of supporting infantry assaults and knocking out enemy strongpoints.
|
| The Medium Sensha Platoon Rolls Forward |
 |
Contents of the Medium Sensha Platoon Box Set
|
| Contact the customer service team at [email protected] if you have any issues with any of the components. |
| Description of Components |
a. 1x Tank commander figure pointing.
b. 1x Tank commander figure with arms out.
c. 2x Tank commander figures holding binoculars.
d. 1x Tank commander figure with sword.
e. 5x Closed turret hatches.
f. 5x Opened turret hatches.
g. 5x Trench crossing tail brackets.
|
h. 10x Tank machine-guns.
i. 5x Main guns.
j. 10x Trench crossing tail sleds.
k. 5x Right-hand side tracks.
l. 5x Left-hand side tracks.
m. 5x Resin Type 89 Chi-Ro hulls & turrets.
|
Assembling The Type 89 Chi-Ro
|
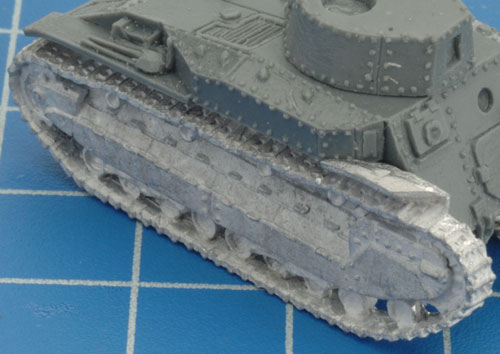
Step 1. Begin assembly by attaching the tracks to the hull of the Type 89 Chi-Ro.
|
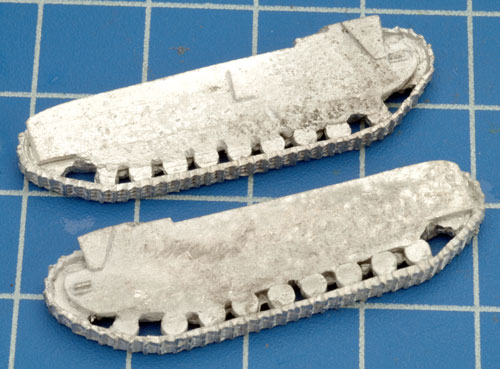
| Below: The left-hand side track is marked with the letter 'L' to assist in correct alignment. The right-hand track in blank. |
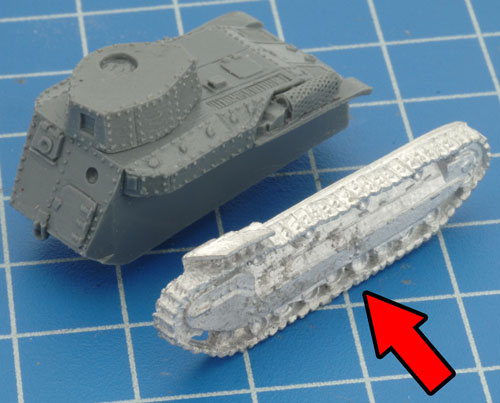
Below: The correct alignment for the left-hand side track. |
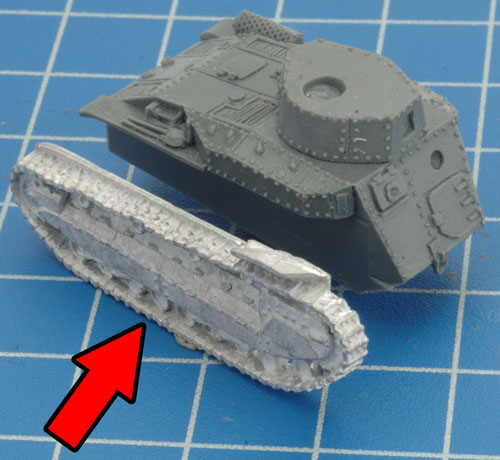
Below: The correct alignment for the right-hand side track. |
 |
 |
 |
| Tip: When referring to
left or right-hand side in regards to a Flames Of War miniature, the
orientation is determined as if looking at the vehicle from the rear. |
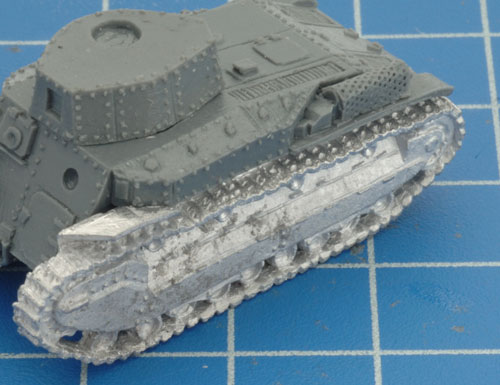
| Below: The left-hand side track correctly attached to the hull. |
Below: The right-hand side track correctly attached to the hull. |
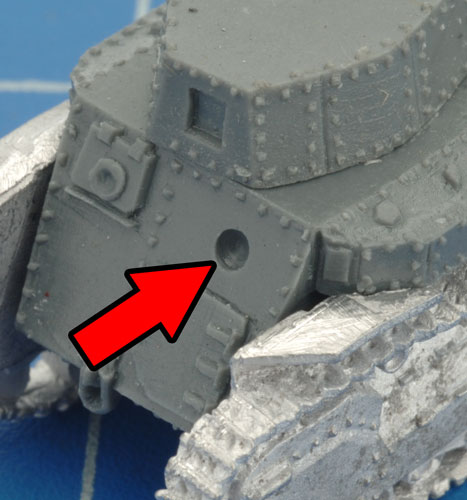
Step 2. Next, attach one of the machine-guns inlcuded in the box set to the front of the hull. |
 |
 |
 |
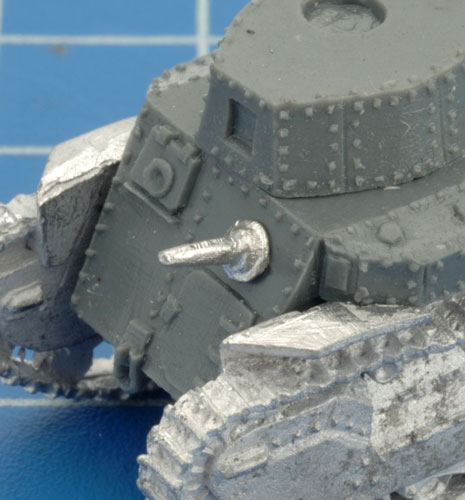
Below: The hull machine-gun correctly attached to the front of the hull.
|
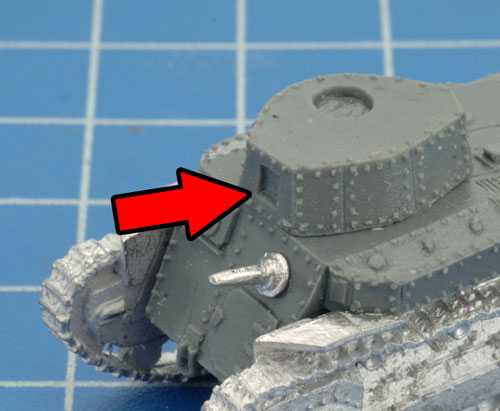
Step 3. Next, attach the main gun to the front of the turret.
|
 |
 |
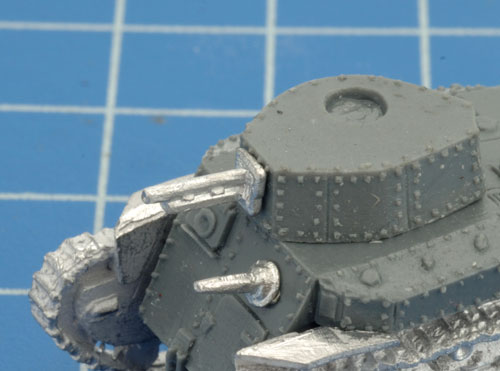 |
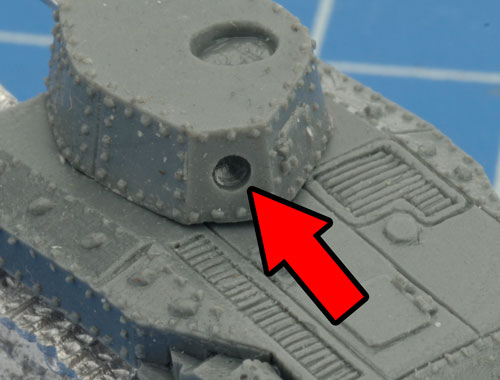
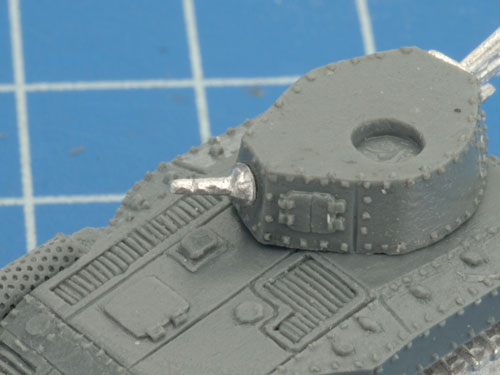
Step 4. Attach a second tank machine-gun to the rear of the turret.
|
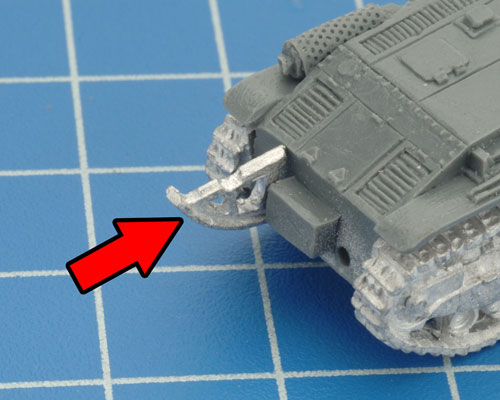
Step 5. Attach the sleds for the trench crossing tail to the rear of the hull. |
 |
 |
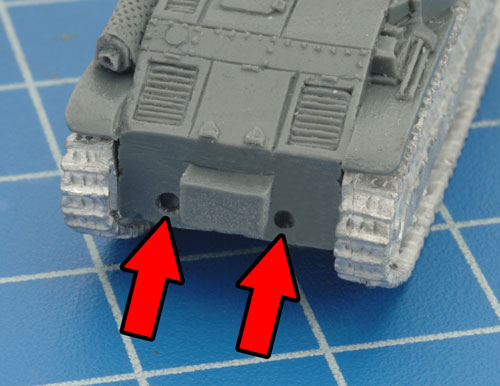 |
Below: Attaching the trench crossing tail sleds to the rear of the hull.
|
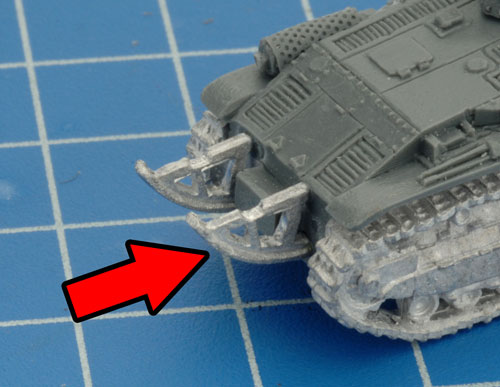
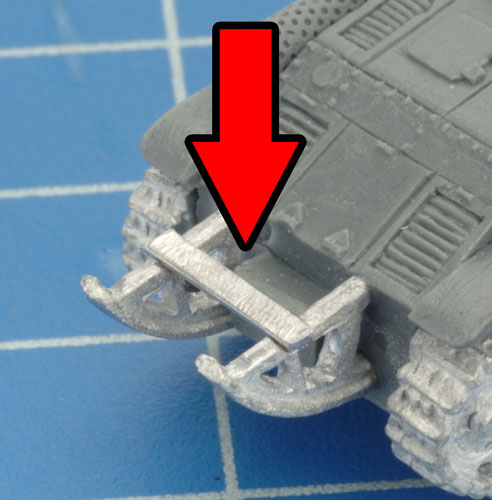
Step 6. Attach the trench crossing tail bracket to the top of the trench crossing sleds.
|
 |
 |
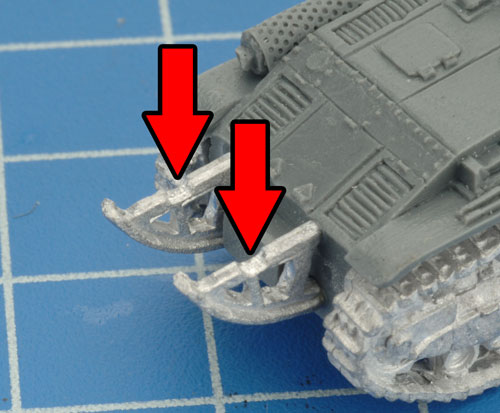 |
| Below: The trench crossing bracket attached correctly. |
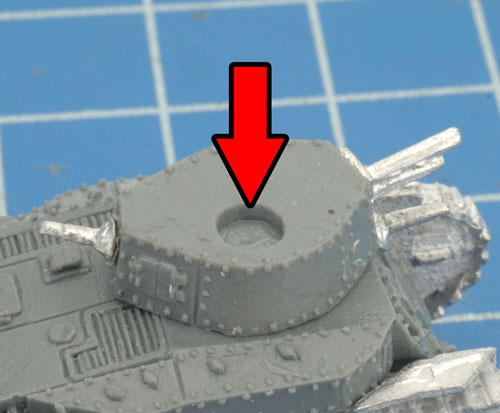
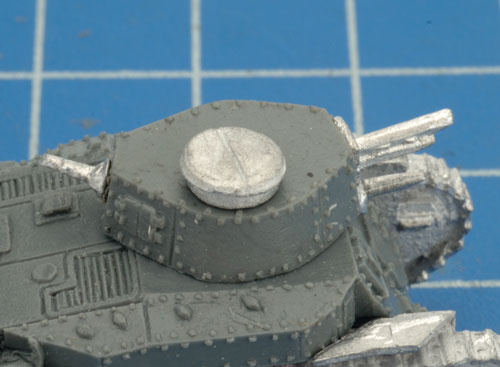
Step 7. Finally, attach the turret hatch to the top of the turret.
Tip: Ensure that the split in the hatches is parallel with the front of the turret.
|
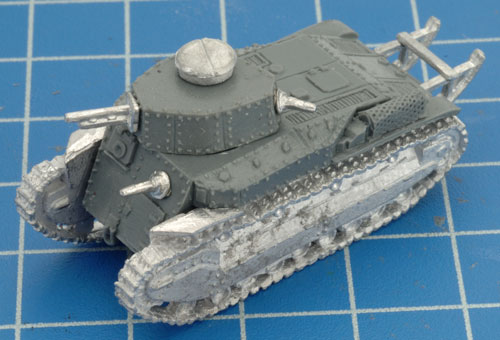
Below: With the turret hatch in place, the fully-assembled Type 89 Chi-Ro ready for painting.
|
 |
 |
 |
|
Adding A Tank Commander
|
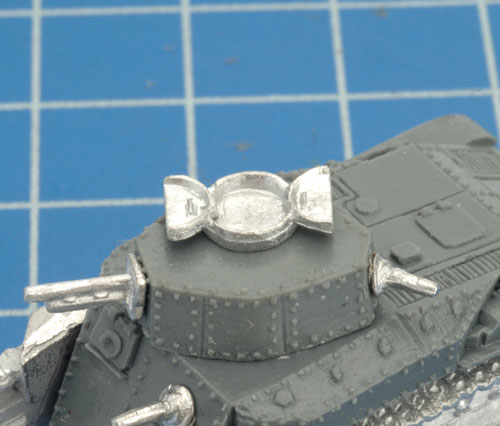
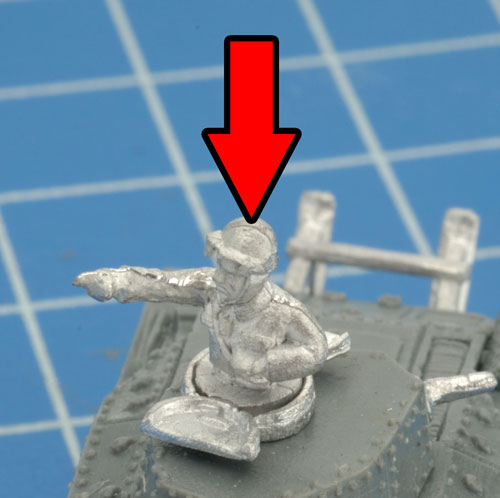
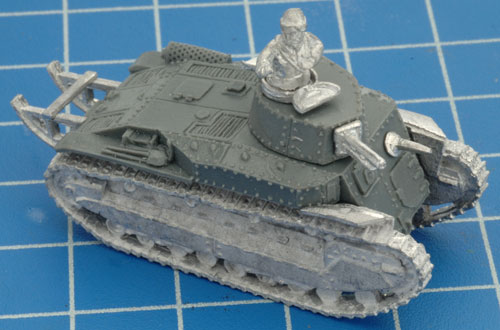
Step 1. Replace the closed turret hatch with the open version.
|
Step 2. Next, position the tank commander figure inside the open turret hatch. |
Below: With the tank commander figure in place, the Type 89 Chi-Ro is now fully-assembled and ready for painting. |

|
 |
 |
 |
Everyone has their own way of painting, so whatever techniques you prefer to use are just fine, as long as you are happy with the result. Here is one suggested method which doesn’t take too long and gives a good-looking result.
|
Battlefront TV:
Painting Japanese Tanks
James shows how to paint a Japanese Type 97
Chi-Ha tank from Rising Sun. He gives some tips on good ways to paint
bright yellow and demonstrates how to do an oil-based pin wash.
Visit the Battlefront TV channel on YouTube here... |
|
Step One
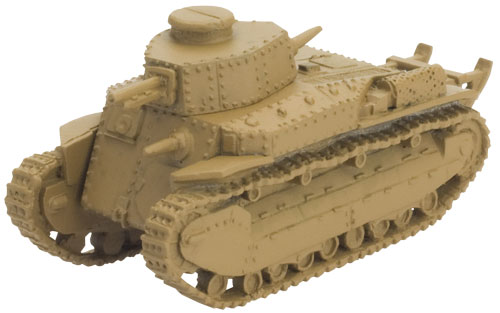
Undercoat the tank with black primer, then basecoat with Comrade Khaki (326) or Panther Yellow (210).
|
Step Two
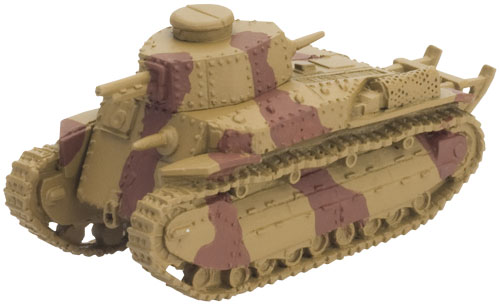
Paint Oxide Red (382) patches of camouflage.
|
 |
 |
Step Three
Paint Camuflage patches of Army Green (342),then give the entire tank another thin wash of Manstein Shade (490).
|
Step Four
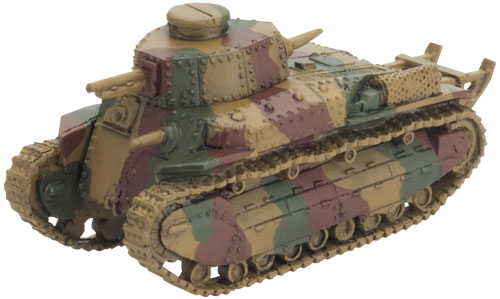
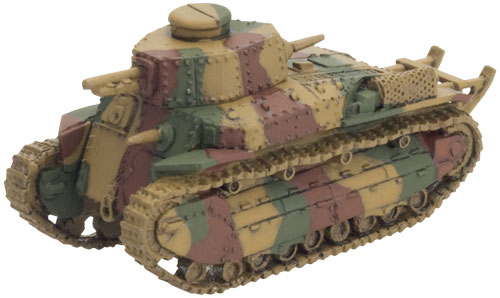
Paint over the yellow patches with Comrade Khaki (326). Touch up the camouflage patches with Oxide Red (382)
and Army Green (342), leaving black in the recesses.
|
 |
 |
Step Five
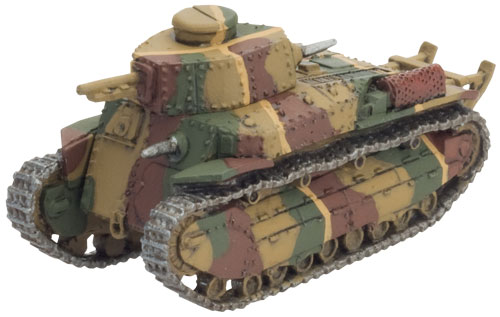
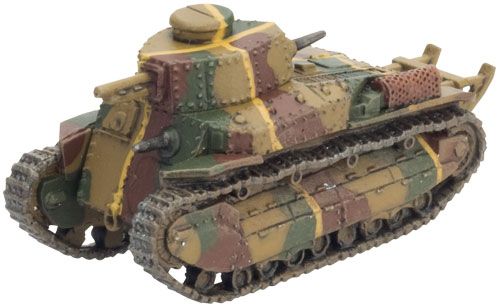
Paint a thin line of Sicily Yellow (365), forming a rough cross pattern. Paint the tracks and Machine-gun Barrels Worn Rubber (302), wash with Manstein Shade (490), and drybrush with Dark Gunmetal (480).
|
Weathering
Paint over the yellow ochre cross with Cavalry Yellow (361). Drybrush Motherland Earth (383) and Comrade Khaki (326) over the tracks and bottom half of the hull to represent dust and dirt. Bradley shade (490) can be used to add rust streaks.
|
 |
 |
Last Updated On Monday, May 9, 2016 by James at Battlefront
|
|
|