
|
| |
|
|
|
|
|
|
|
Rob Villnave's Tanksgiving
 |
Rob Villnave's Tanksgiving
by Rob Villnave
A few months back an idea came to mind that I thought would be extremely fun. As a German player I was trying to figure out a way to play with all of my toys. I am not referring to just playing with four Kingtigers, I mean ALL of my toys—I wanted to field everything. So I went to Joe Krone and asked “Can you come up with a scenario that will allow me to field 6000 points in tanks, and have multiple companies in play?”. Once I got past Joe’s usual barrage of sarcastic sniffs and profound statements like, “I don’t get it”, he came up with what I thought would be an awesome annual event at my local club and local retailers every November: Tanksgiving: Flames of War style!
|
|
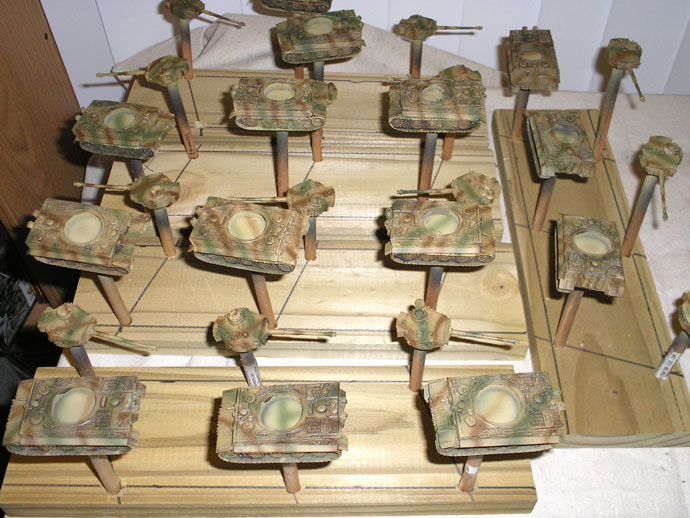
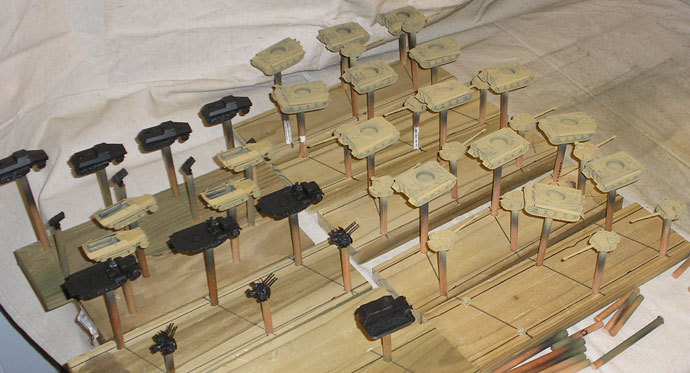
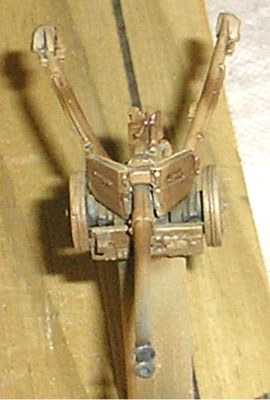
All of this was fuelled by my desire to paint the 101. Schwere SS Panzerabteilung from Villers-Bocage. So I began work by picking up a Tigers Marsch box set and several more blisters of the Tiger 1E. I didn’t have an army list but I knew I wanted to field my maximum number of Tigers.
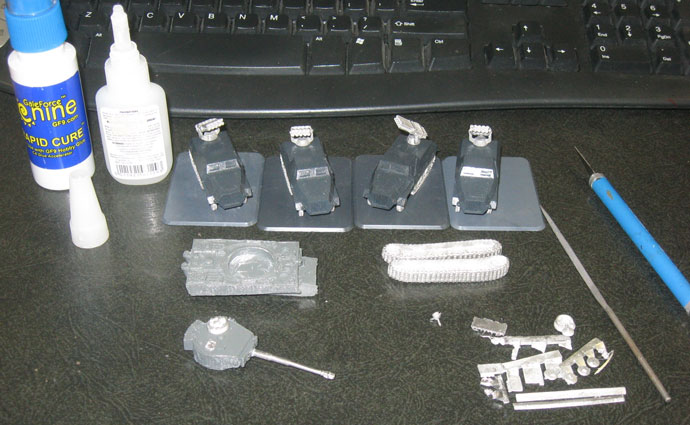
I attached all of my tanks and turrets to 3/8” wooden dowels so it is a bit easier to hold on to. I do this so I don’t get more paint on my hands than the models and this also helps keep my finger prints from being permanently marked on the models.
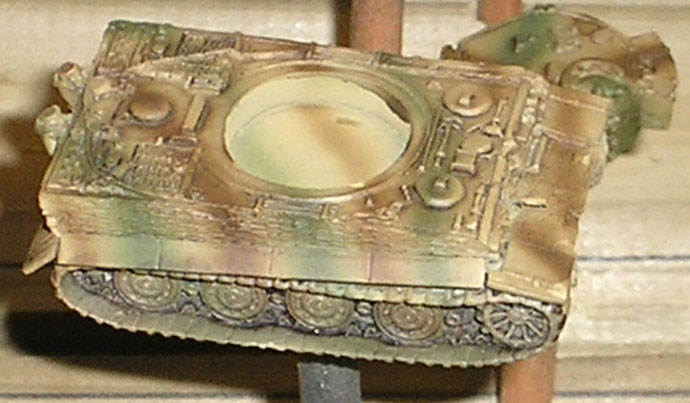
I use Sicily Yellow (FWP362) as my base coat color, followed by stripes of Battlefield Brown (FWP324) and Army Green (FWP342). I dry brush the entire tank Military Khaki (FWP327) followed by a wash of thinned down Bradley shade (FWP490).
|
 |
 |
 |
Once that is all done it is detail work from there. I go back and paint everything from tank tracks to tools and cables with Black (FWP300). Tool handles are painted with Battlefield brown (FWP324), while any metal parts like tool heads are painted Dark Gunmetal (FWP480). With each of these it is important for me to leave a little of the black showing along the edge as to add an artificial separation of the colors to enhance the effect of the painting. Leaving the black to separate the Battlefield brown from the colors used on the main hull helps to keep it from getting lost in the camo.
|
|
Then the tracks are lightly drybrushed first with Devil Red (FWP381). At this stage I want to put on my decals. Before the first one goes on I put down a small patch of Matte Varnish (520), where I will place the decal. After the decal is down I brush on a little Decal Softener (202). Now it is time to put on a slightly heavier drybrush of Motherland Earth (FWP383) for the weathering. I work my way from the tracks up the side of the tank to simulate the direction the dirt would actually be moving.
When all painting is said and done I then give all of my models three light coats of a matte spray to seal then up. I paint to game, so my models are painted to what I consider a table-ready standard. It takes a pretty heavy influence to inspire me to break out and do any heavy conversions, and in most cases I don't include extra stowage beyond what is cast on the model. This is simply because when I am inspired by army backgrounds I want to get it painted and fielded in the least amount of time but still have it look sharp on the table.
|
 |
 |
|
A few friends and I traveled to a few of our local retailers to play in what was a tremendously successful Tanksgiving event. We had loads of fun, met lots of new folks and we were finally able to play with our newly painted armies.
With any luck, Tanksgiving will become an annual event that we can all look forward to each year. As I write this just over 800,000 points have been reported in. This is how many points in tanks companies participated in Tanksgiving battles all over North America. Let’s break 2,000,000 next year. That gives everyone 11 months to get more tanks done!
|
 |
|
Meanwhile, see you all in February for the St. Valentines Day Massacre!
|
|
|
|